This post is a sponsored collaboration with Lowe’s Home Improvement: As always all opinions are 100% truthful and my own
The first two month’s of summer flew by, but there is no better time than now for tackling your deck repair and creating a deck oasis for you to enjoy. Especially with Labor Day Weekend here, you can complete your deck repair in three days, for real! Just follow my steps below so you are prepared and you can complete your deck repair over one long weekend. My kids will be headed back to school, and trust me, I am looking forward to sending them off bright and early, grabbing my cup of coffee and relaxing on my new deck, sola! I needed to make deck improvements in order for it to be beautiful again, but also safe. Yup, my deck had turned into a liability over the years. So, let’s get started, grab your cup of coffee cause I am sharing how this DIY mom, that’s me, is making deck improvements and some serious deck repairs to create a little deck oasis. OH, and find out what was the BIGGEST OVERSIGHT I learned about this project that I don’t want YOU to make.
How To Do A Deck Repair – Deck Improvements
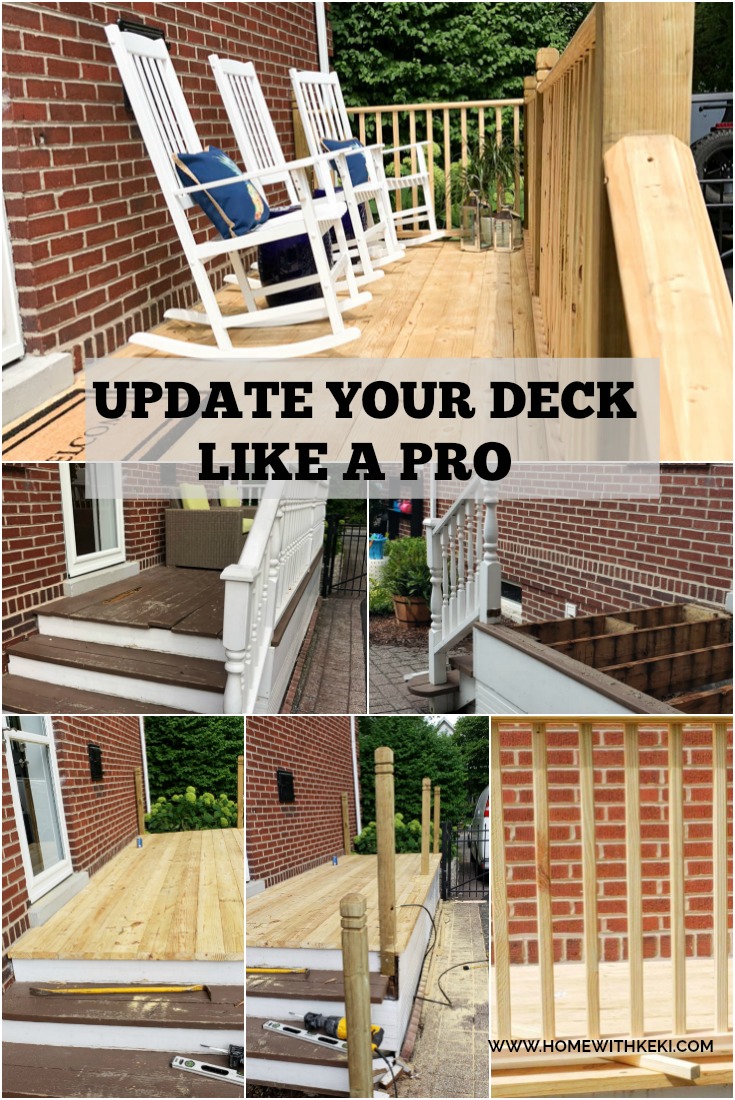
As always, you must see the awful before photos. It was literally a hazard. I knew that if I could see rotten floor boards and nails, then, what I couldn’t see would be worse. And I was right.
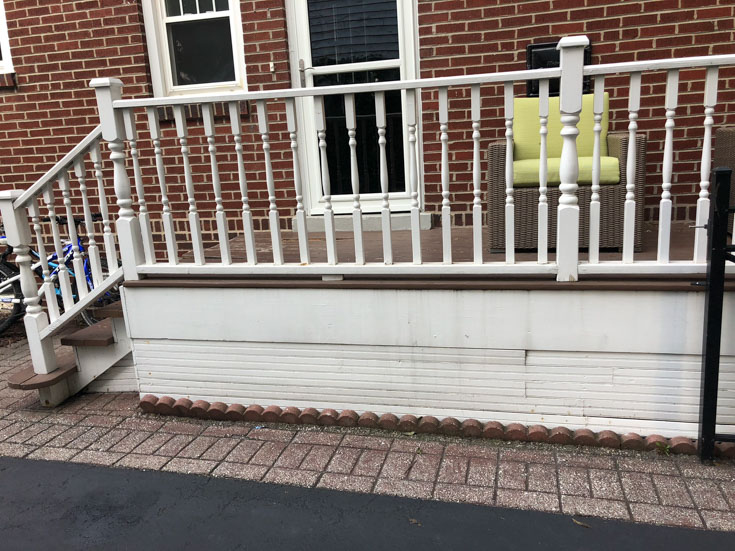
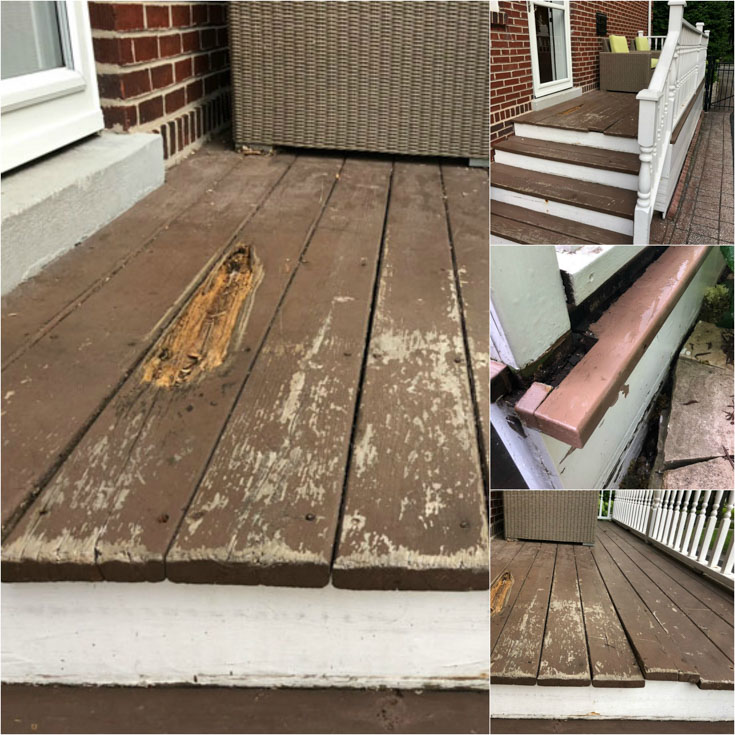
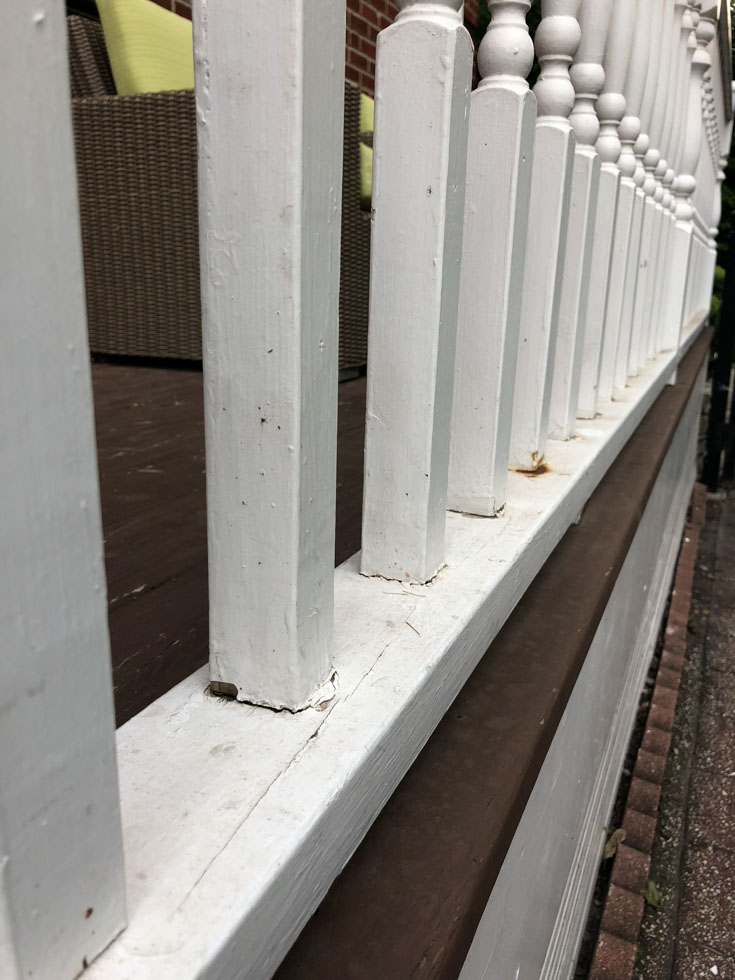
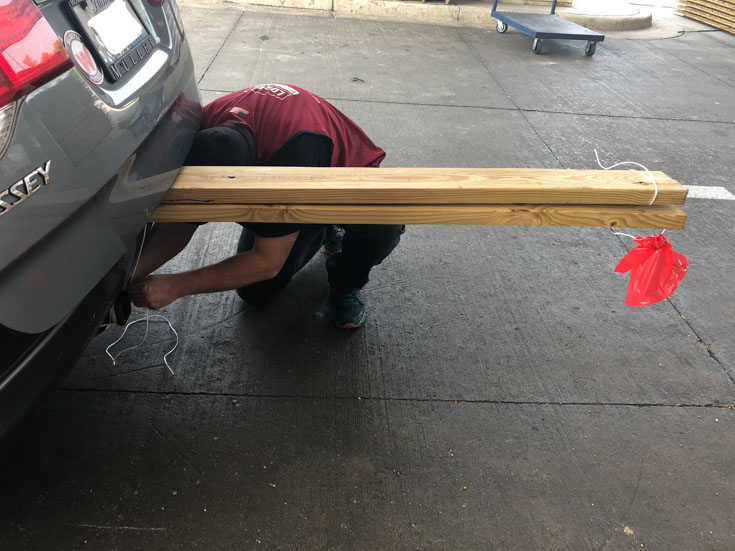
I know, you are probably wondering how I let it get that bad. Well, truthfully, it all started falling a part over our harsh winter. I obviously didn’t seal it before the long winter months (over the last few years) and it got destroyed. So, I was just waiting for the right time to fix it all. A couple people said, “just change out the two rotten floor boards or the one broken balusters.” But I knew that if I could see rotten wood on top, there had to be rotten nails and wood underneath supporting the deck. Thankfully, with the help of Lowe’s Home Improvement and I was able to begin all of my own deck improvements. Trust me, you become very close with your hardware store when updating your deck. I was always going back for one more piece of lumber. In one week, I think I visiting my local Lowe’s over a dozen times, and sometimes spending up to 2 hours in there. They helped me learn about treated wood, exterior paints and the steps I needed to take. I didn’t have to solely rely on You Tube videos.
STEP ONE : CREATE A DESIGN PLAN
There are many options when it comes to the materials for updating your deck. You can go with pretreated lumber or Lowe’s offers composite deck boards and railings. Using composite material comes at a higher price, but is very low maintenance. You do not have to seal or paint it every couple of years. With that said, I still love real lumber decks for my 100 year old home, it goes with the feel of my Georgian Colonial. And, I can DIY it!
So, first things first, I put together my design plan. Basically, what I wanted my new deck to feel and look like. You might notice a little Charleston charm. YUP, I was in Charleston las month and fell in love with their porches. You can say I was inspired.
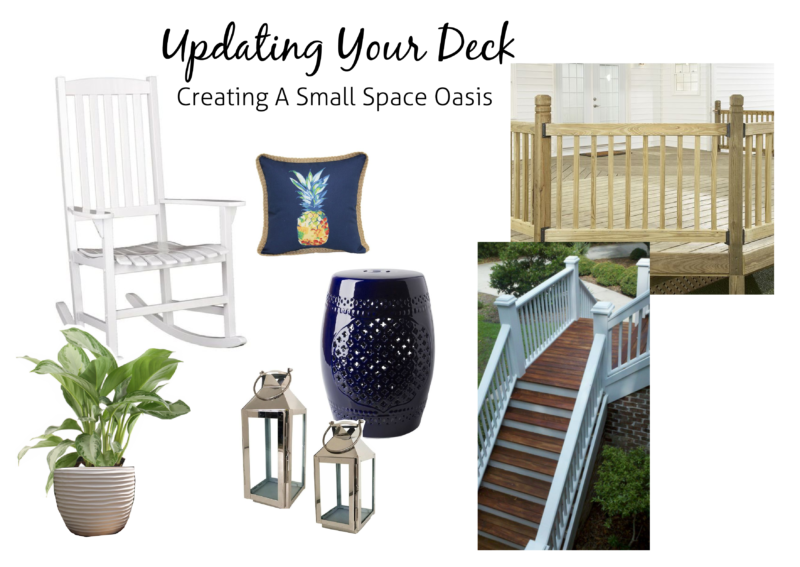
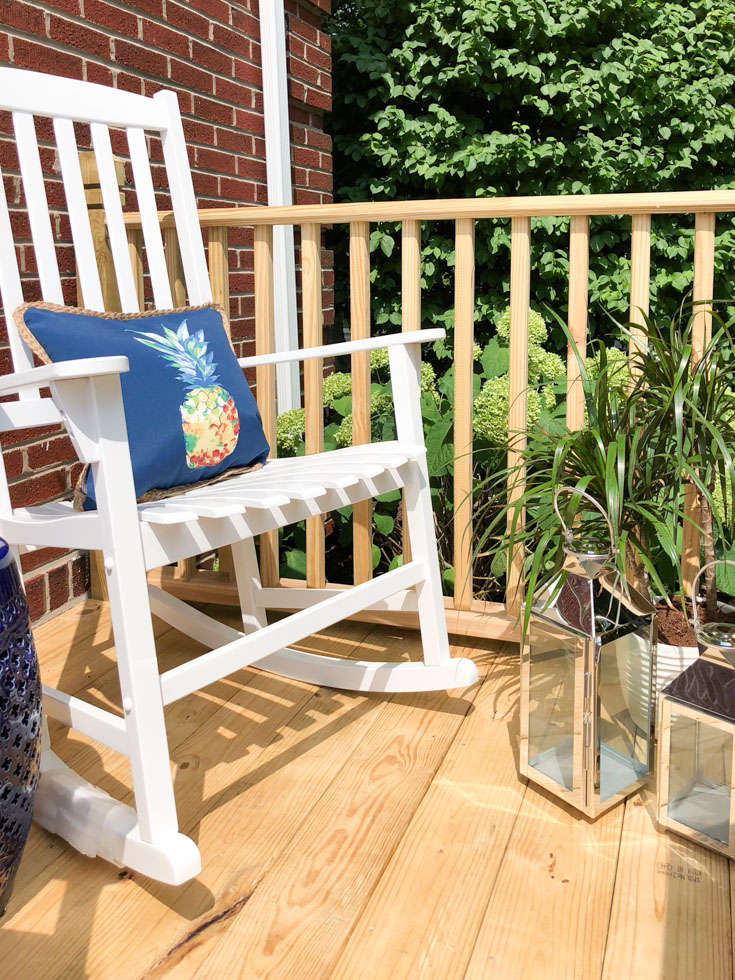
Rocking Chair // Pineapple Pillow // Blue Garden Stool // Lanterns // White Flower Pot
For Decking Lumber See Below
Now, time to make it a reality and pick out all the materials for the deck improvements.
MATERIALS FOR DECK IMPROVEMENTS
Make an initial supply list, but know that you might need a little extra, just like when ordering fabric for a new sofa or tiles for a bathroom remodel, order a extra. Trust me.
Also, use the material design guide provided by Lowe’s Home Improvement. I sure did!
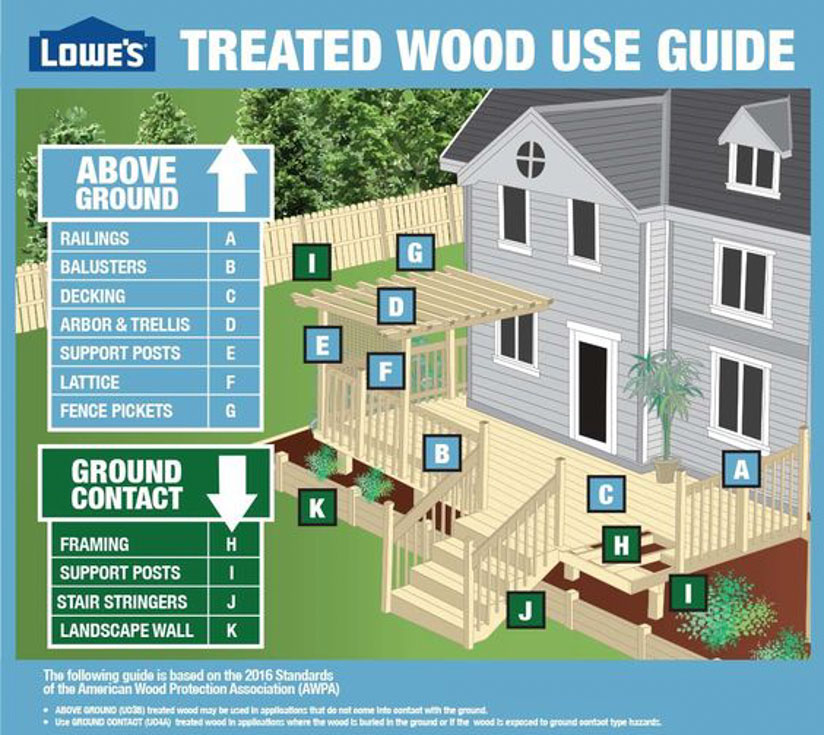
MY MATERIAL LIST:
- Railings: Sever Weather Prime-Treated Southern Yellow Pine Deck
- Decking: Severe Weather Prime-Treated Lumber 2x8x16
- Baluster: Sever Weather Prime-Treated Pine Deck Baluster 2x2x42
- Support Posts: Sever Weather Prime-Treated Deck Post
- Bottom Rail: Top Choice Lumber 2x4x8
- Support Beam: Sever Weather Prime Treated Lumber 2x10x8
- DEWALT 15-Amp Corded Circular Saw with Steel Shoe
- DEWALT 3-Amp Random Orbital Sander
- Valspar Exterior Multi-purpose Water-based Primer
- Cabot Pre-Tinted Cordovan Semi-solid Exterior Stain
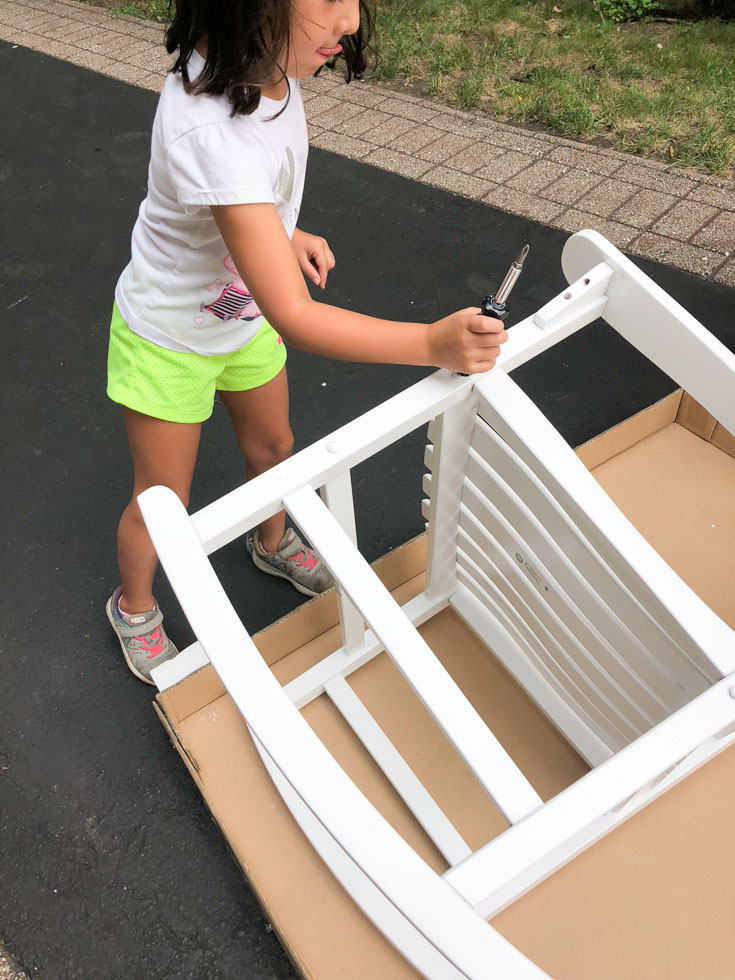
- Boston Loft Furnishings Carolina Eucalyptus Rocking Chair with Slat Seat
- Surya Auburndale 18.1-in Blue Ceramic Barrel Garden Stool
STEPS TO CREATE DECK IMPROVEMENTS
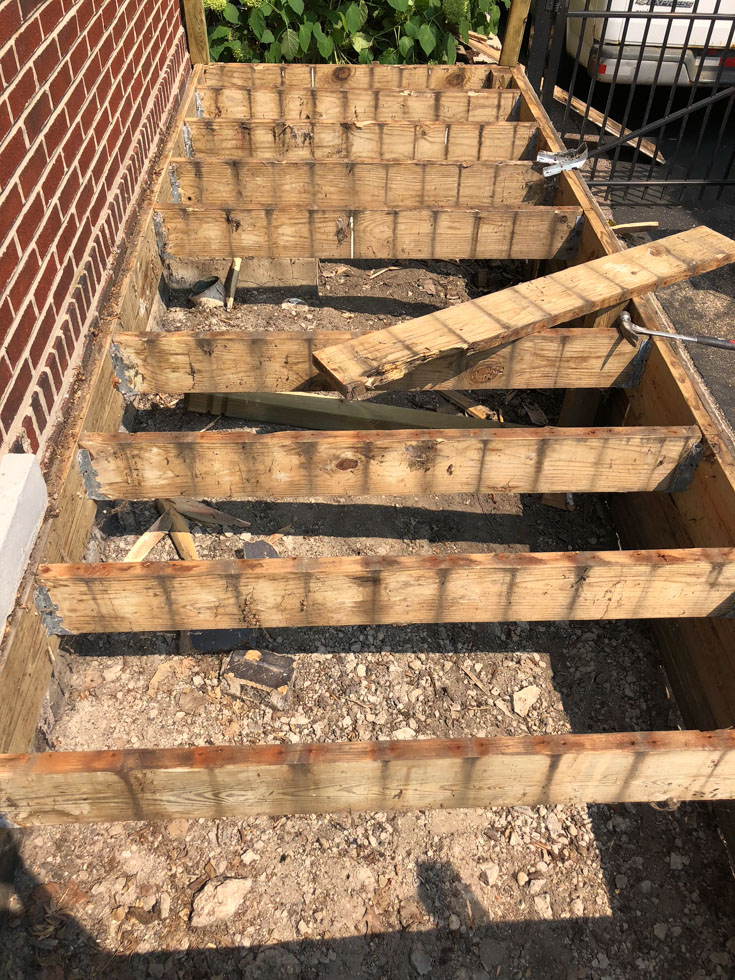
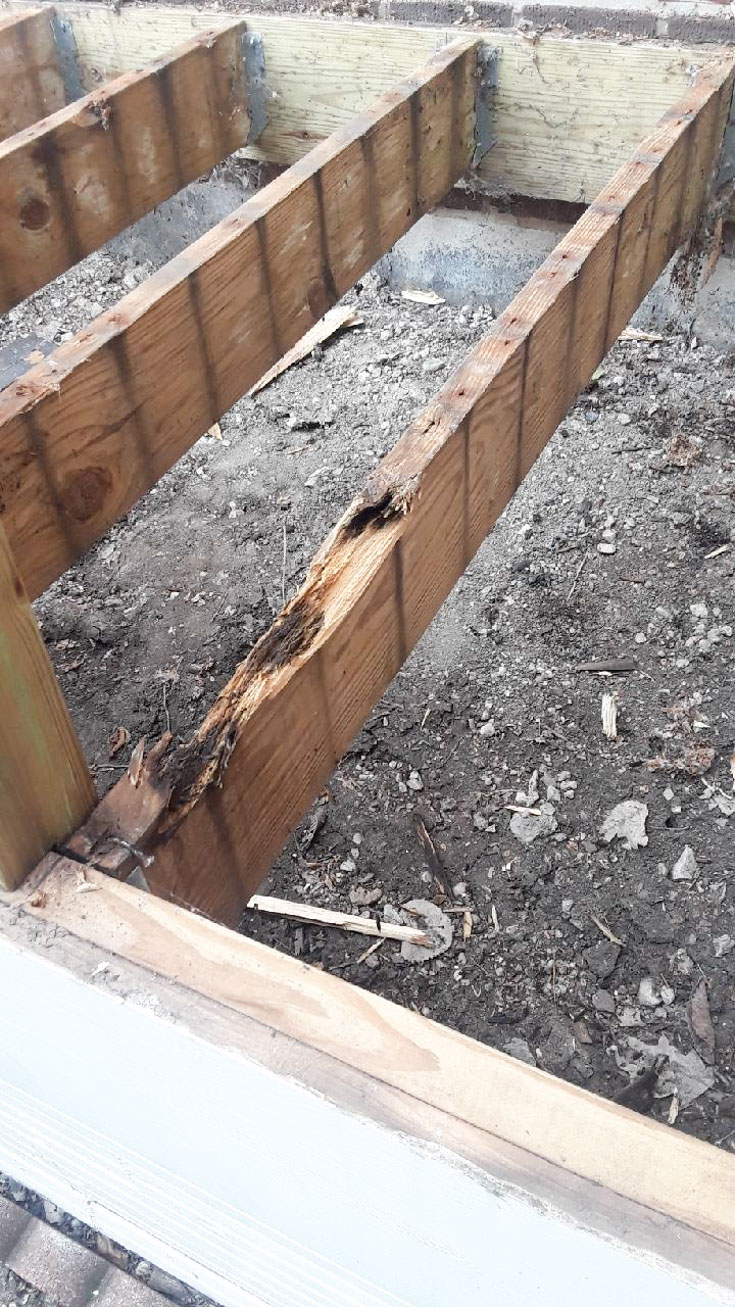
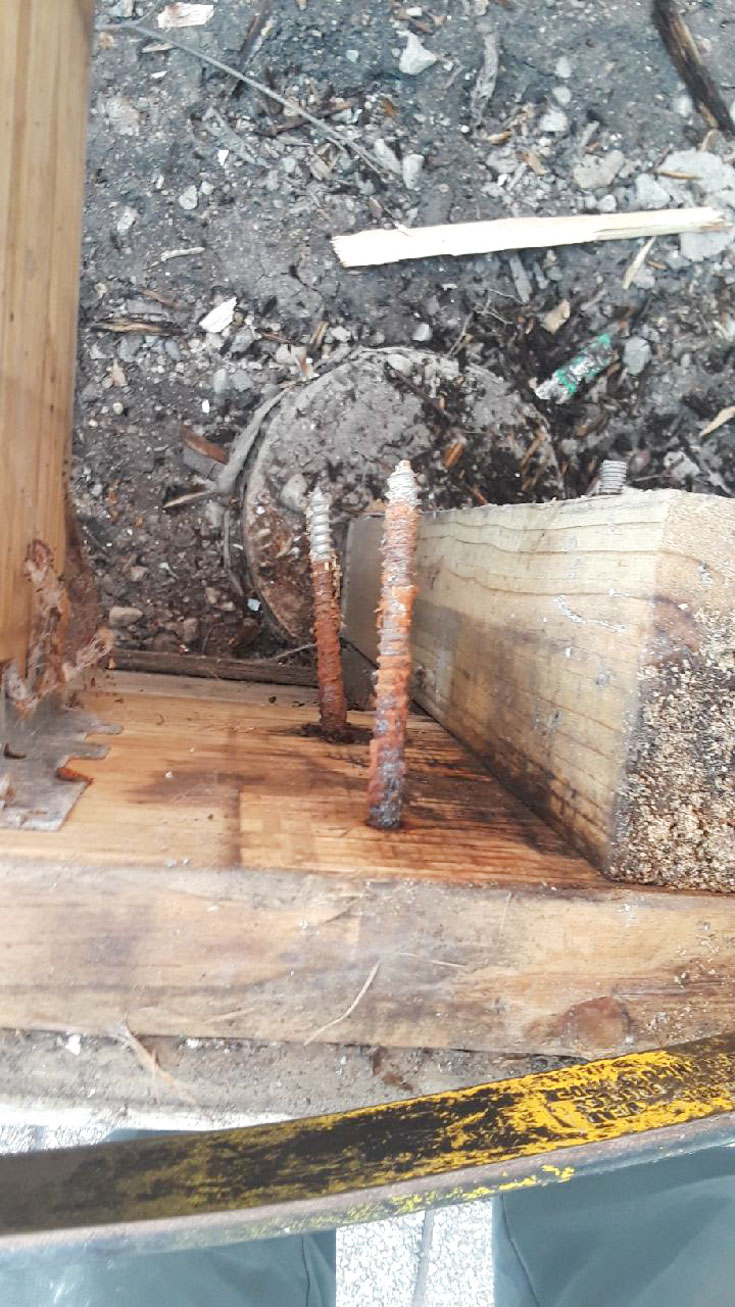
Step One: Replace necessary support beams and screws
First and foremost, I needed to replace a support beam. I was a little nervous to see what I would find after lifting all the floor boards, but luckily it wasn’t too bad. Only one support beam was in bad shape and a few screws (14 to be exact) needed to be replaced as they were rodding away. This was also the point I called my second husband. My dear husband works out-of-state more often than not, and when he is around on the weekend he spends time with the kids. I don’t want to take that time away to helping me with the deck. ALSO, the DIY thing is just not his thing, it’s mine. Shout out to all us Mommy DIY’ers! Anyway, Harby is my guy for all my client projects. So a desperate call was made cause I just didn’t want to make a mistake when it came to those support beams and the foundation.
Step Two: Replace Support Posts
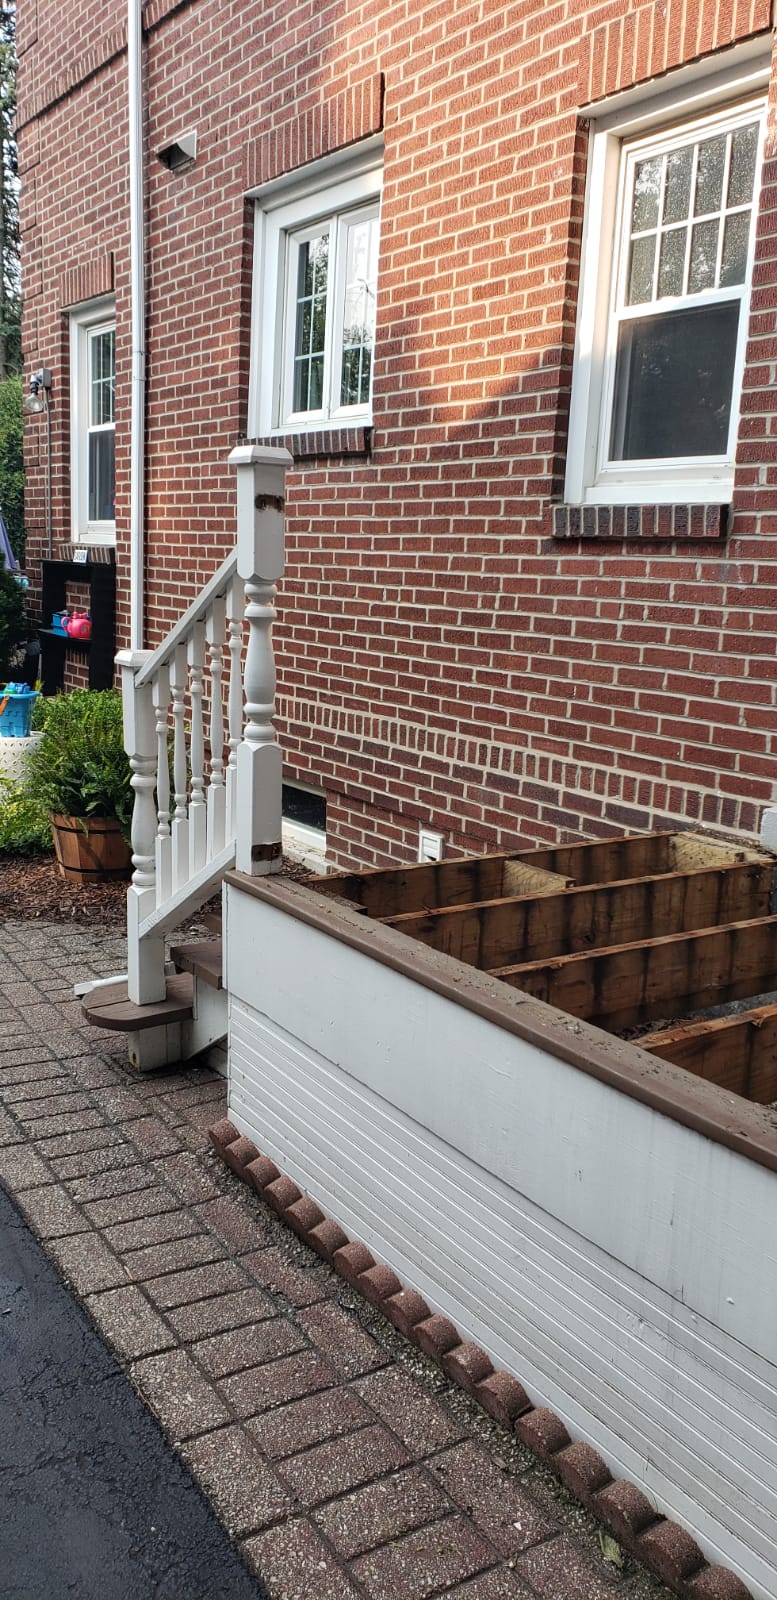
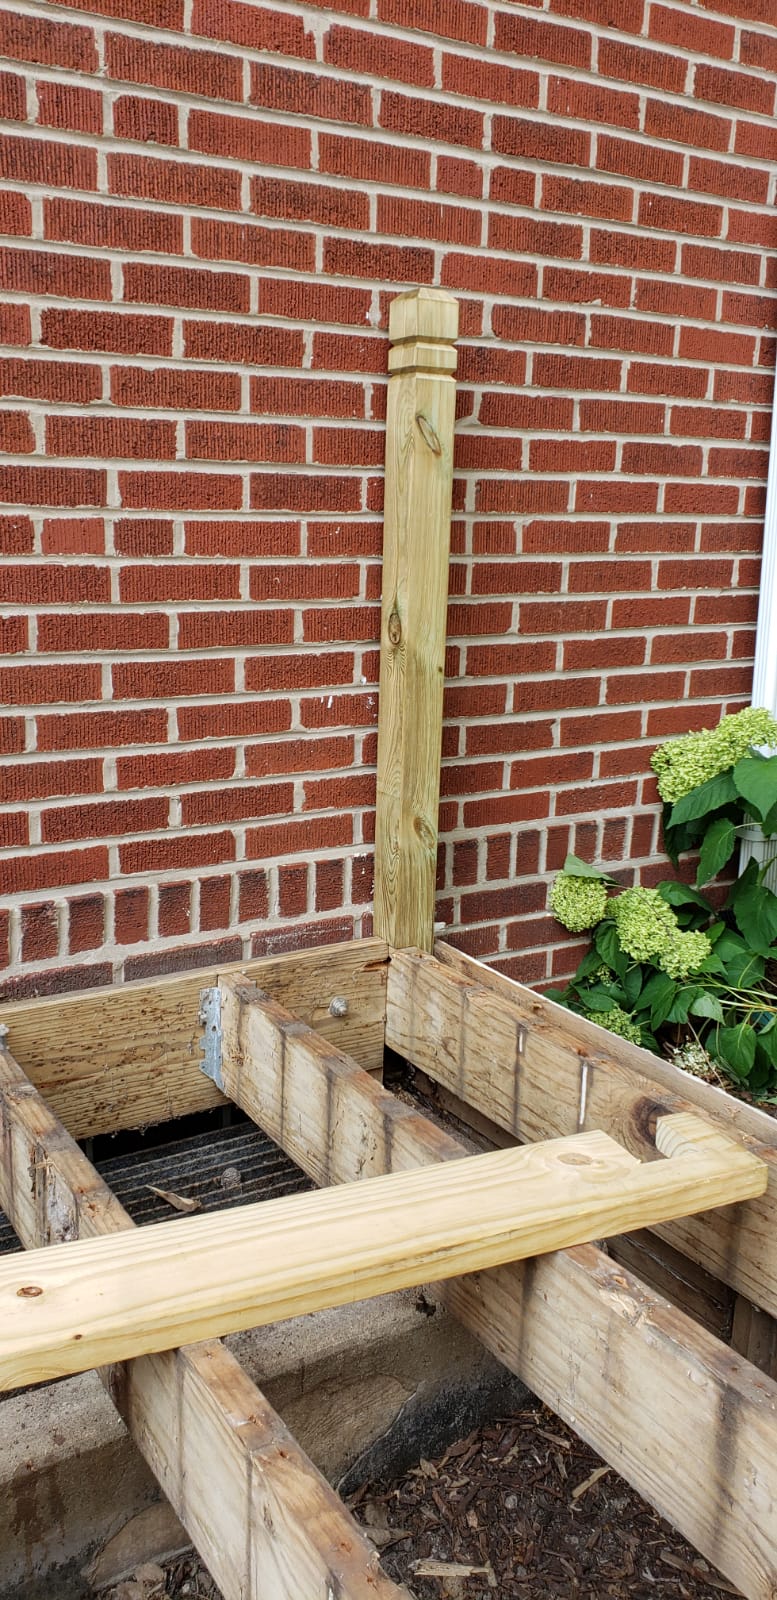
I needed to replace a couple of support post that were rotting at the bottom. BUT, also, all the posts are painted white. So I knew, if I only replaced 2 of the 5, then I would spend a solid day of sanding down the remaining 3 posts. I would need to sand them down to the bare wood so I could prime and paint them to match the new support posts. Also, the posts had a more traditional feel and I wanted to update that look with something unique and more me, while keeping with the integrity of the colonial home. I found square posts with a modern twist to the top design at Lowe’s.
Step Three: Replace Decking (floor boards)
I was able to purchase floor boards at almost the exact size and length of the pre-existing, so replacing the floor is easier than expected. Also, I did not have any crazy angles or design, I kept it simple.
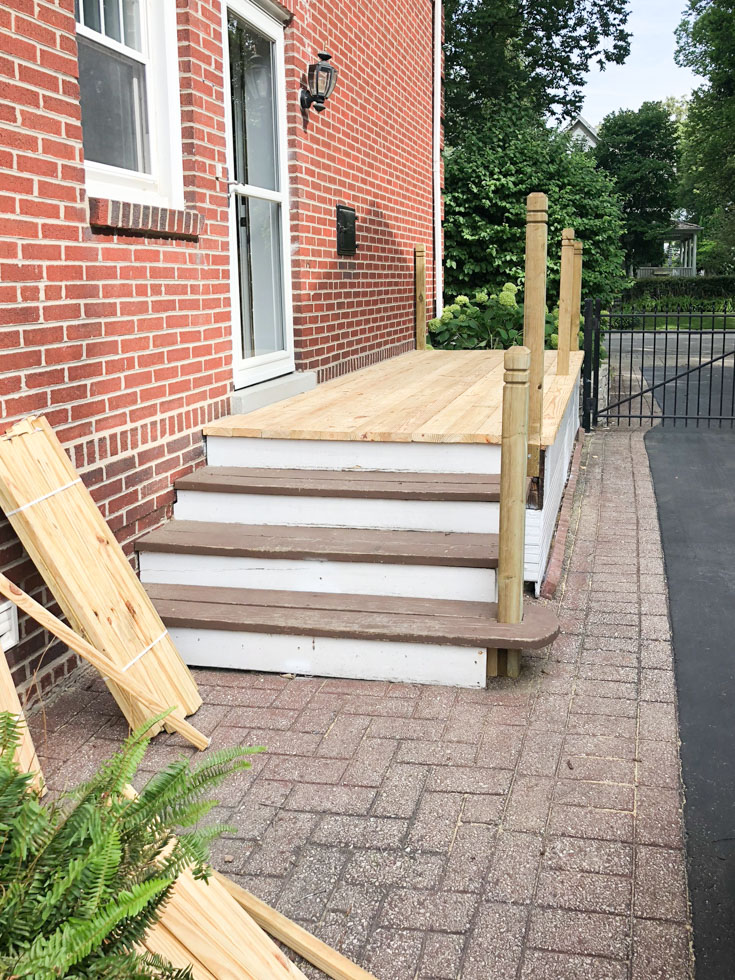
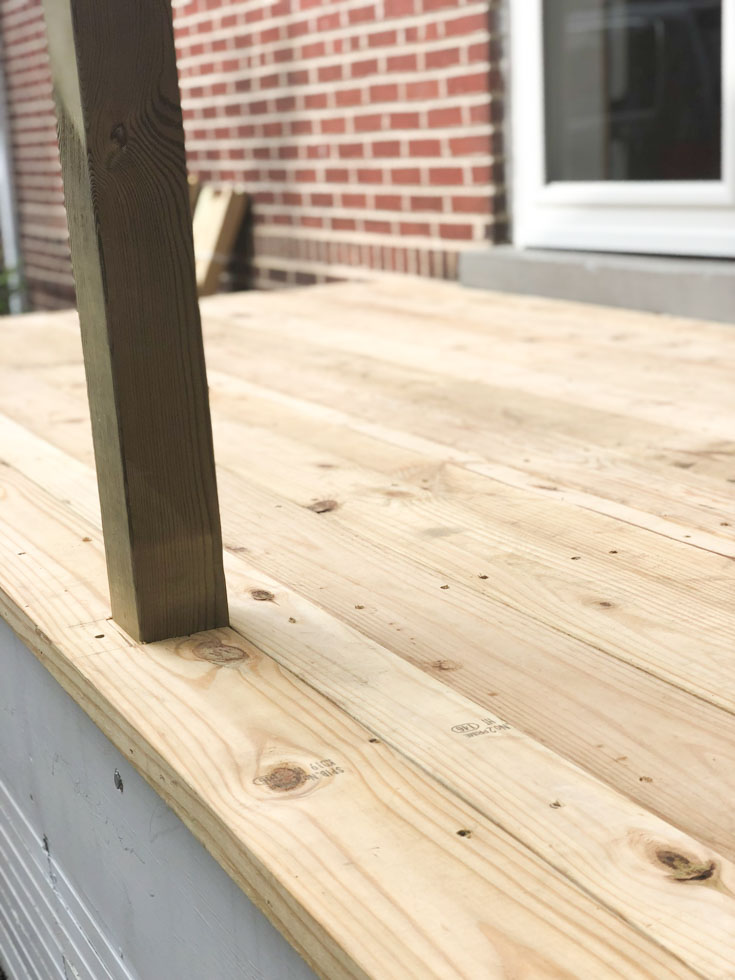
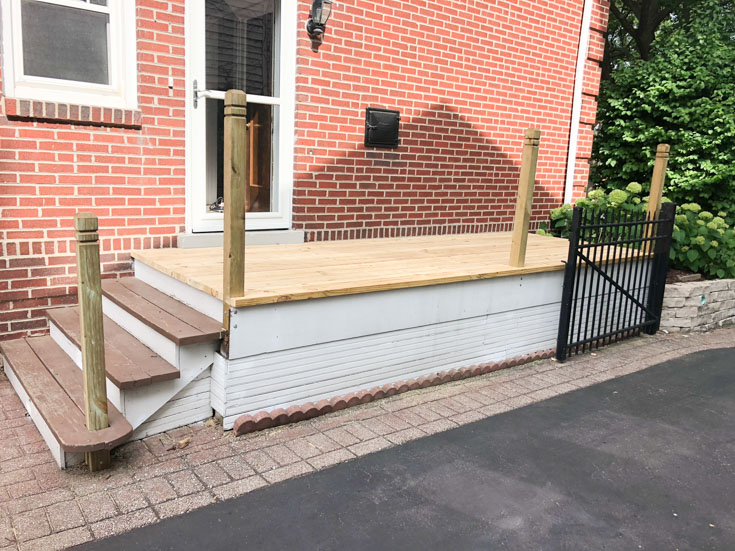
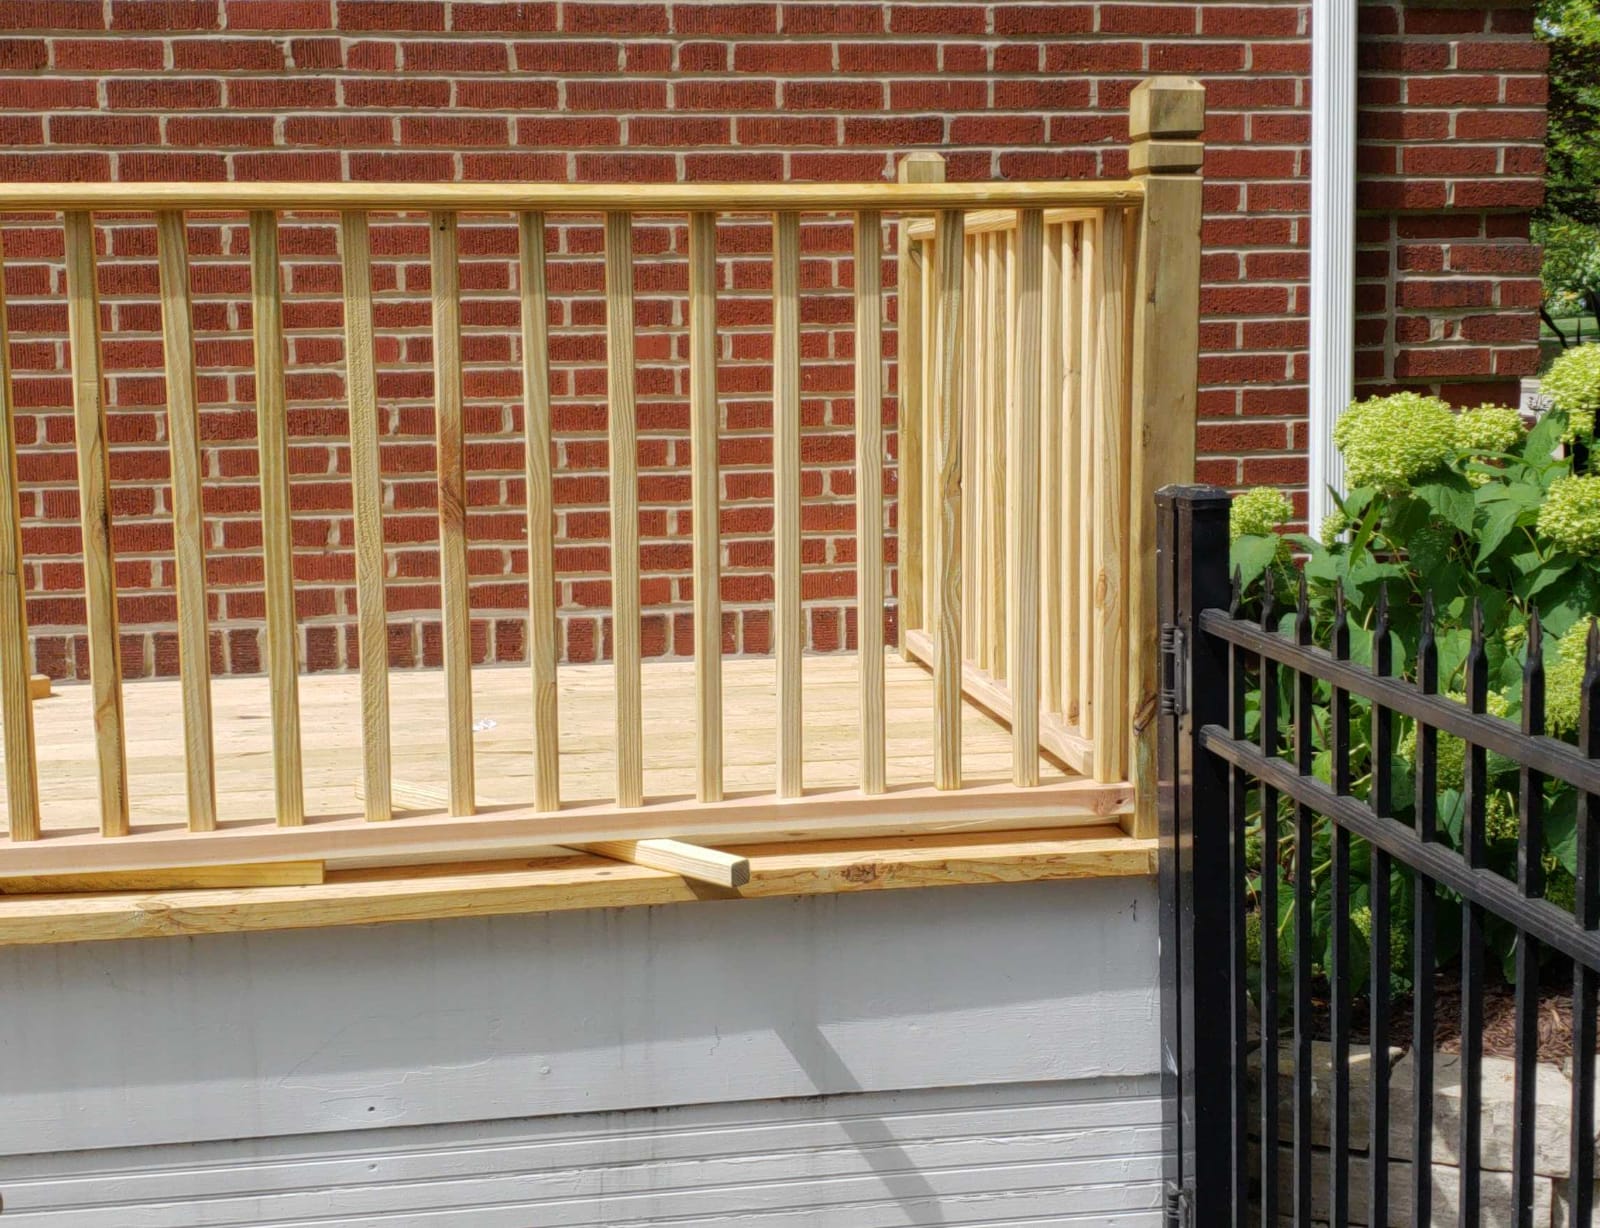
Step Four: Bottom Rail and Balusters
Since I wanted to update the look of the deck I opted for square 2×2 balusters. The design went better with the support posts and gave the exterior of my home an updated look.
You want to nail the bottom of the deck rail to the baluster and then attach the top handrail. I LOVE the handrail from Lowe’s, makes installation easier because it has the indented cut-out’s for your balusters. Just set into place and for extra security use a nail gun to secure.
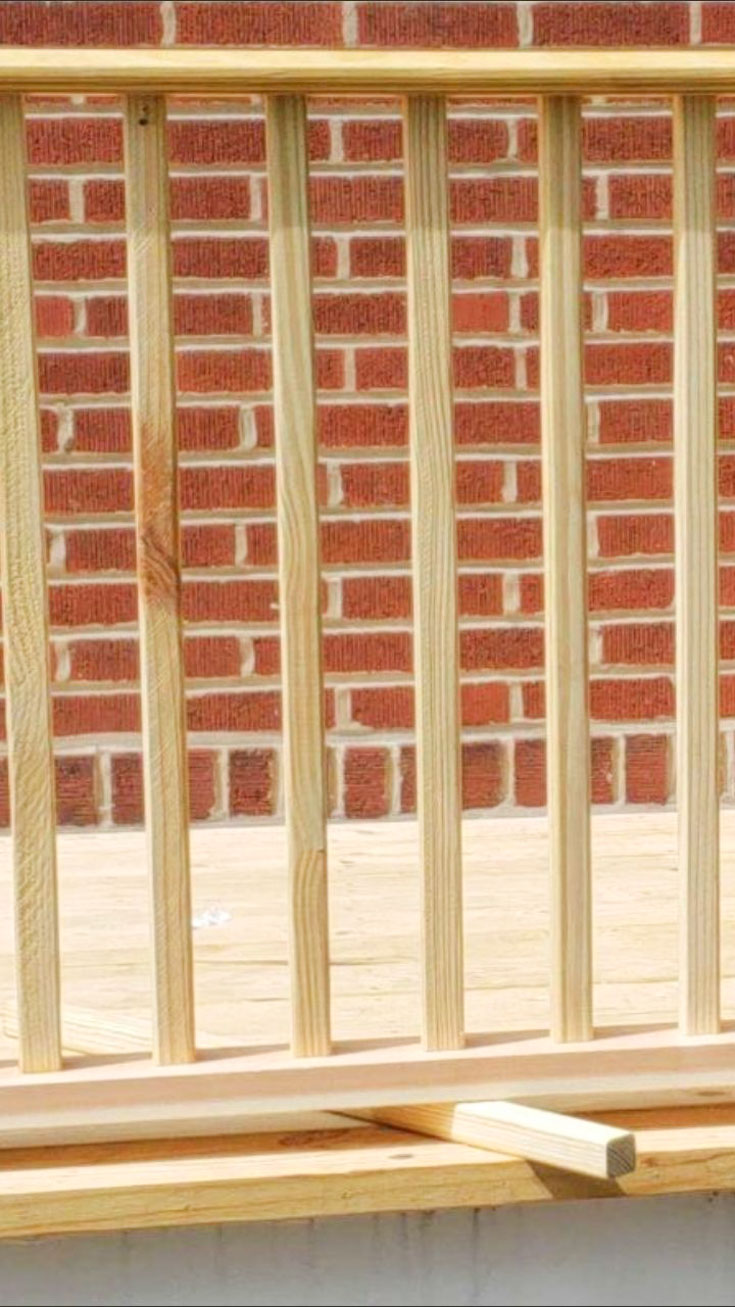
Step Five: Sand pre-existing
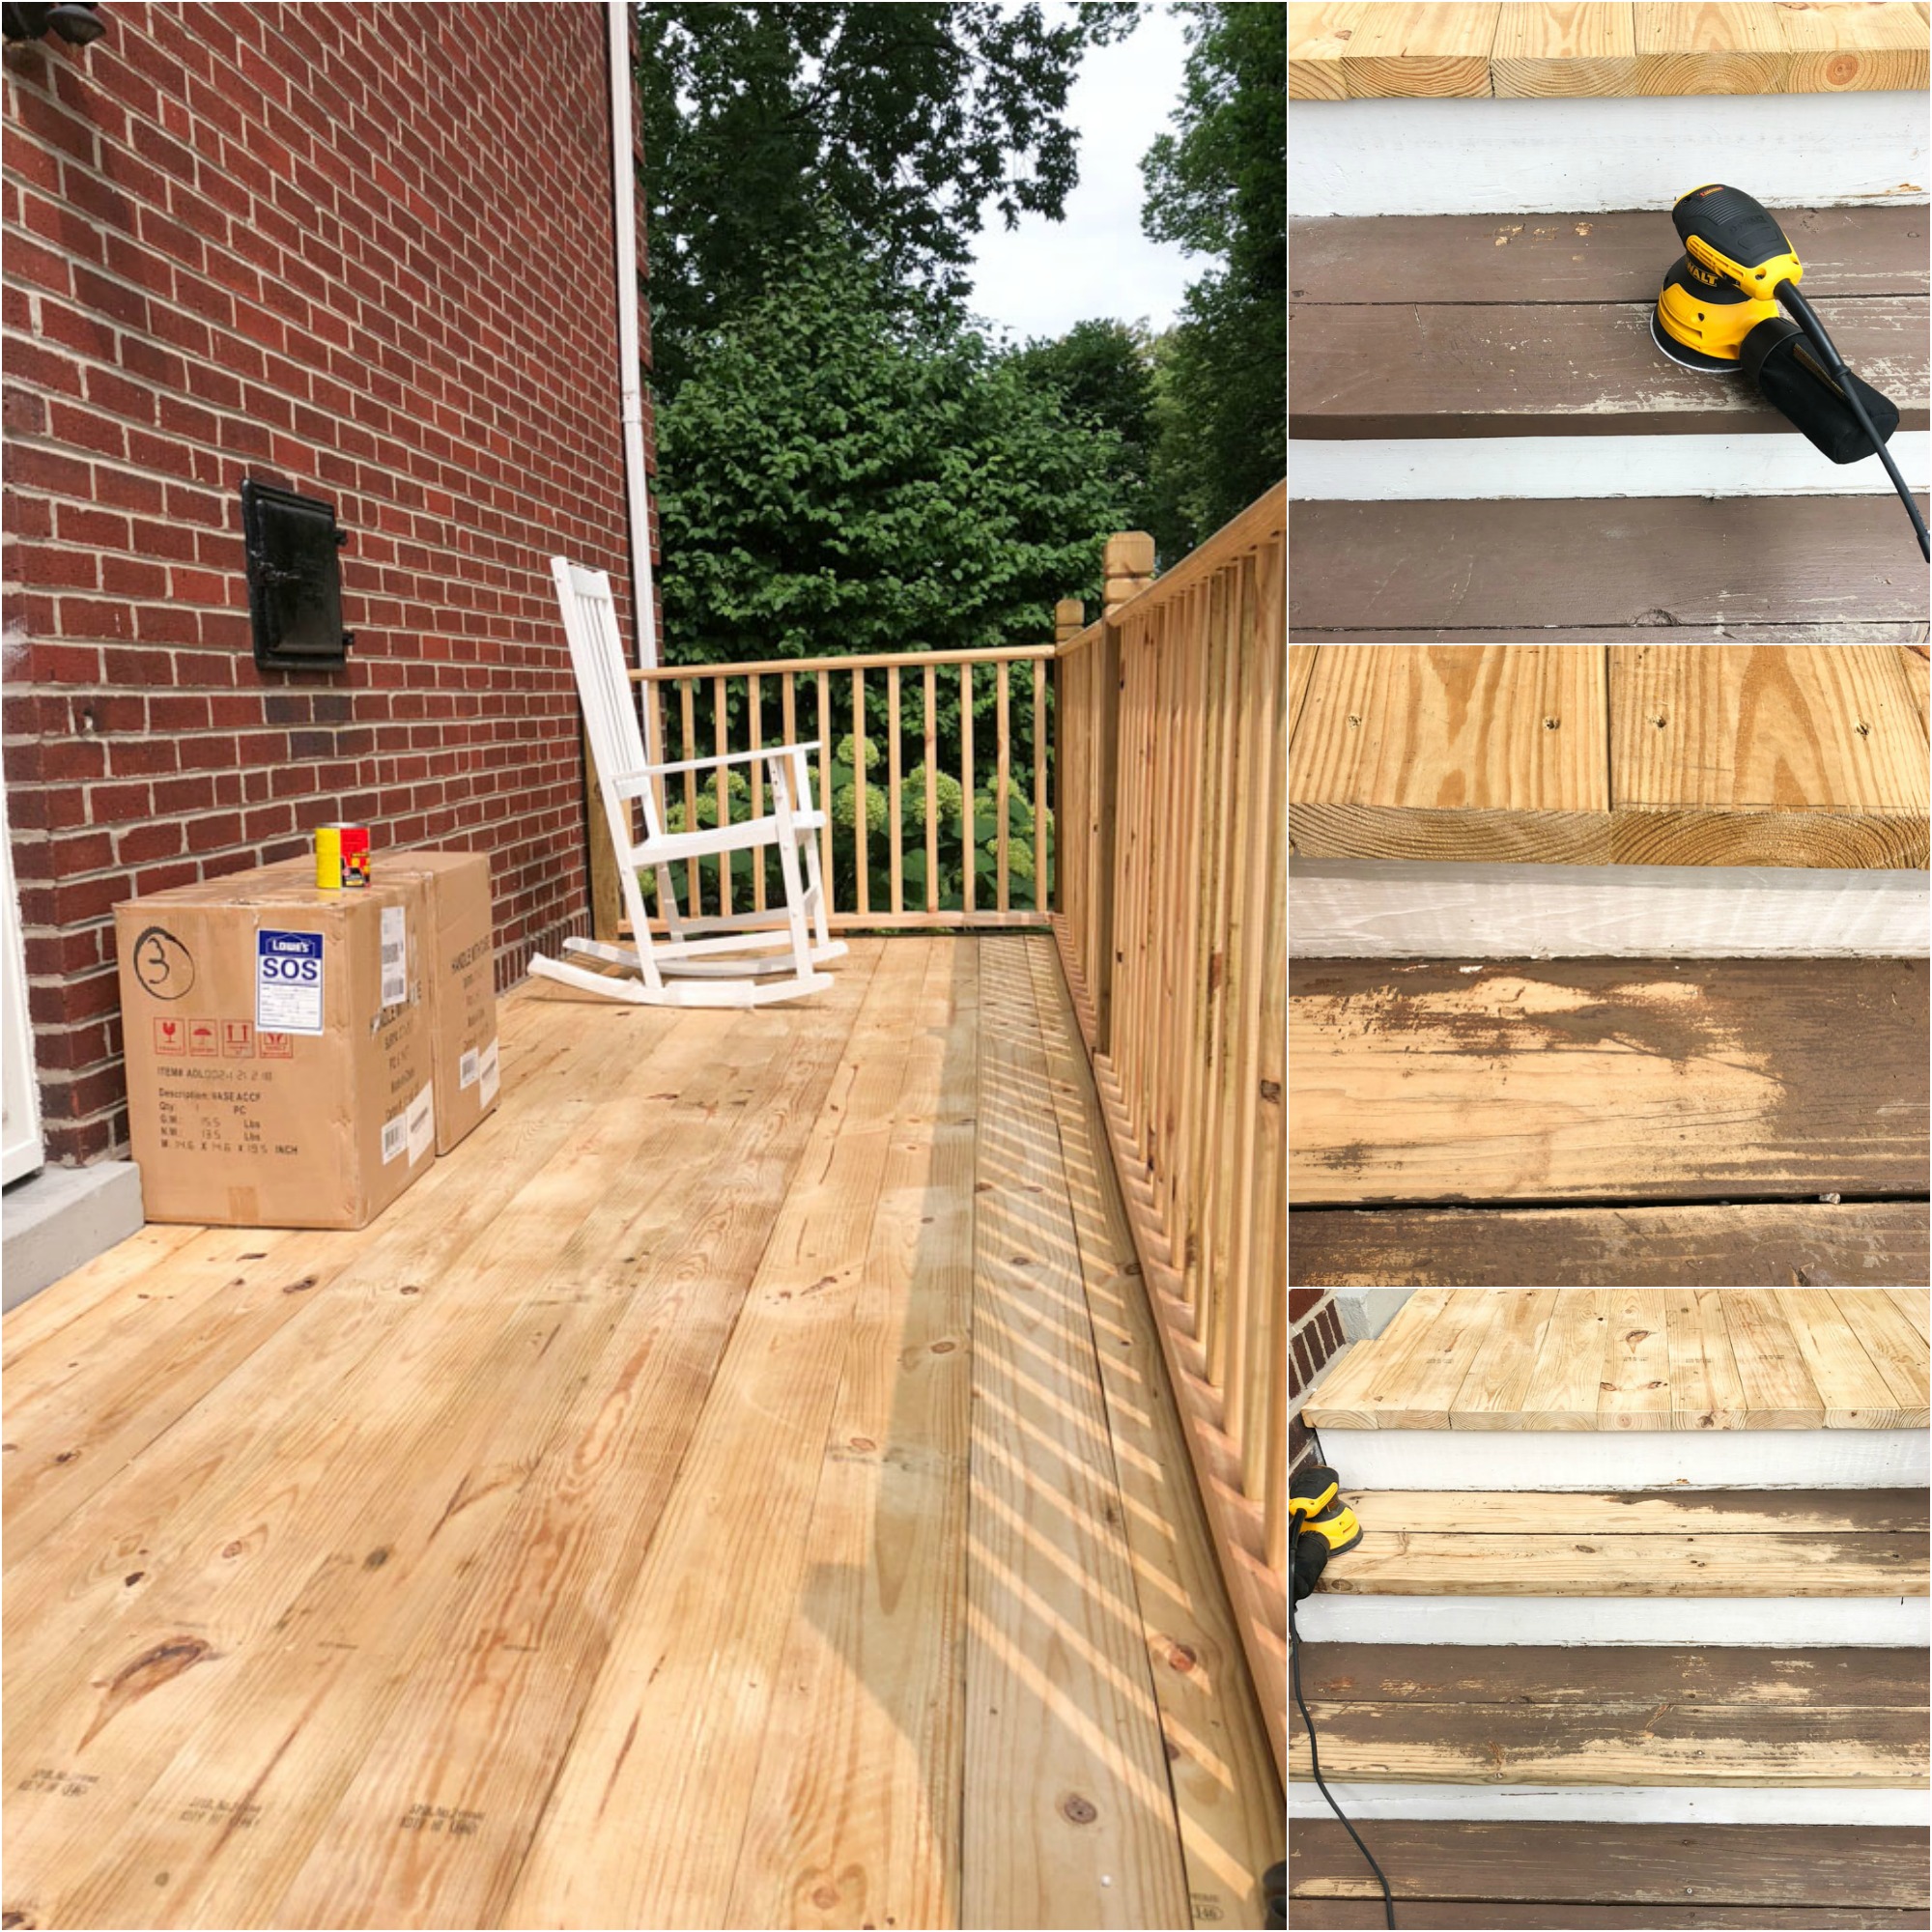
So, because not every piece of wood was replaced, I needed to sand down all the pre-existing wood so it can match when I stain and paint the deck. It takes a little time but, well worth the effort, because now, when I go to stain a new color it will all match perfectly.
AND THAT BRINGS ME TO THE BIGGEST OVERSIGHT / LEARNING CURVE WHEN UPDATING YOUR DECK!!
I was at Lowe’s Home Improvement purchasing all my lumber, you know, excited and ready to roll. Everyone there so helpful and making sure I had all the right pieces. I left my large lumber haul by checkout and told them I would be right back. They watched me walk over to get my paint and stain supplies. When I returned they looked at me and said;
“You know, you cannot paint or stain this wood for 6-8 weeks…minimum.”
My jaw falls to the floor
“What? NO WAY?!?!?!?!” In front of them I start googling. Ummm, they were right. I purchased pre-treated wood, which is what you want for the exterior deck. The issue is, pre-treated wood needs time to acclimate to the exterior. If I were to stain and paint it now it would simply peel off, yes, even with primer.
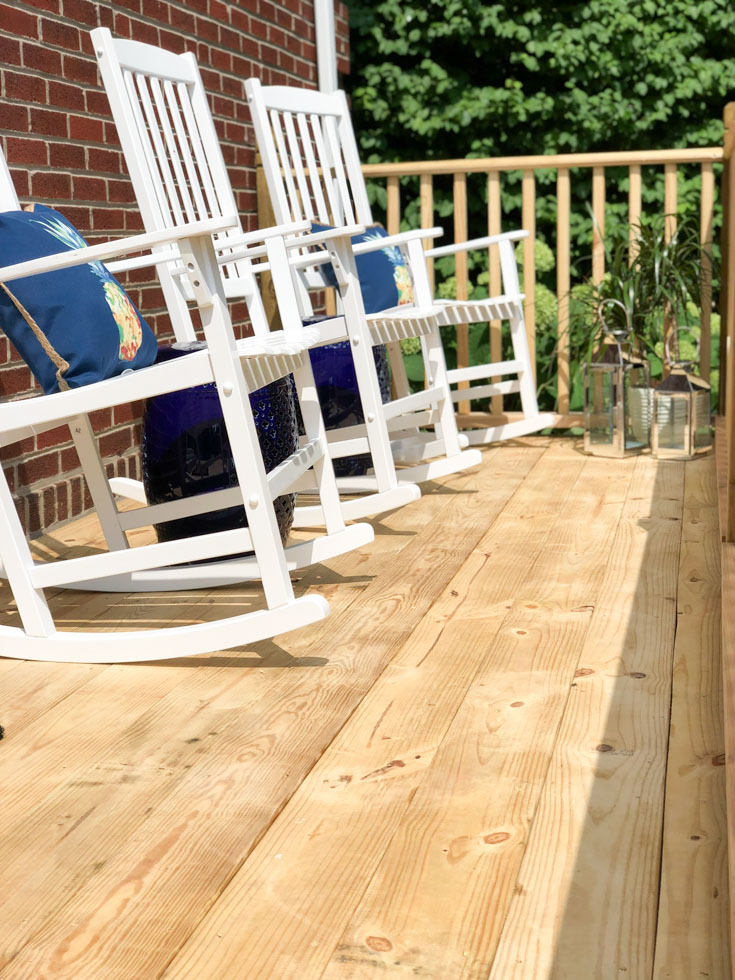
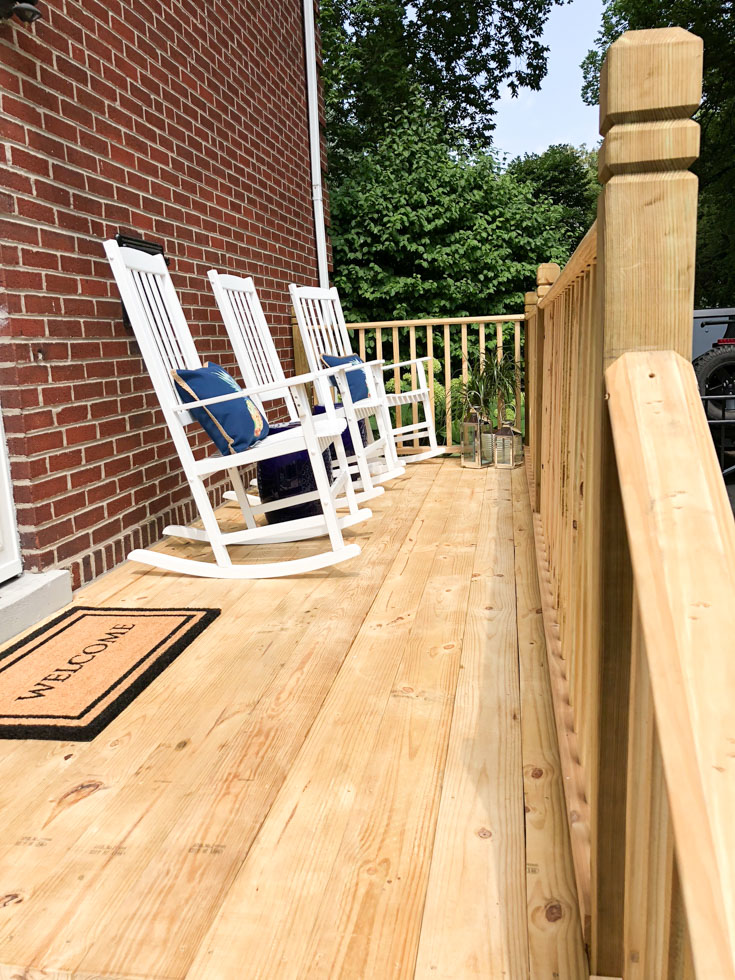
So, the deck is done BUT come back in 4 weeks (2 weeks down) and see the final reveal. In the mean time, here is a sneak peek at how it looks today cause I just couldn’t wait to put some of the new furniture on the deck.
PIN FOR LATER





Cindy Ingalls says
What a nice transformation. Too bad about having to wait to paint, but at least the big project is done and you enjoy your deck again.
Cecilia Cannon says
AHHH!, you read to the bottom. LOL. Yes, have to wait but at least we can enjoy it a little bit for now.
Tami says
Our back deck is in poor shape. I have been wanting to do something about it but needed some direction. This will help.
Cecilia Cannon says
YEAH TAMI, let me know if you have any questions.
Lisa Rios says
It looks beautiful! I’ve never been good at building or redesigning things, but even I can tell you did an awesome job! I hope you enjoy your dazzling deck.
Cecilia Cannon says
Thank you so much Lisa!