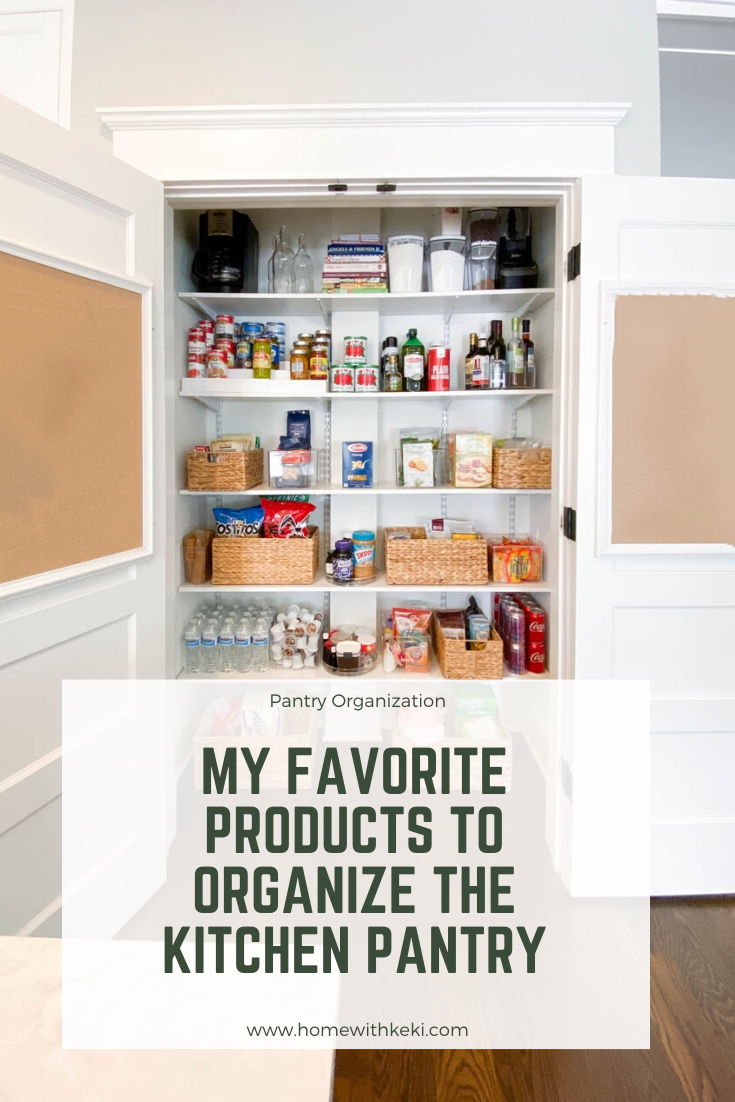
The Best Products For Pantry Organization post is sponsored by The Container Store, but as always all opinions and images are 100% my own. Thank you for supporting the brands that allow Home with Keki to create unique content and keep going!

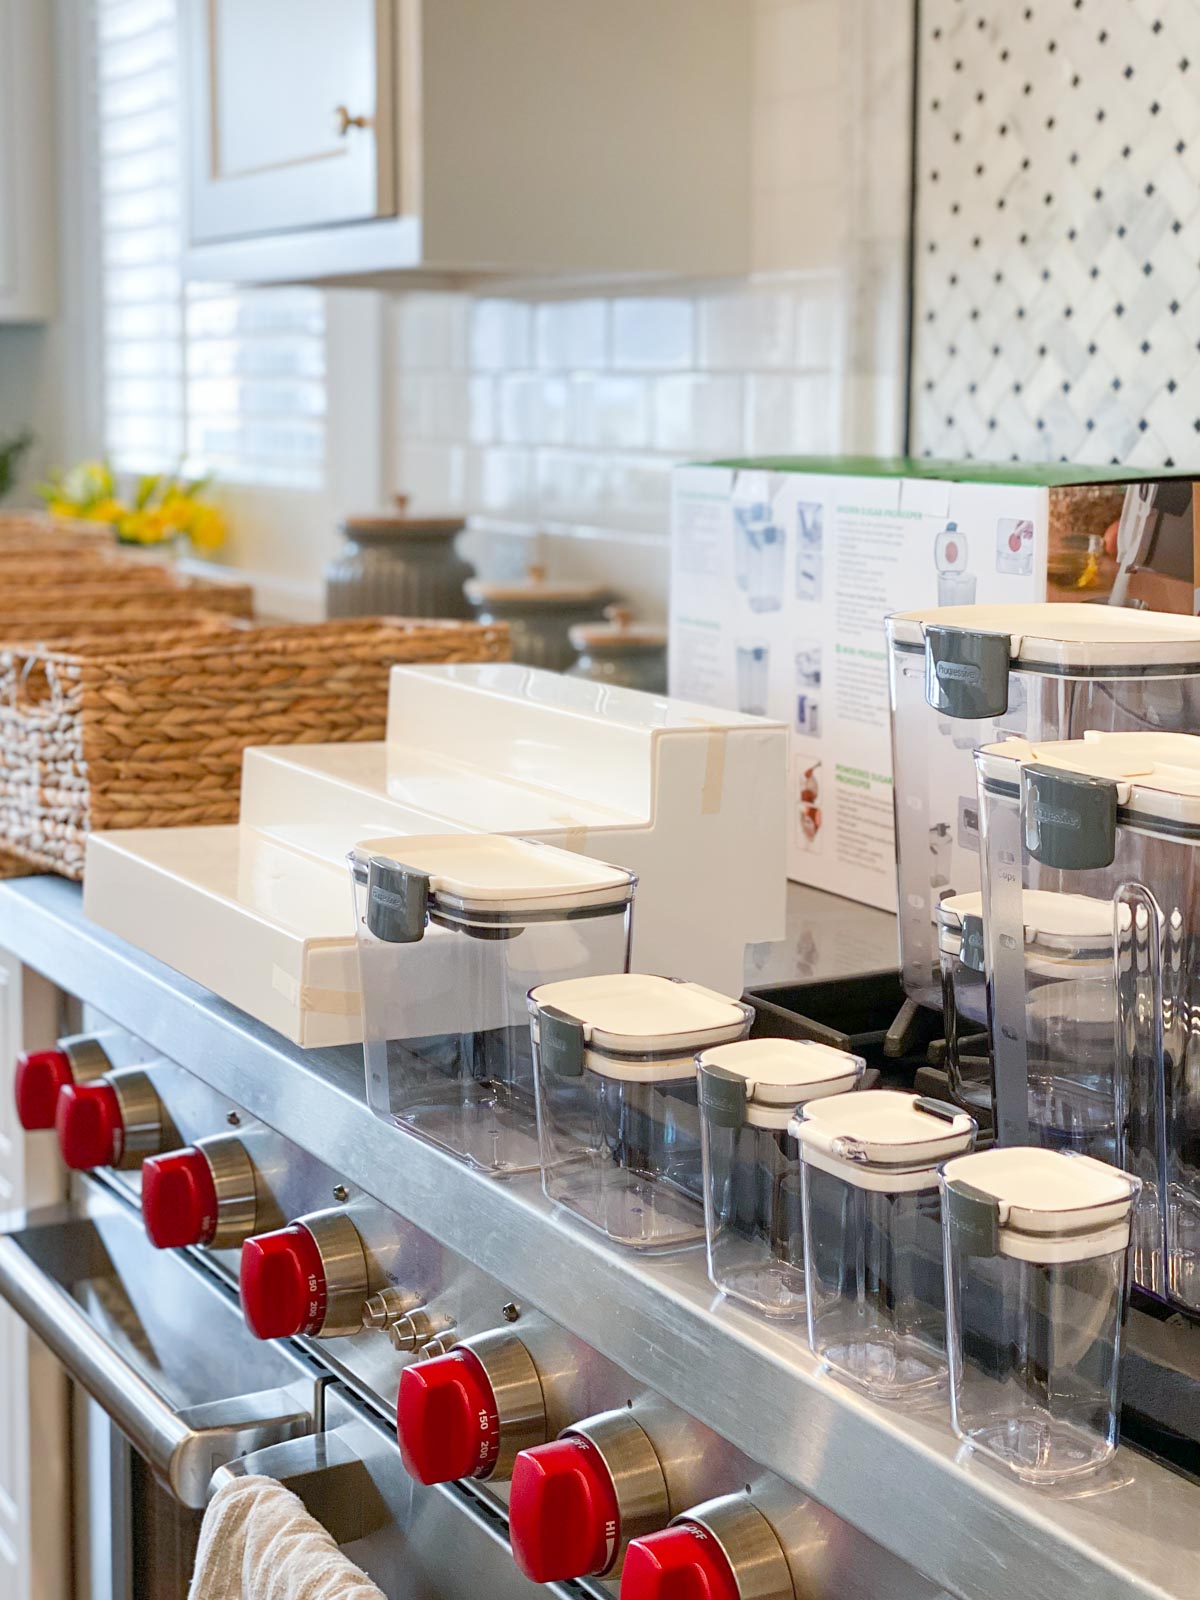
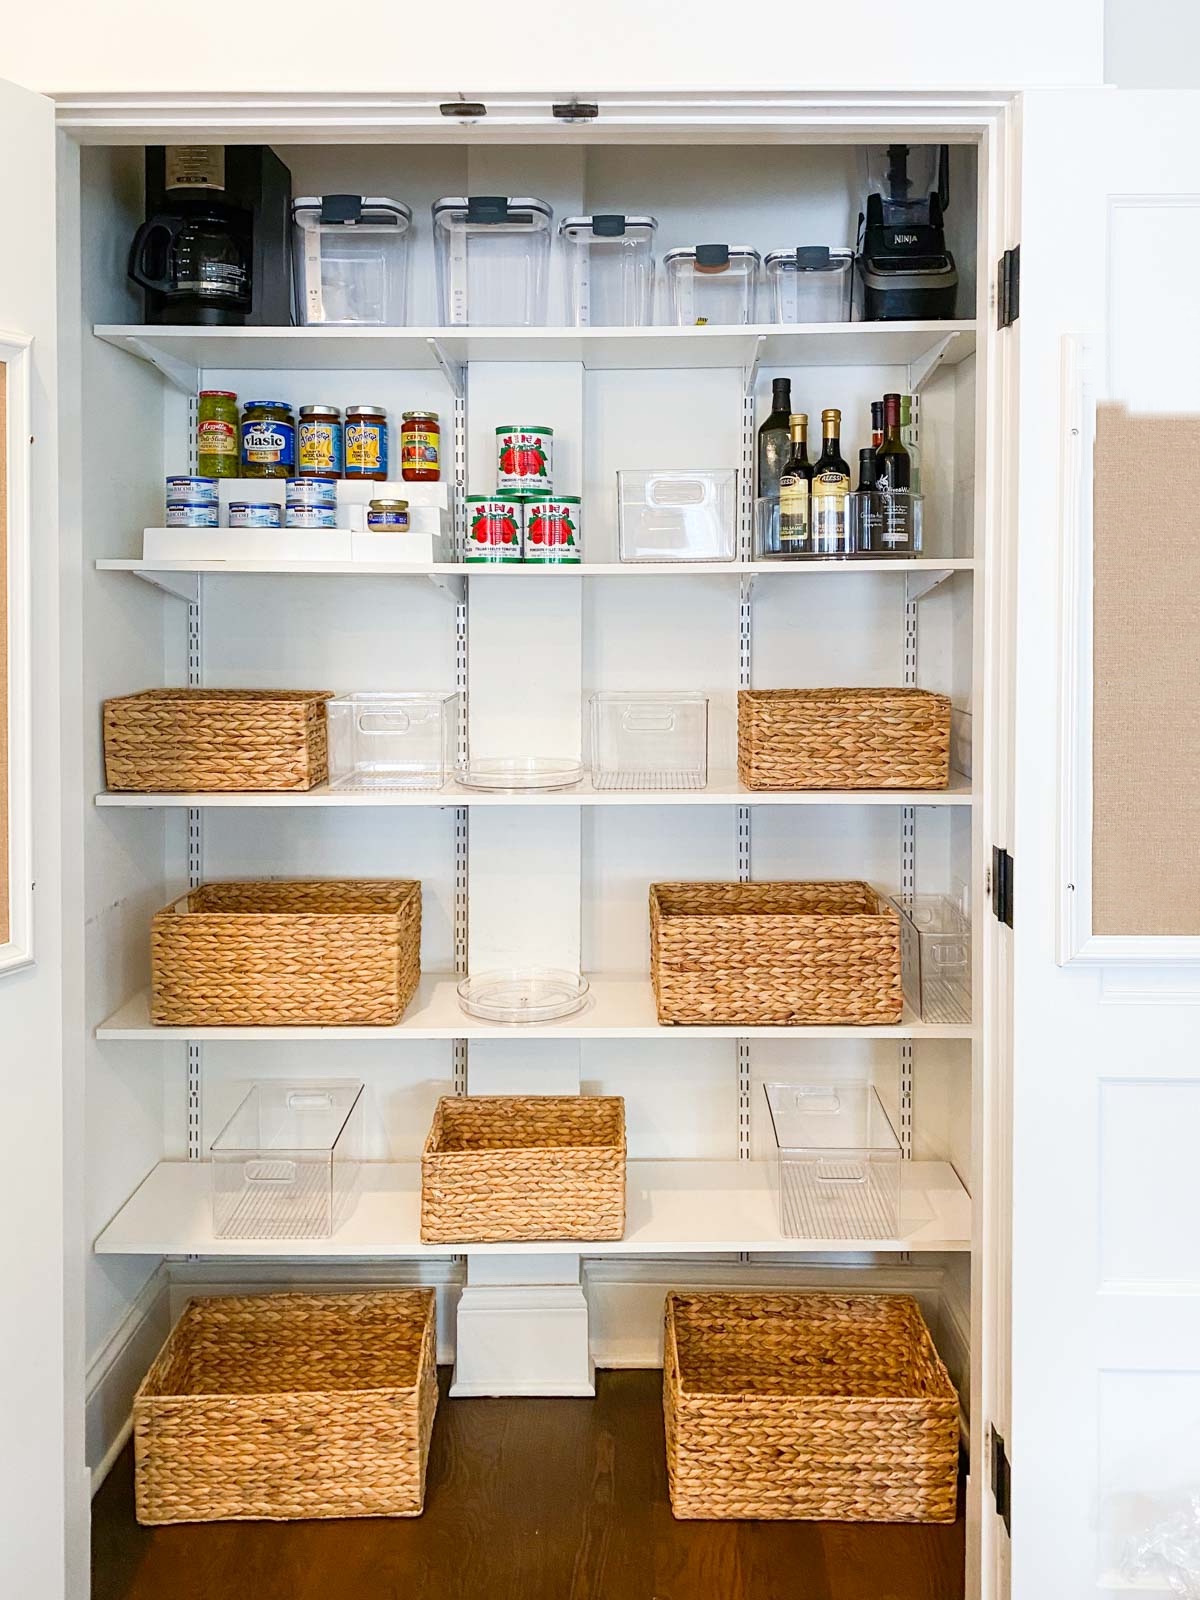
Shop The Post: Natural Hyacinth Bins // 3 Tier Shelf // Prokeeper Bakers Storage // Linus Clear Pantry Bins
Shop The Post: The Home Edit’s 9″ Lazy Susan
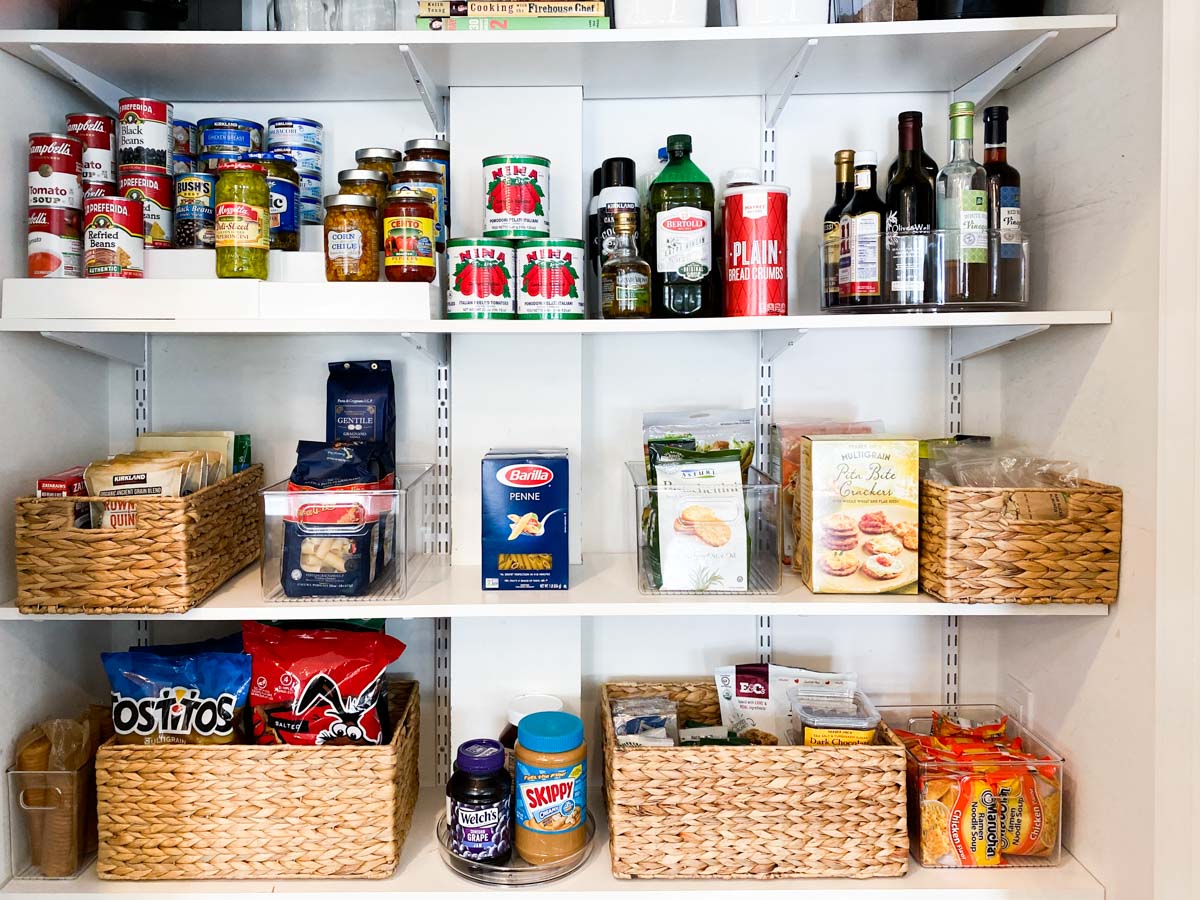
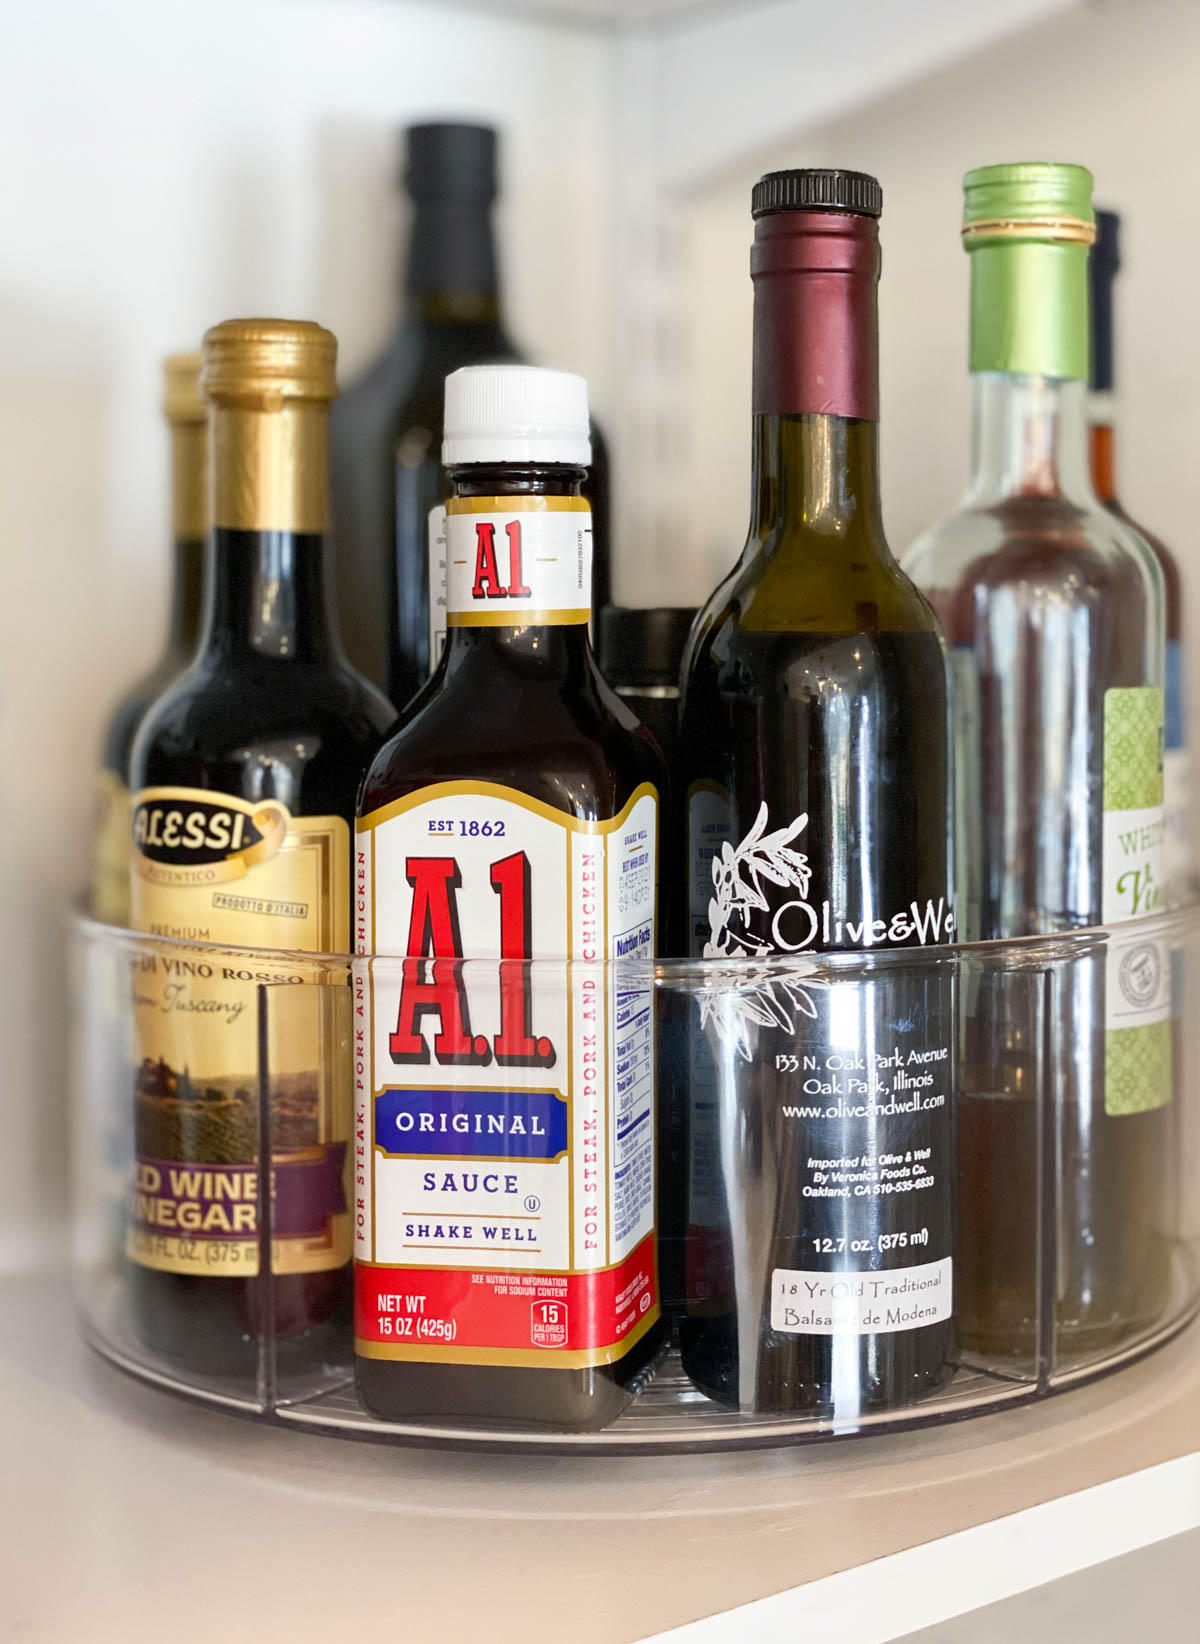
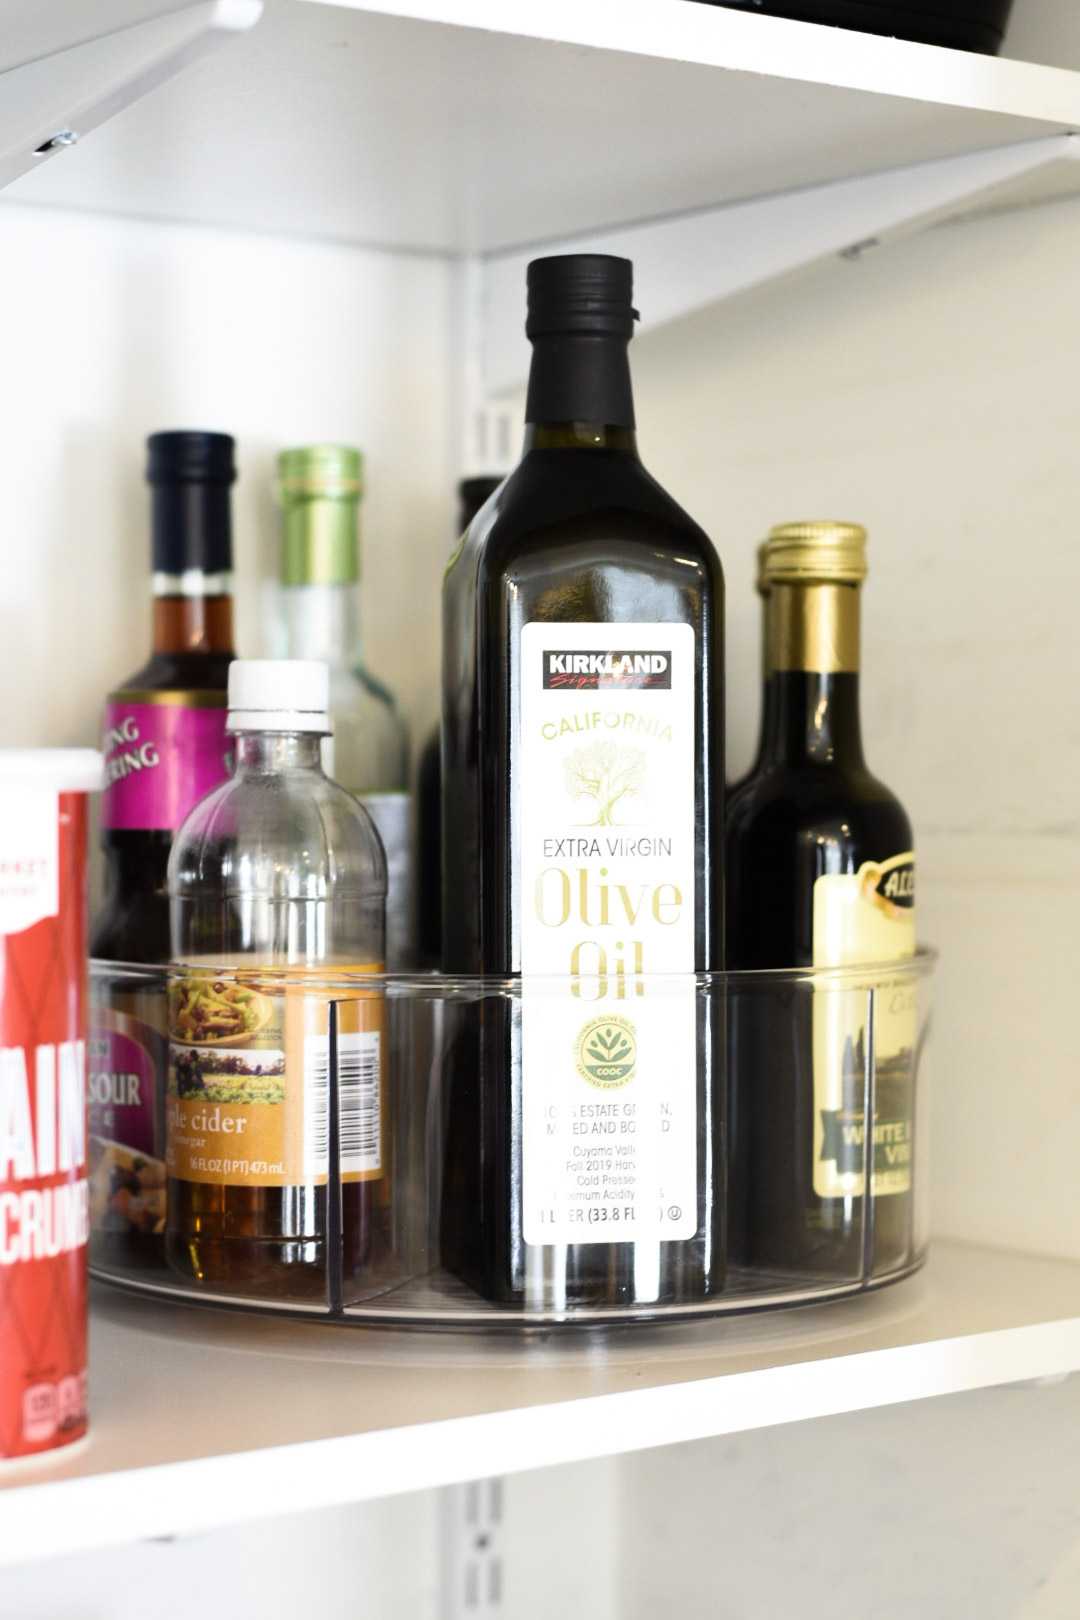
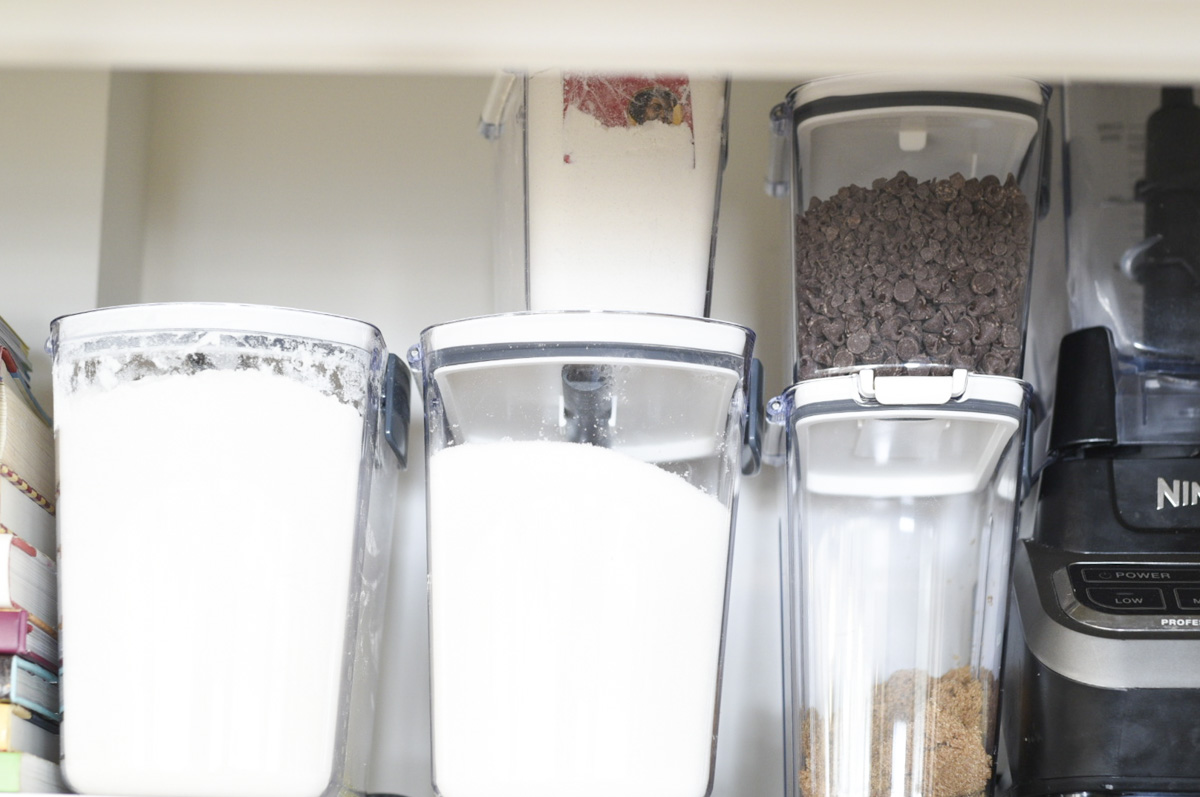
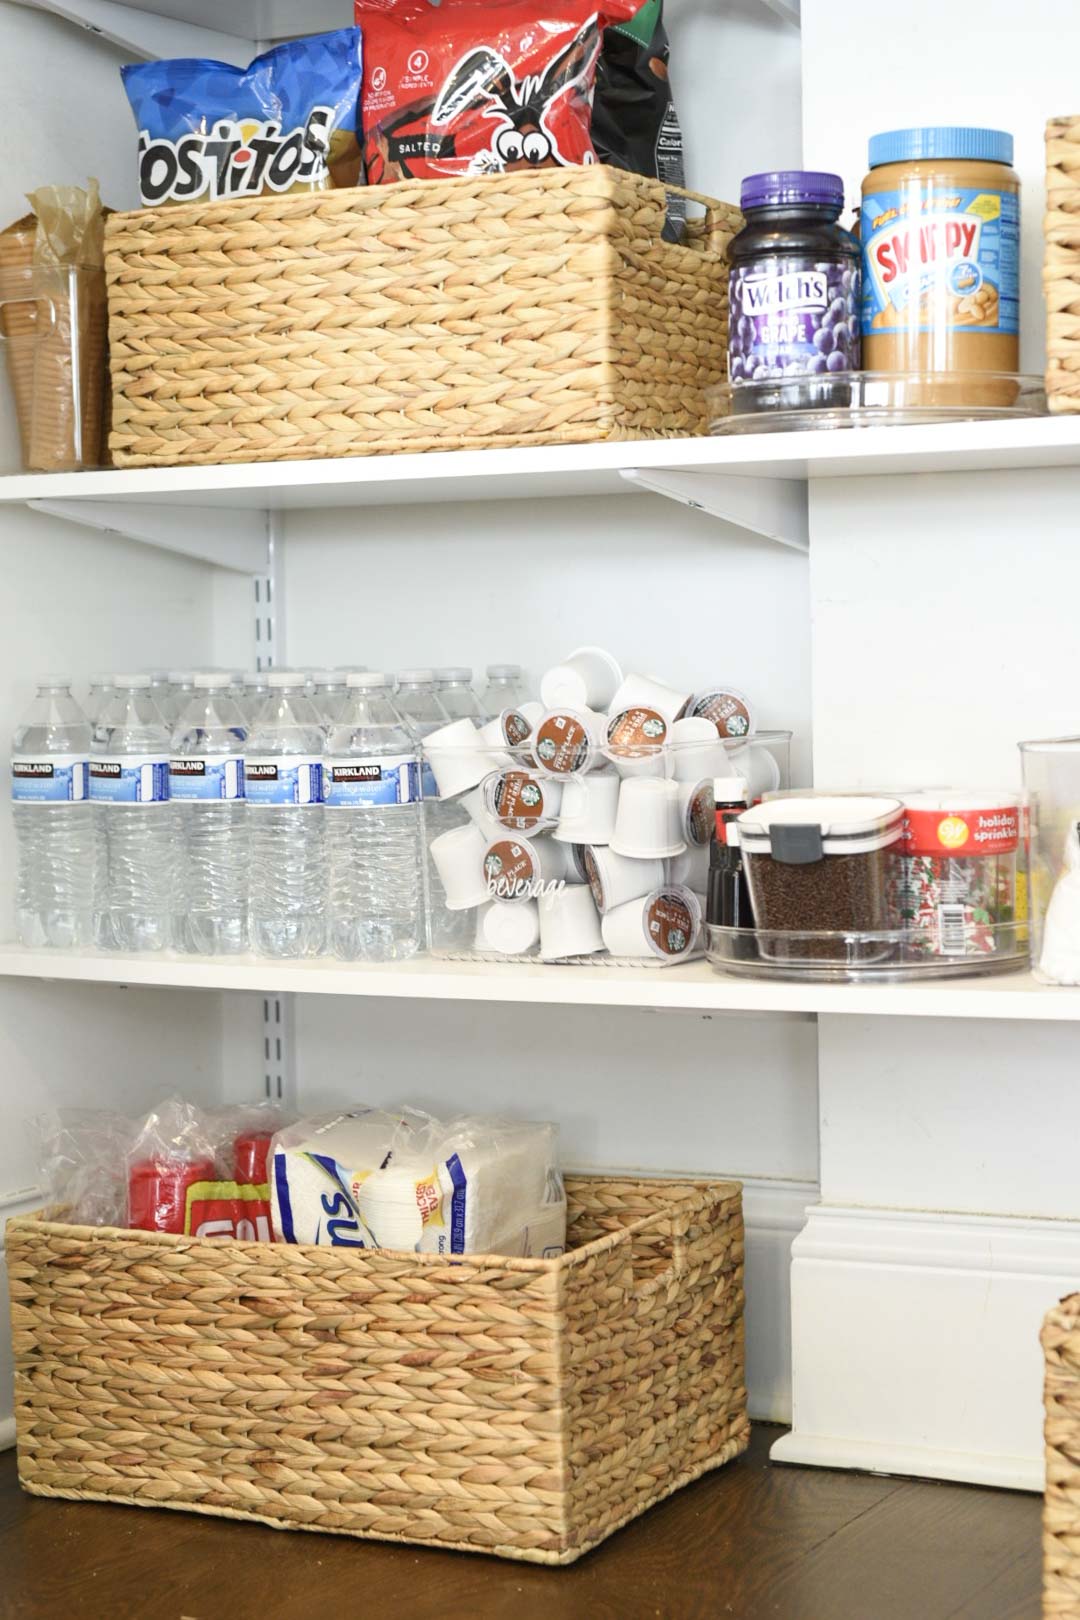
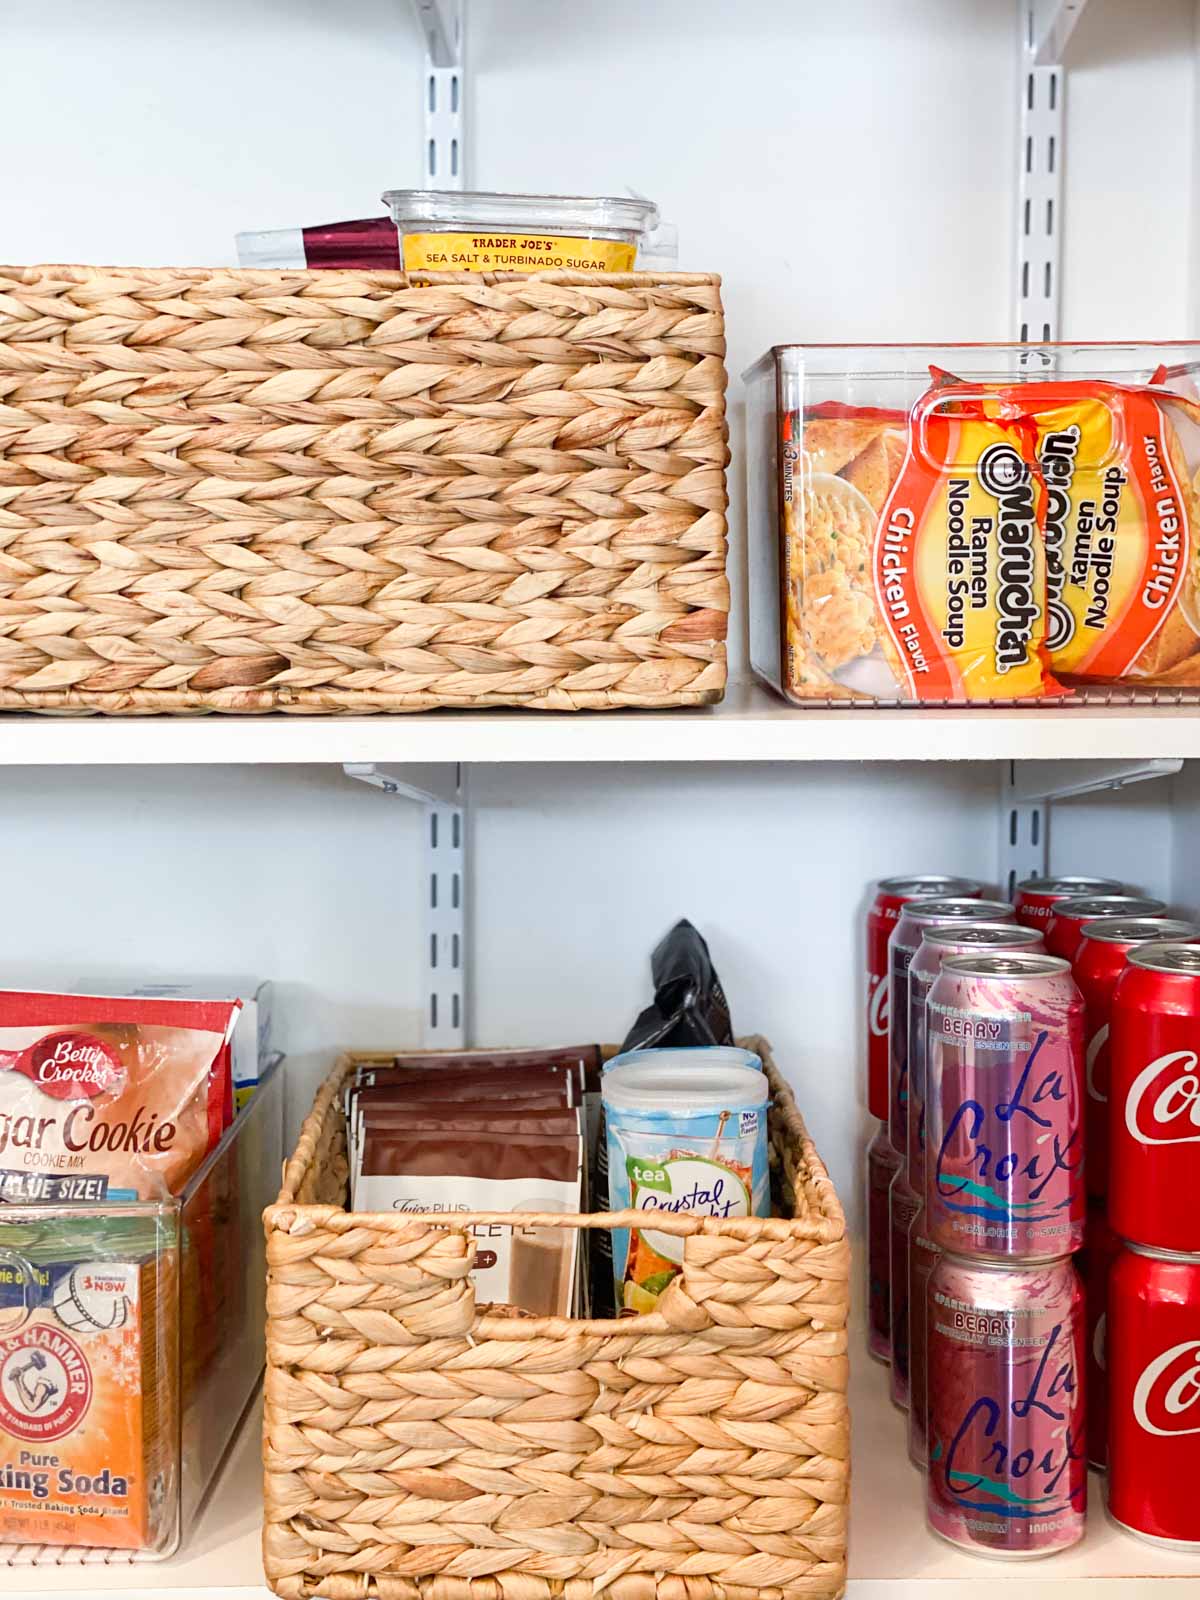
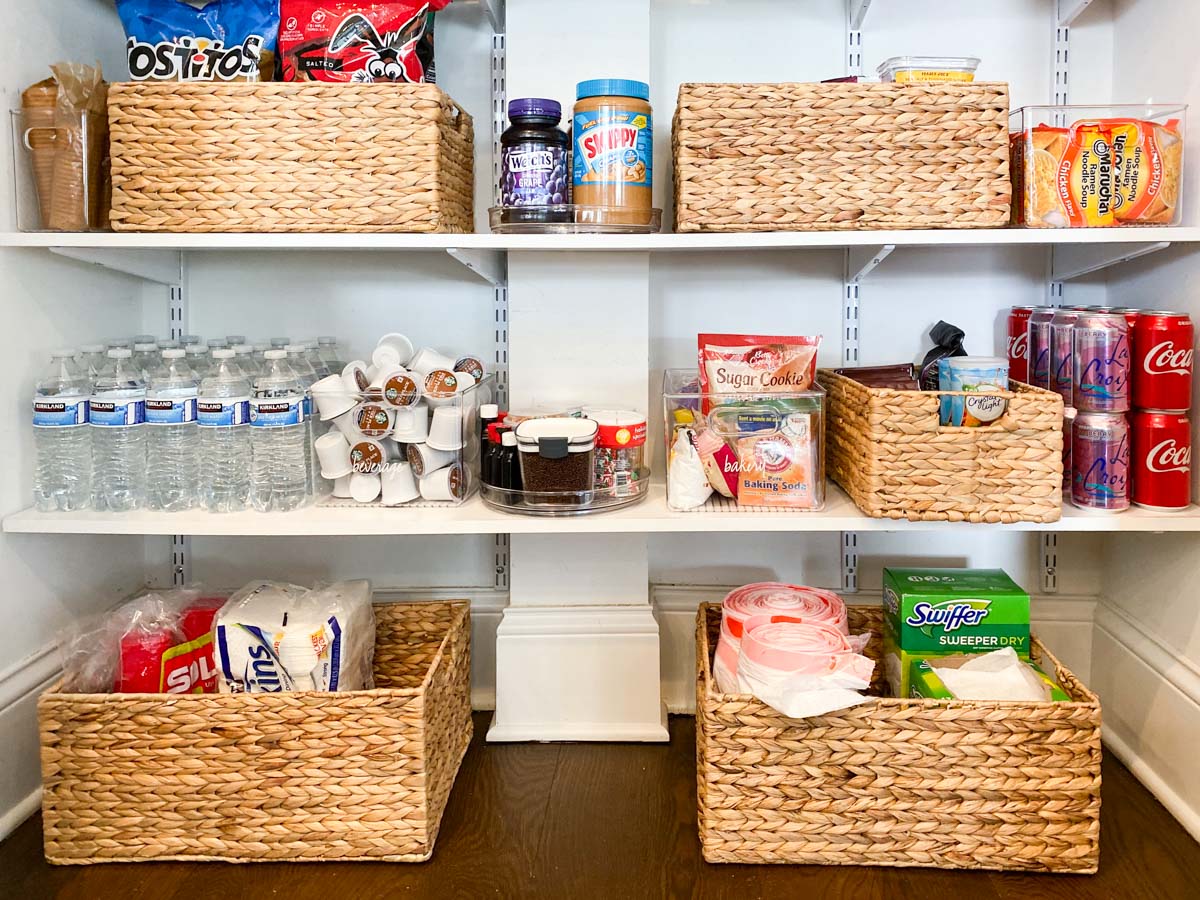
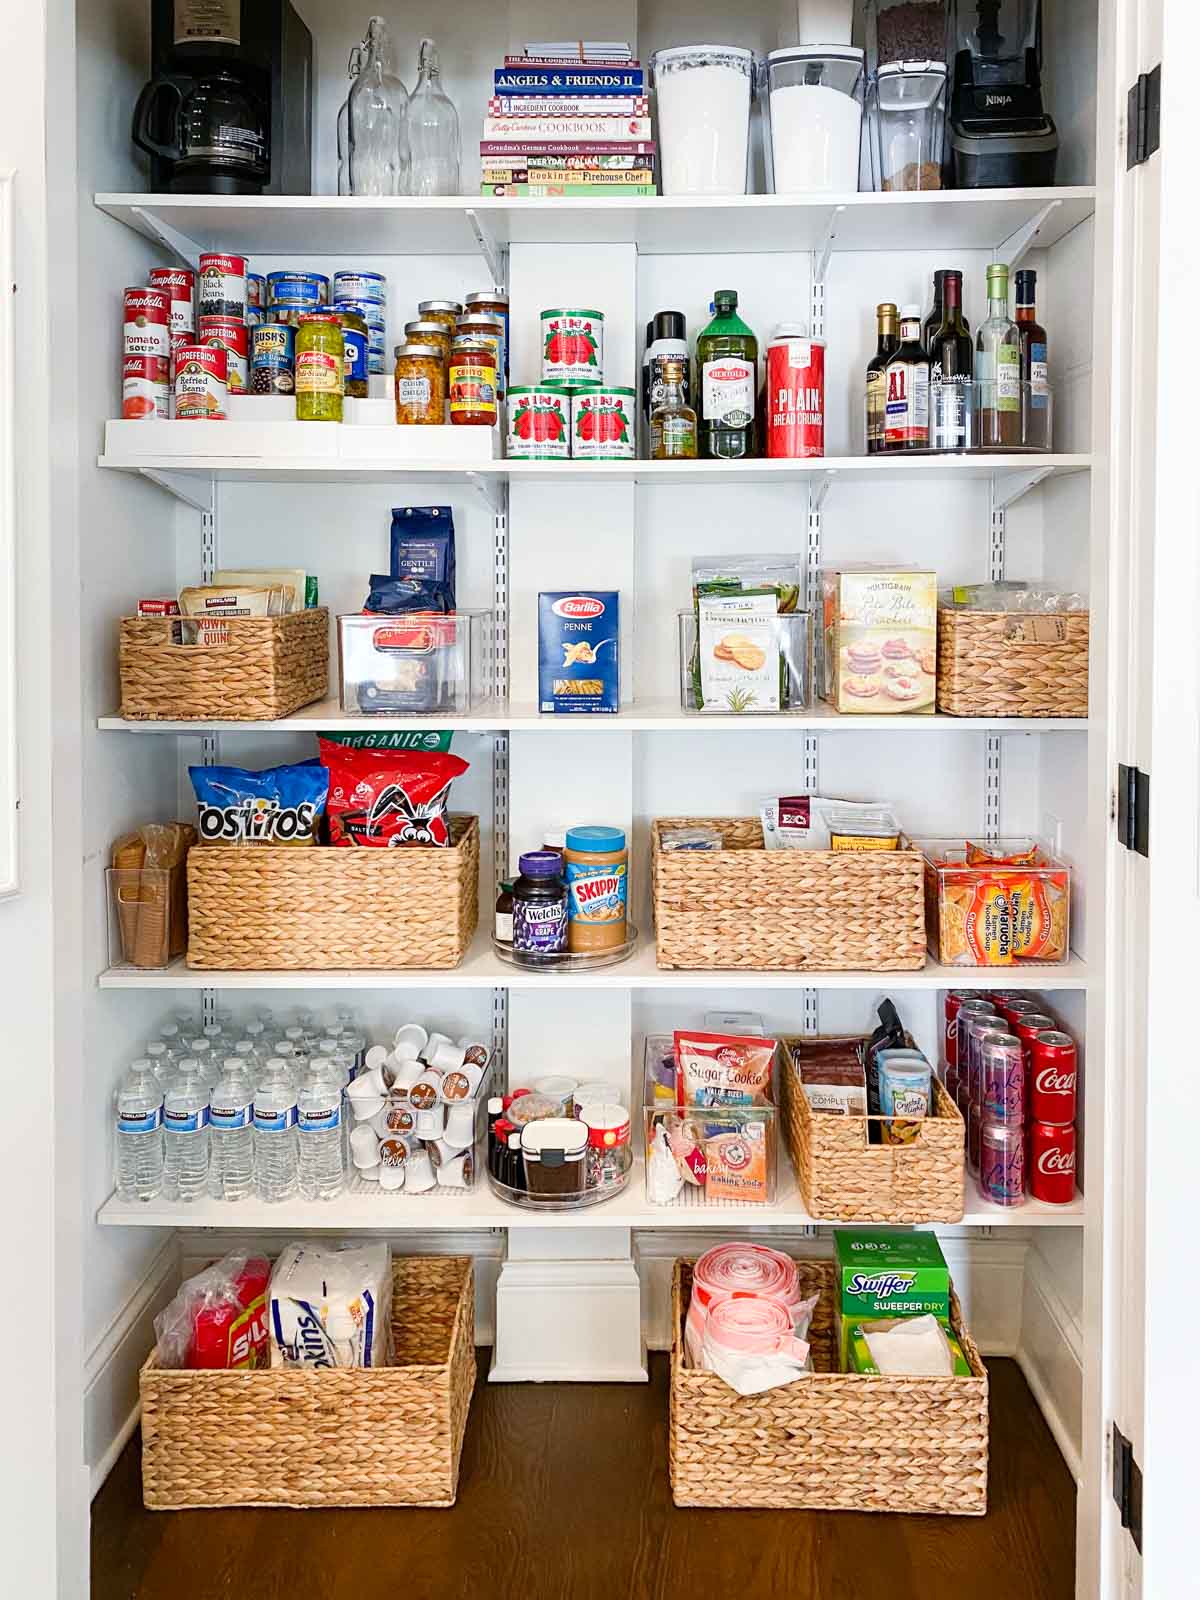
Shop The Post: Prokeeper Bakers Storage // The Home Edit 3 Tier Shelf // Linus 9″ Divided Turntable // Natural Hyacinth Bins // The Home Edit 9″ Lazy Susan // Linus Pantry Bins
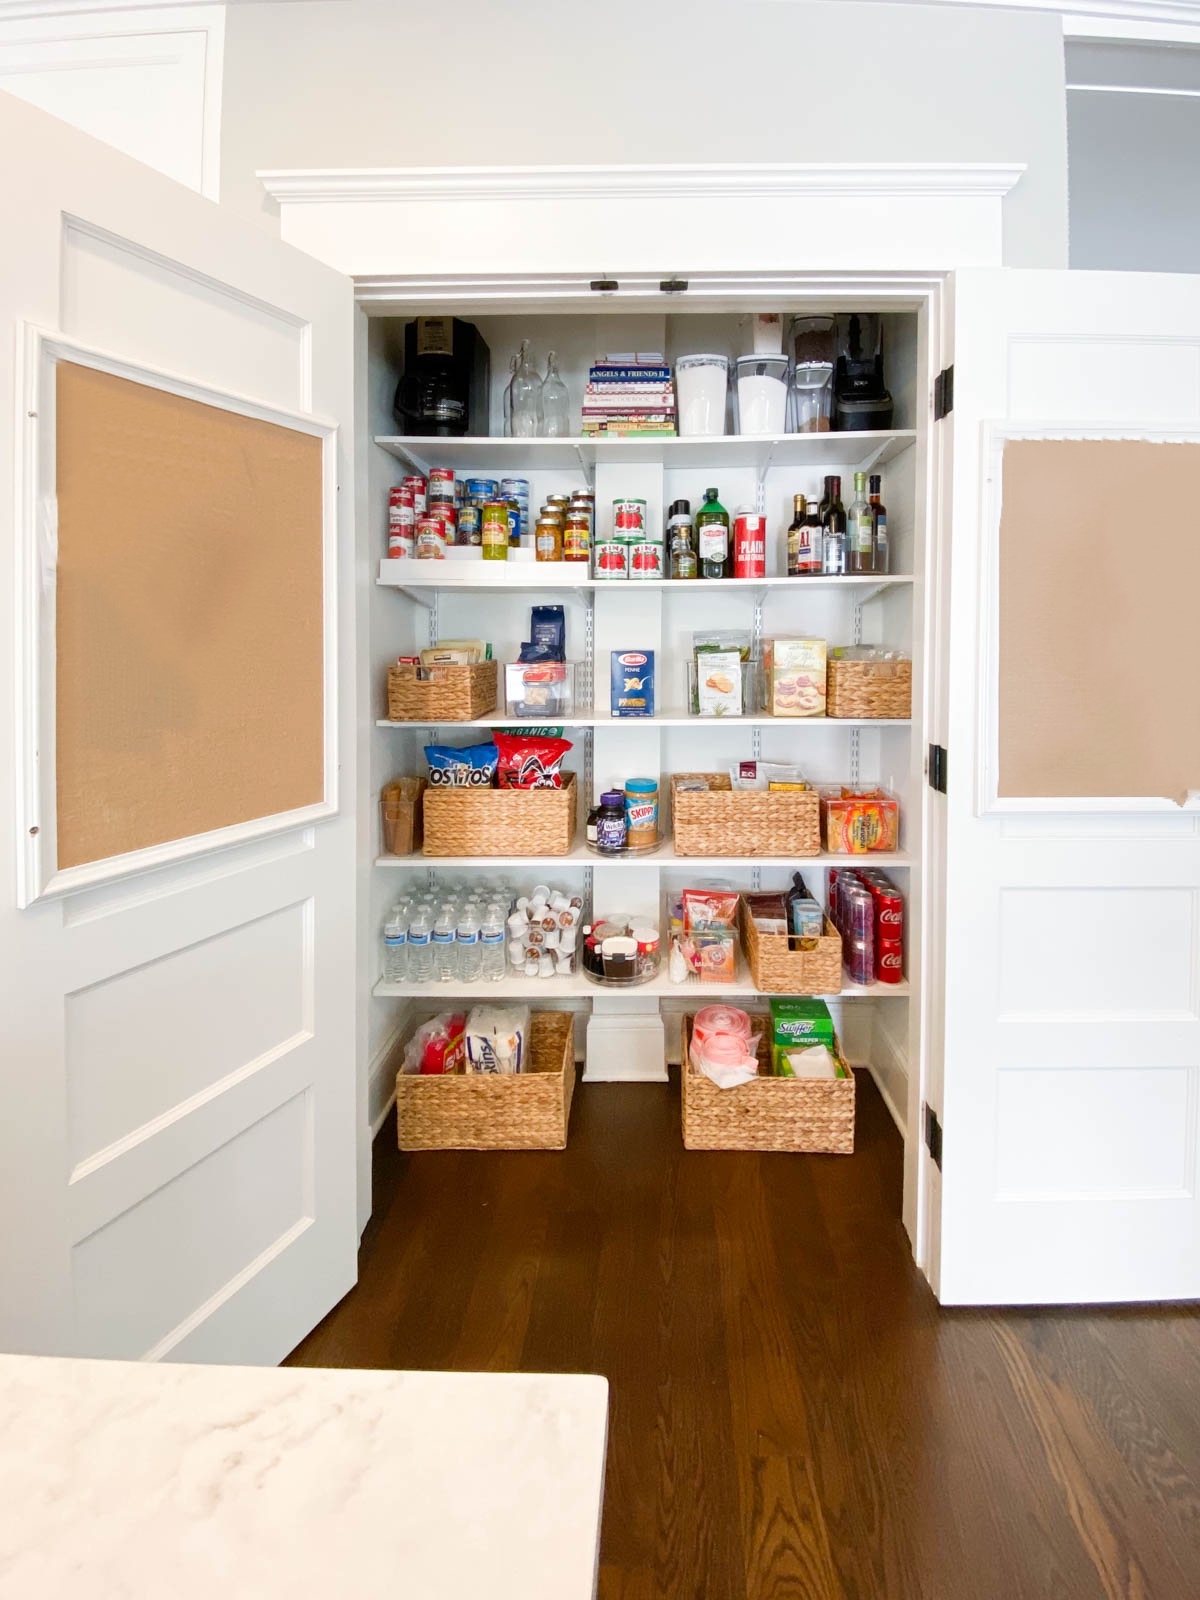
Best Products For Pantry Organization
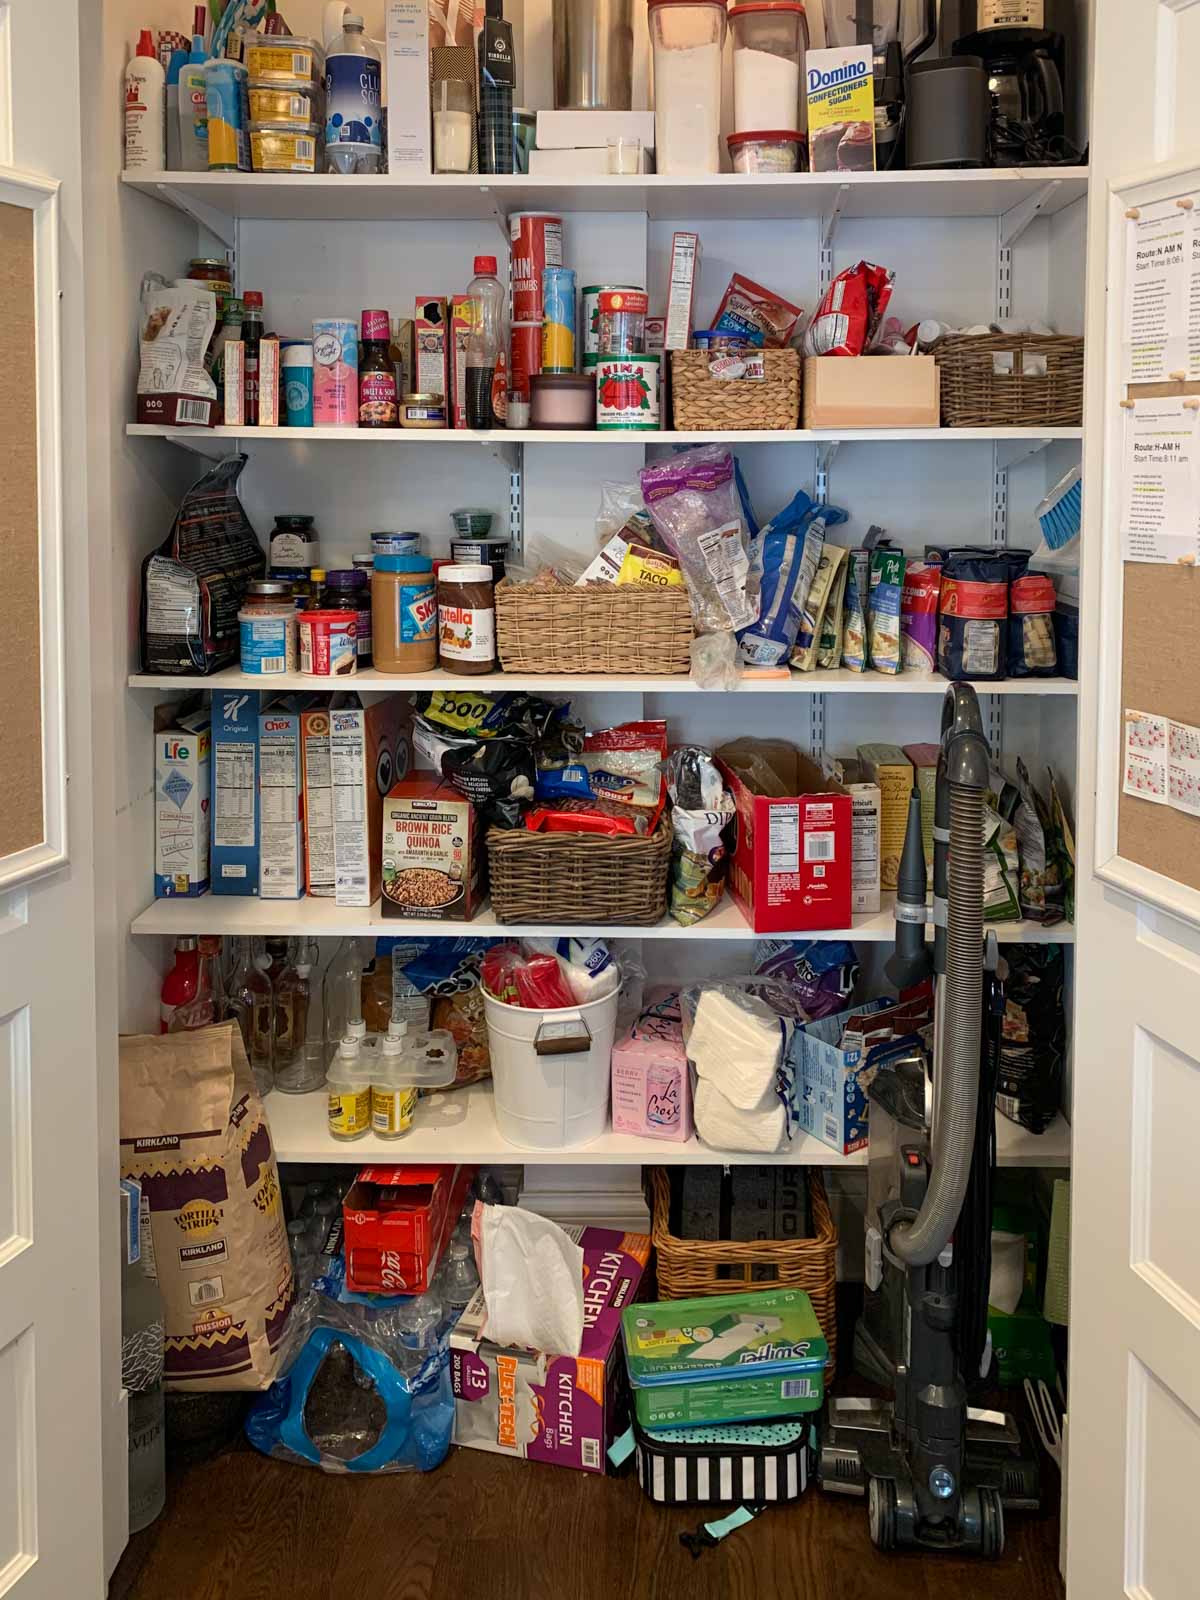
The kitchen has always been the hub of the home. From the time the kiddos arrive from school, through dinner, breakfast time and all weekend long, many families tend to congregate in the kitchen. And with everyone always grabbing things from the pantry, AND NOT PUTTING IT BACK IN ITS PLACE, it can turn the kitchen pantry upside down.
It’s all about having the right products for the kitchen pantry. Open shelving with no baskets or containers will never create defined spaces for the kitchen pantry. For this project, I opted for baskets, but if you have the door space, also consider using the Elfa Closet Door Rack I used for my Entryway closet last month.
So here are some quick easy steps to organize the kitchen pantry.
Kitchen Pantry Organization
All You Need:
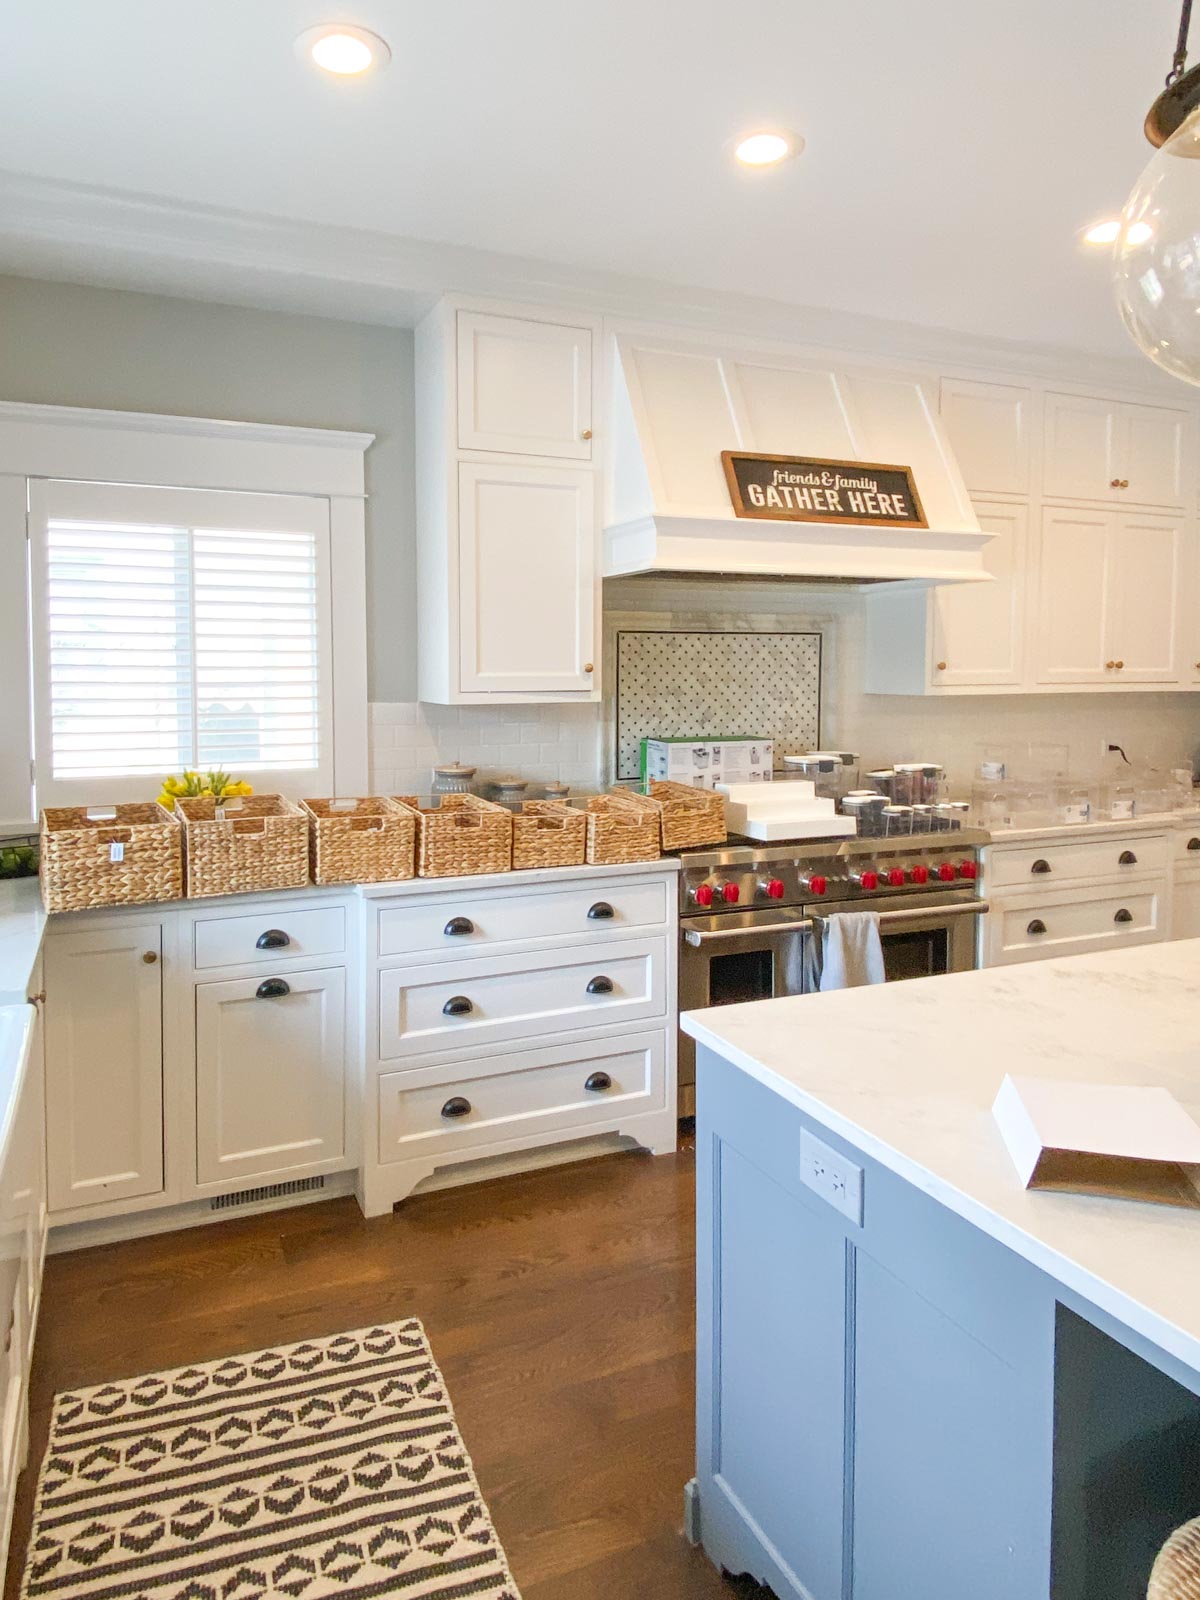
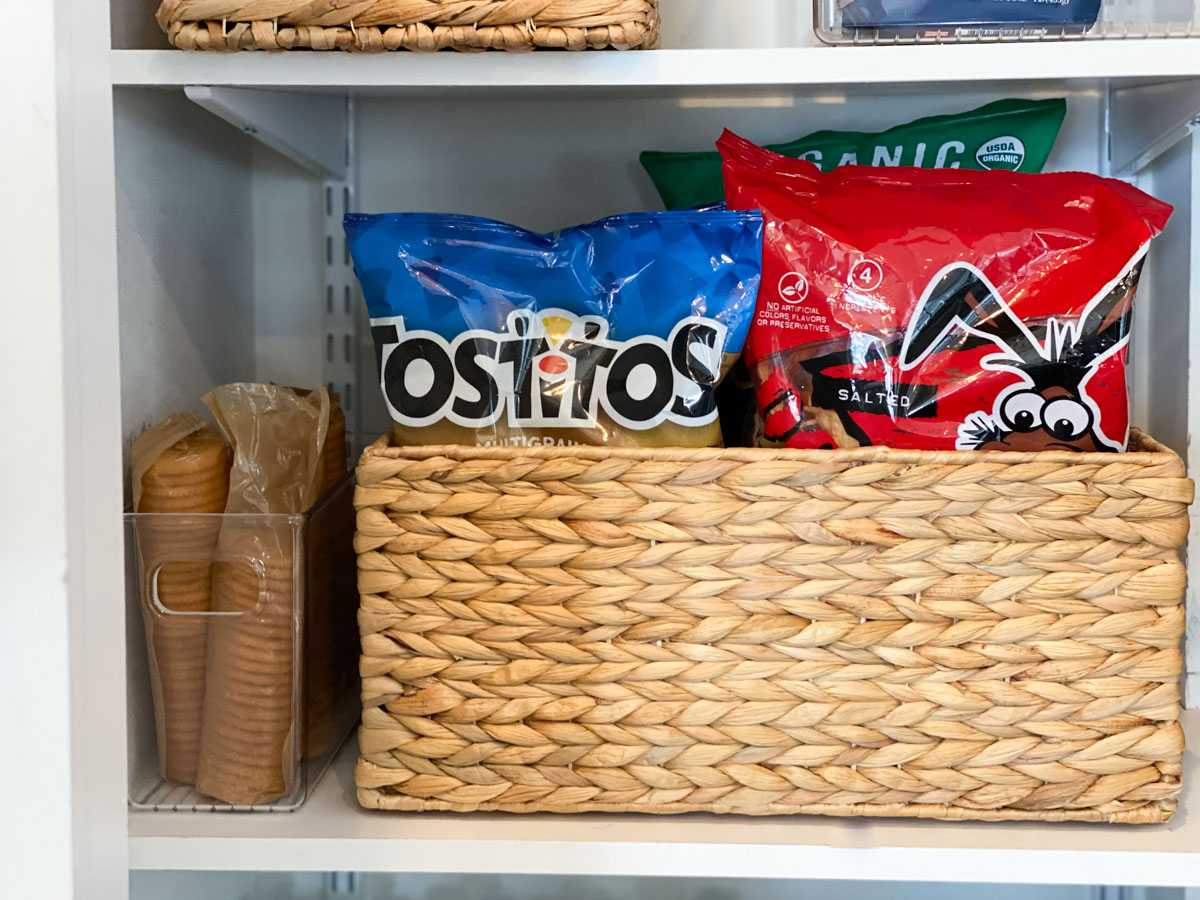
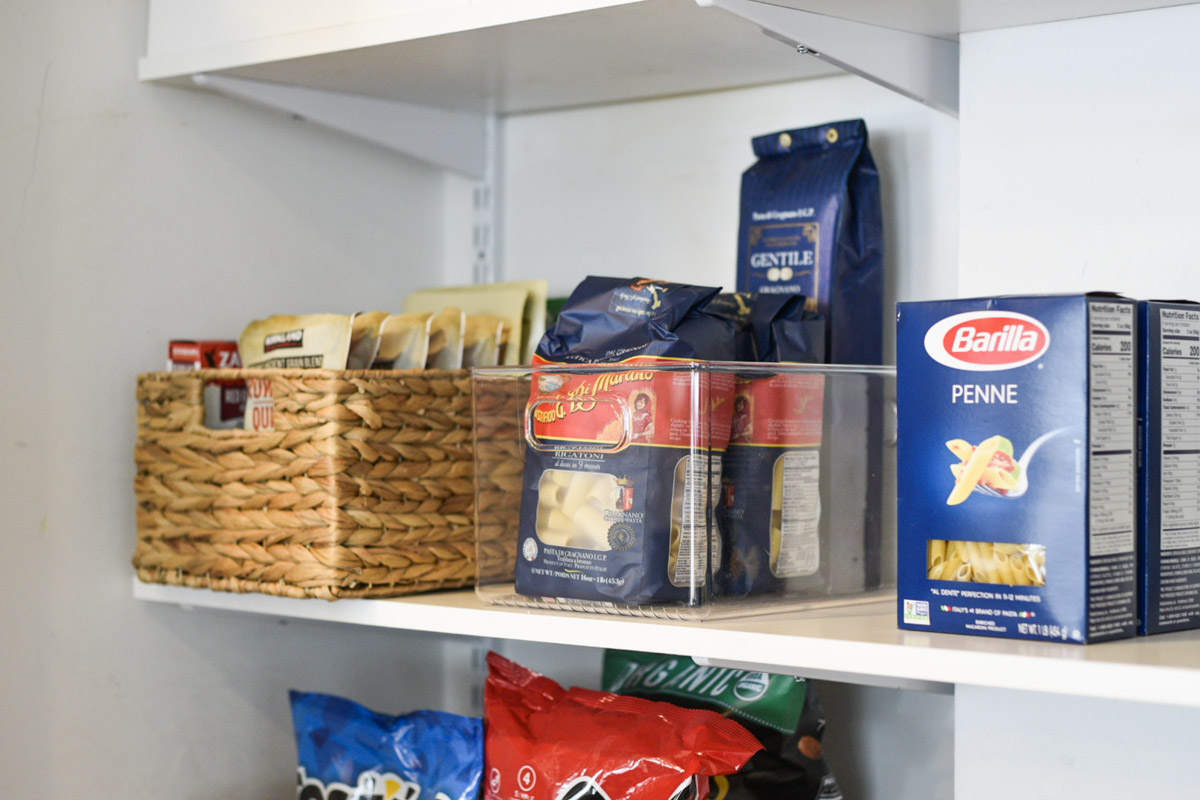
- Natural Hyacinth (wicker baskets) in various sizes
- I used 2 Small / 2 Medium / 2 Large / 2 Extra Large
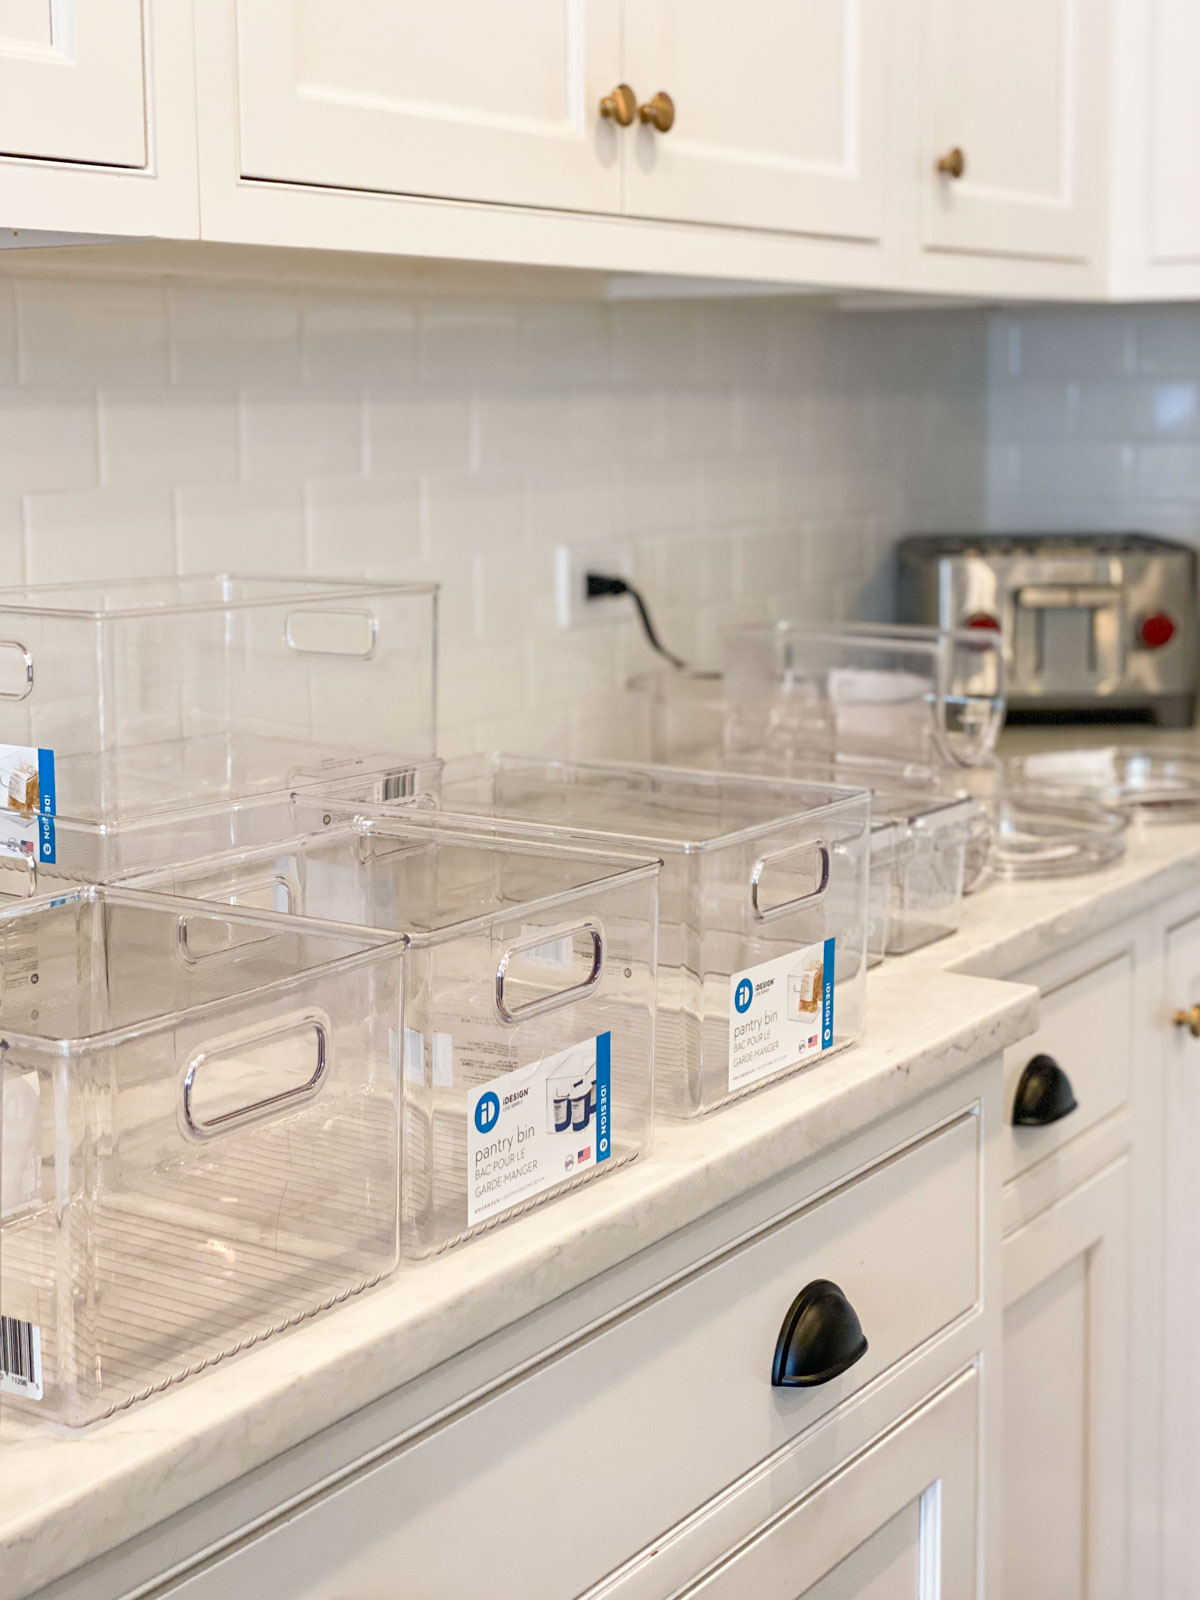
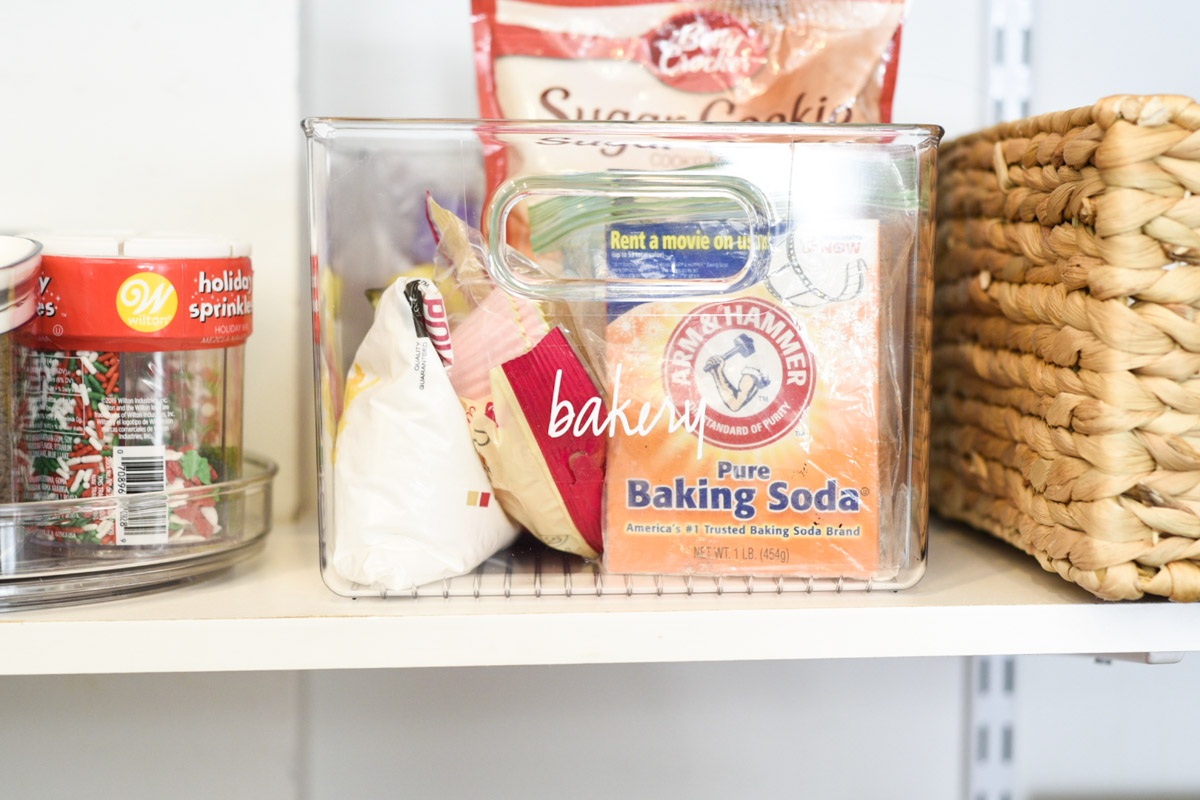
- Clear Pantry Bins
- I used 1 Rectangular Pantry Bin / 5 Large
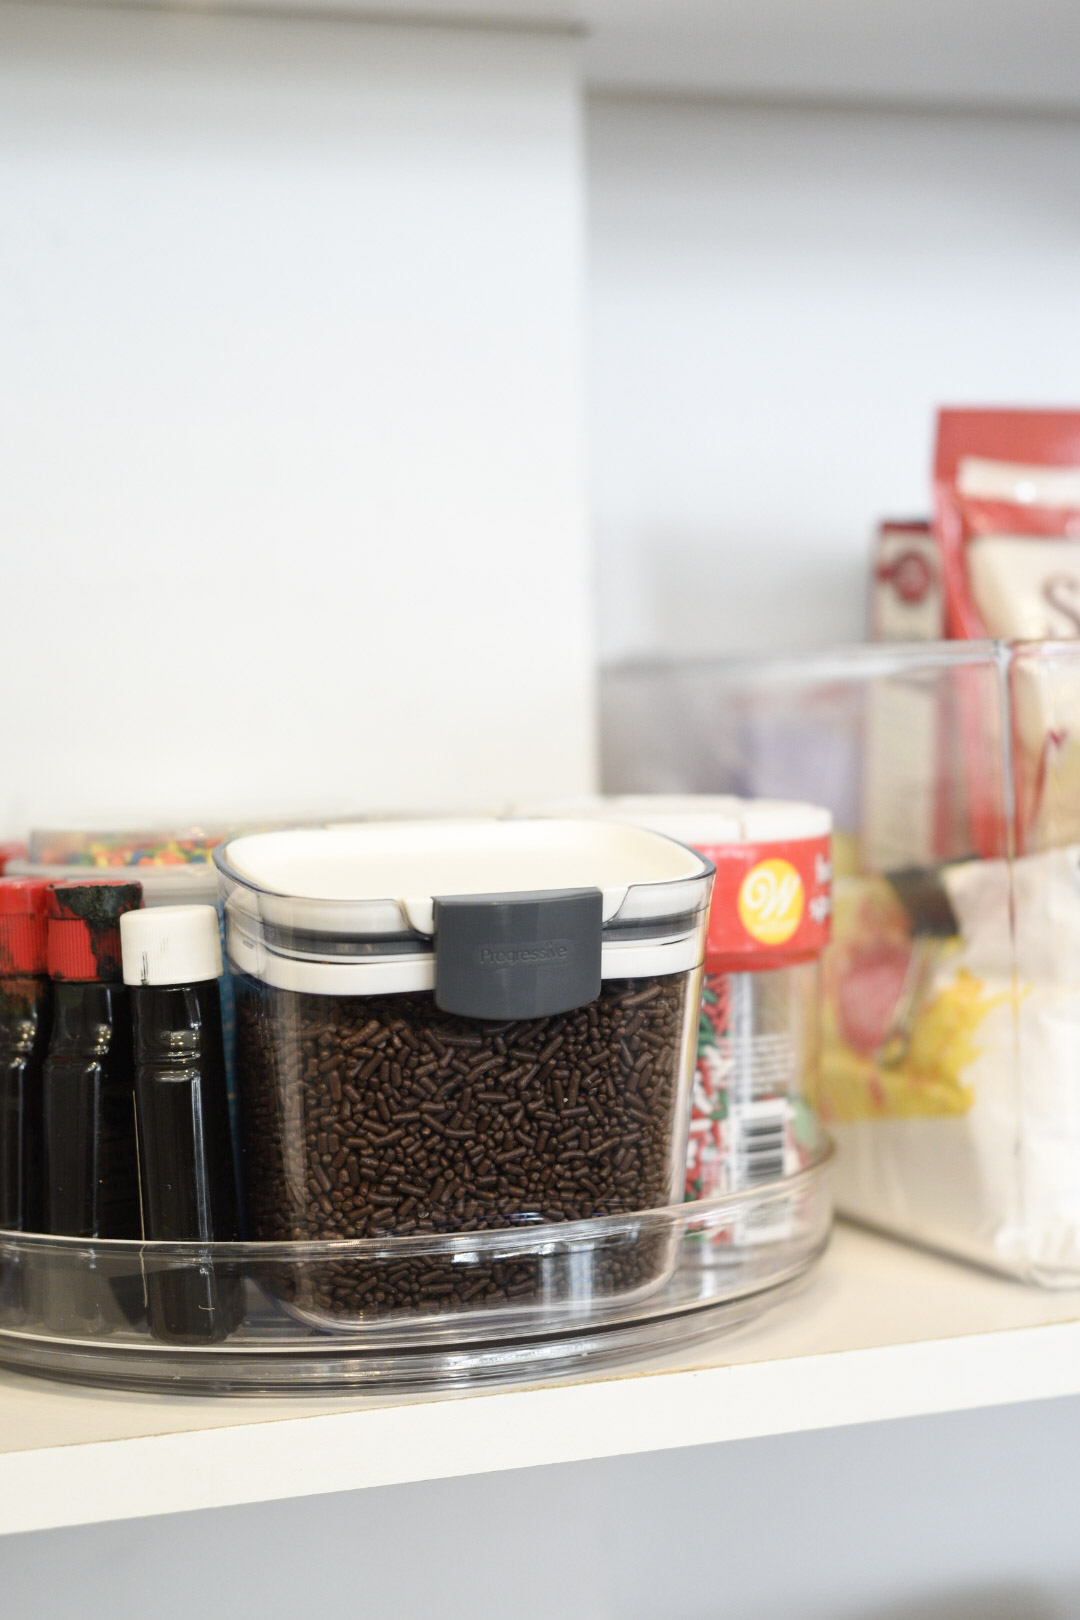
- Clear 9″ Divided Turntable
- I used one but I love these, go for 2-3
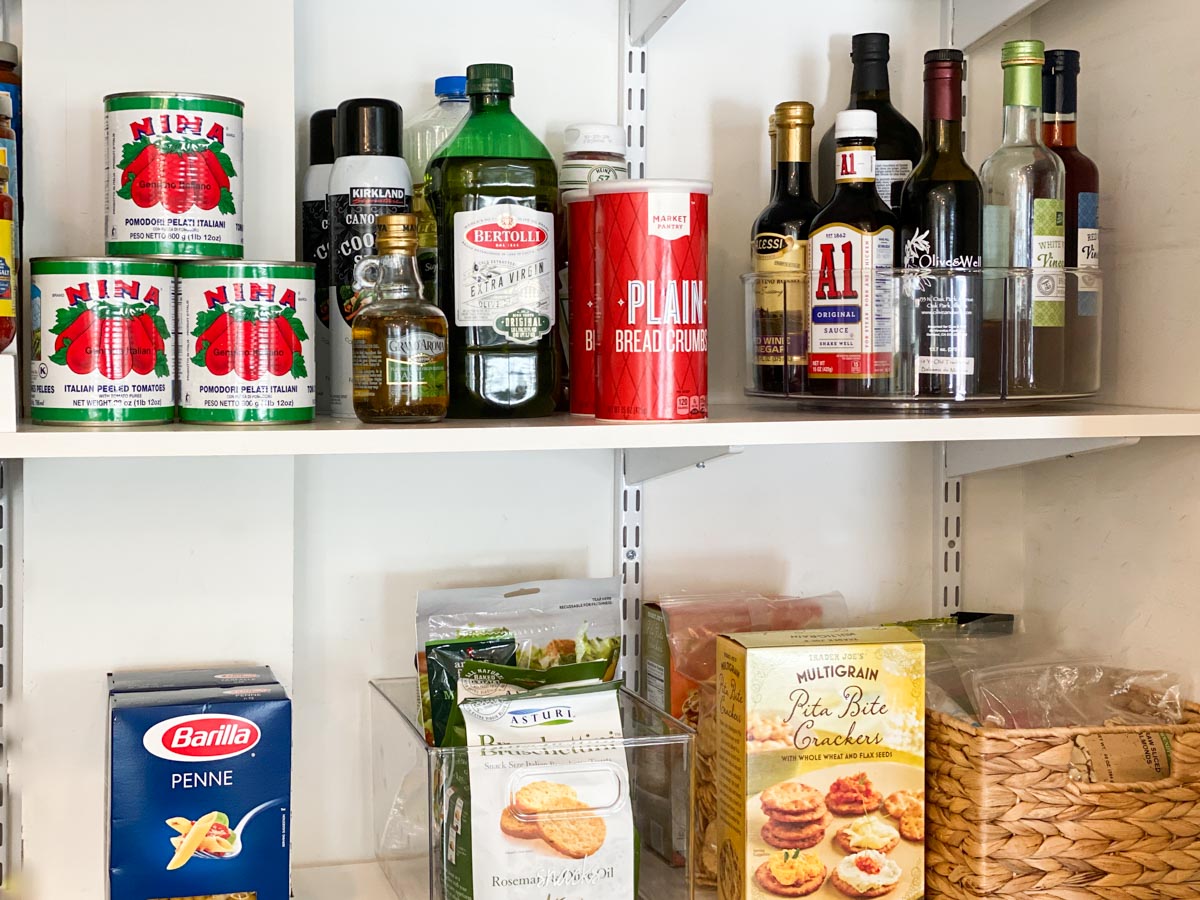
- The Home Edit 9″ Lazy Susan
- I used 2
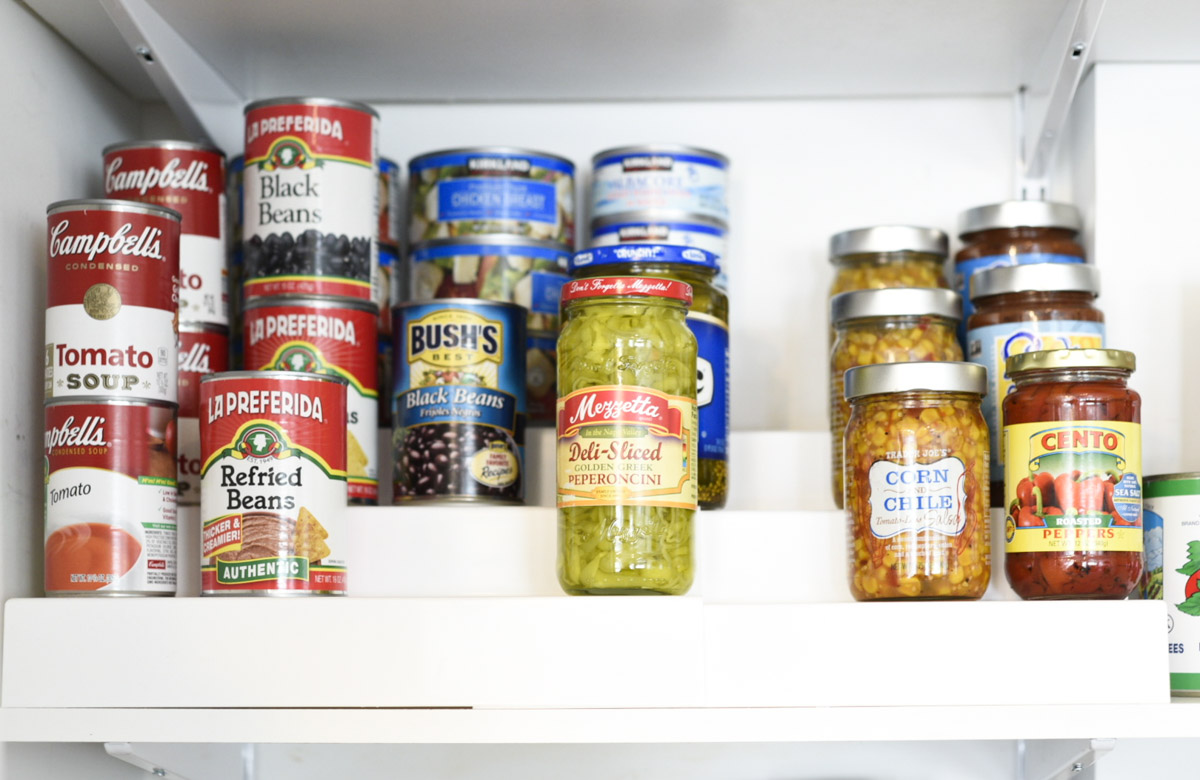
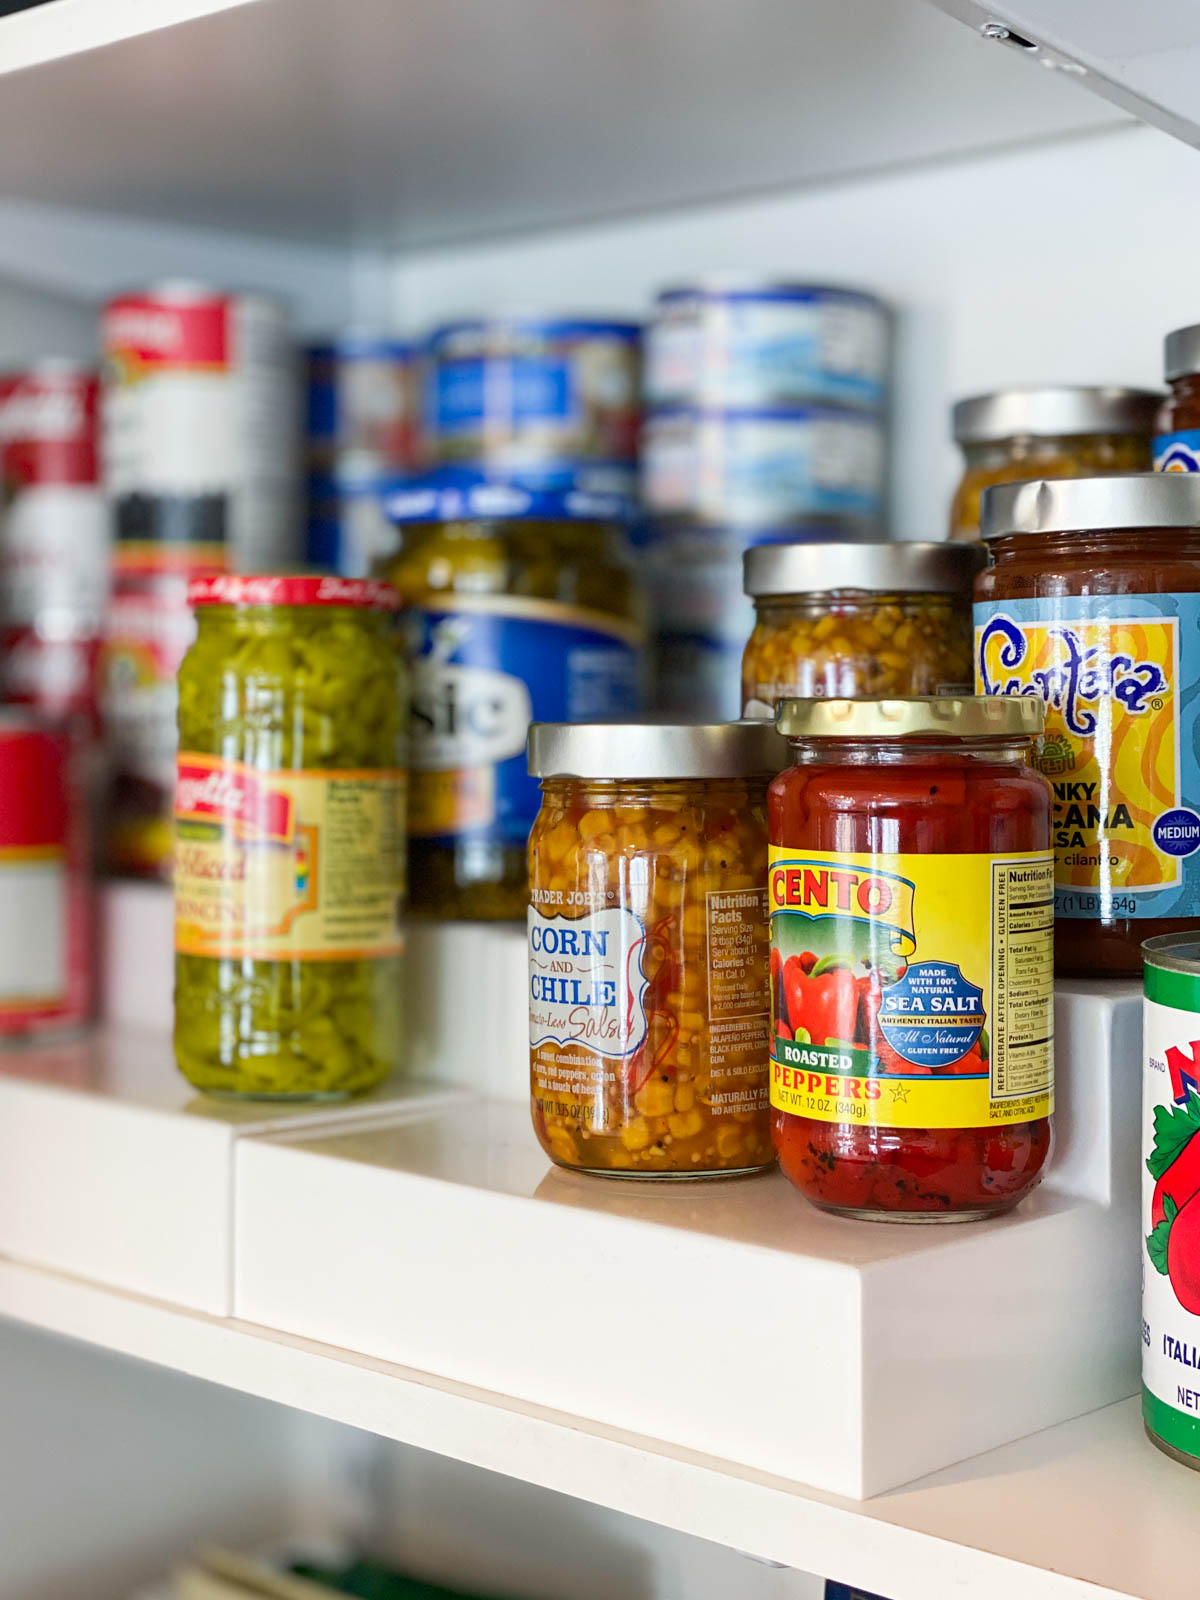
- The Home Edit 3 Tier Shelf
- I used one, the expand so larger than it seems
What To Do:
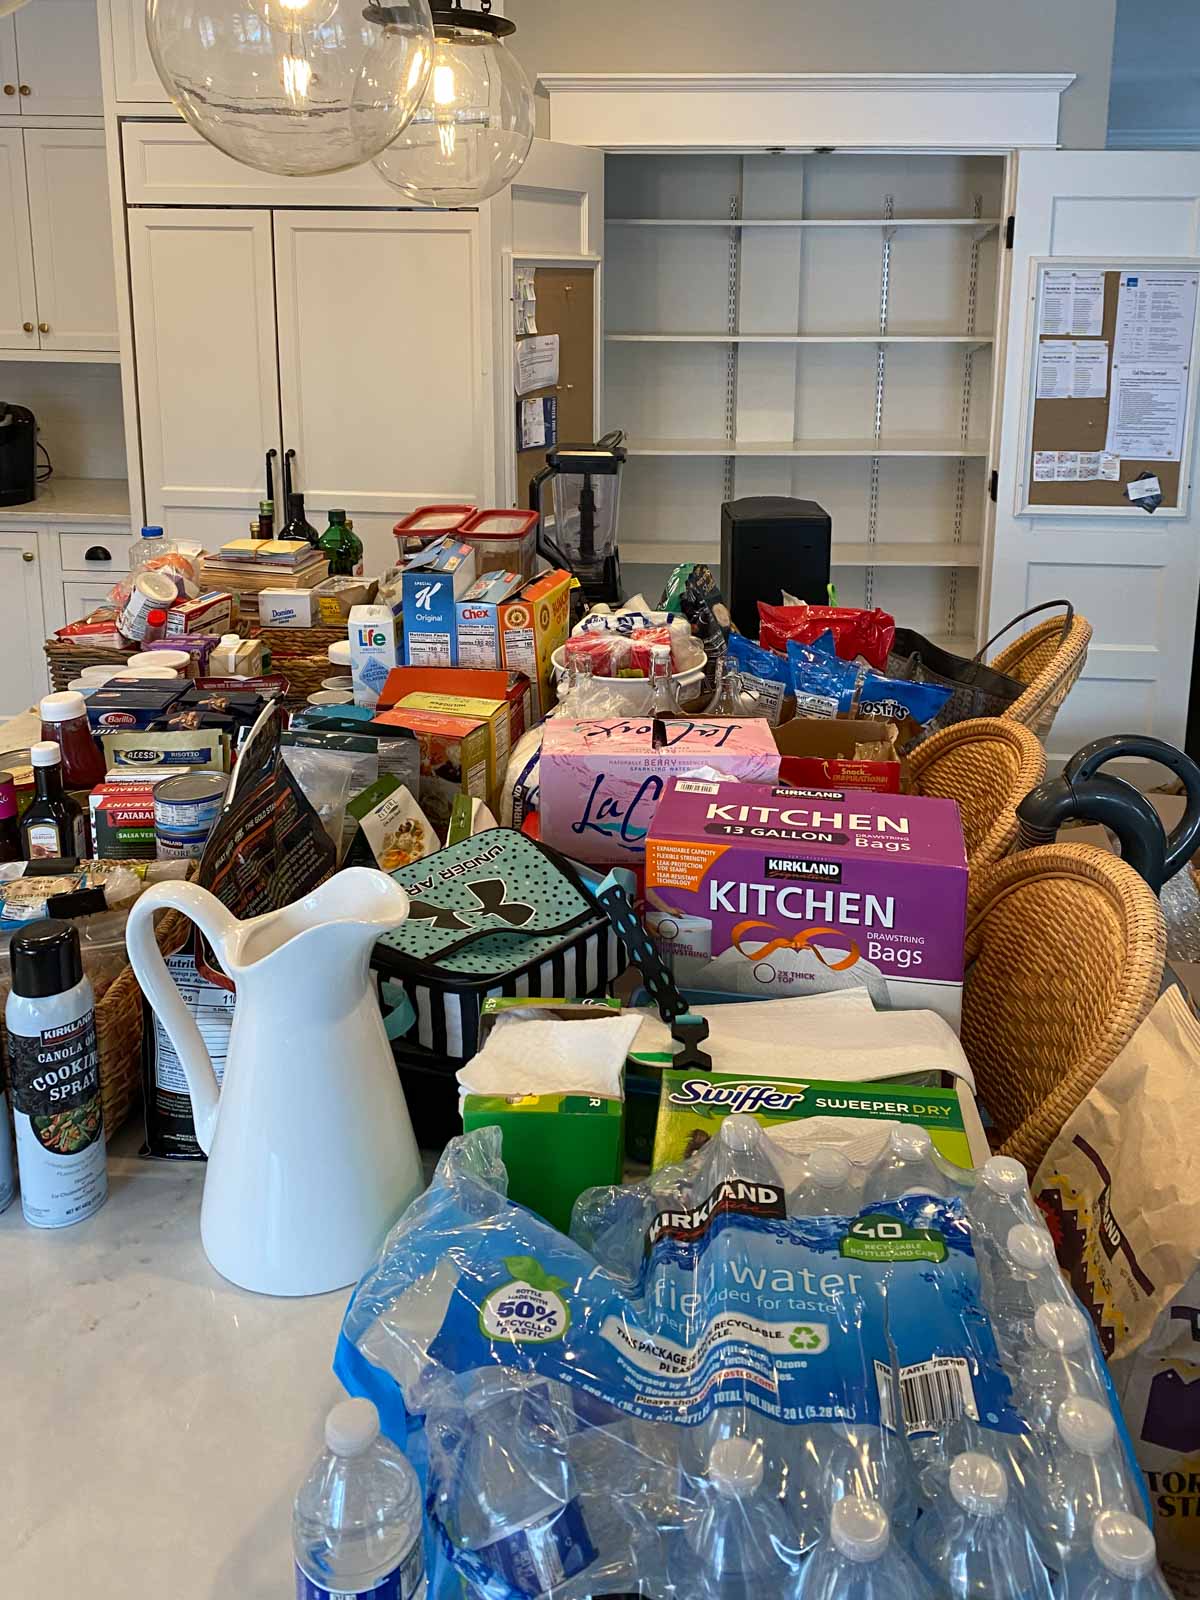
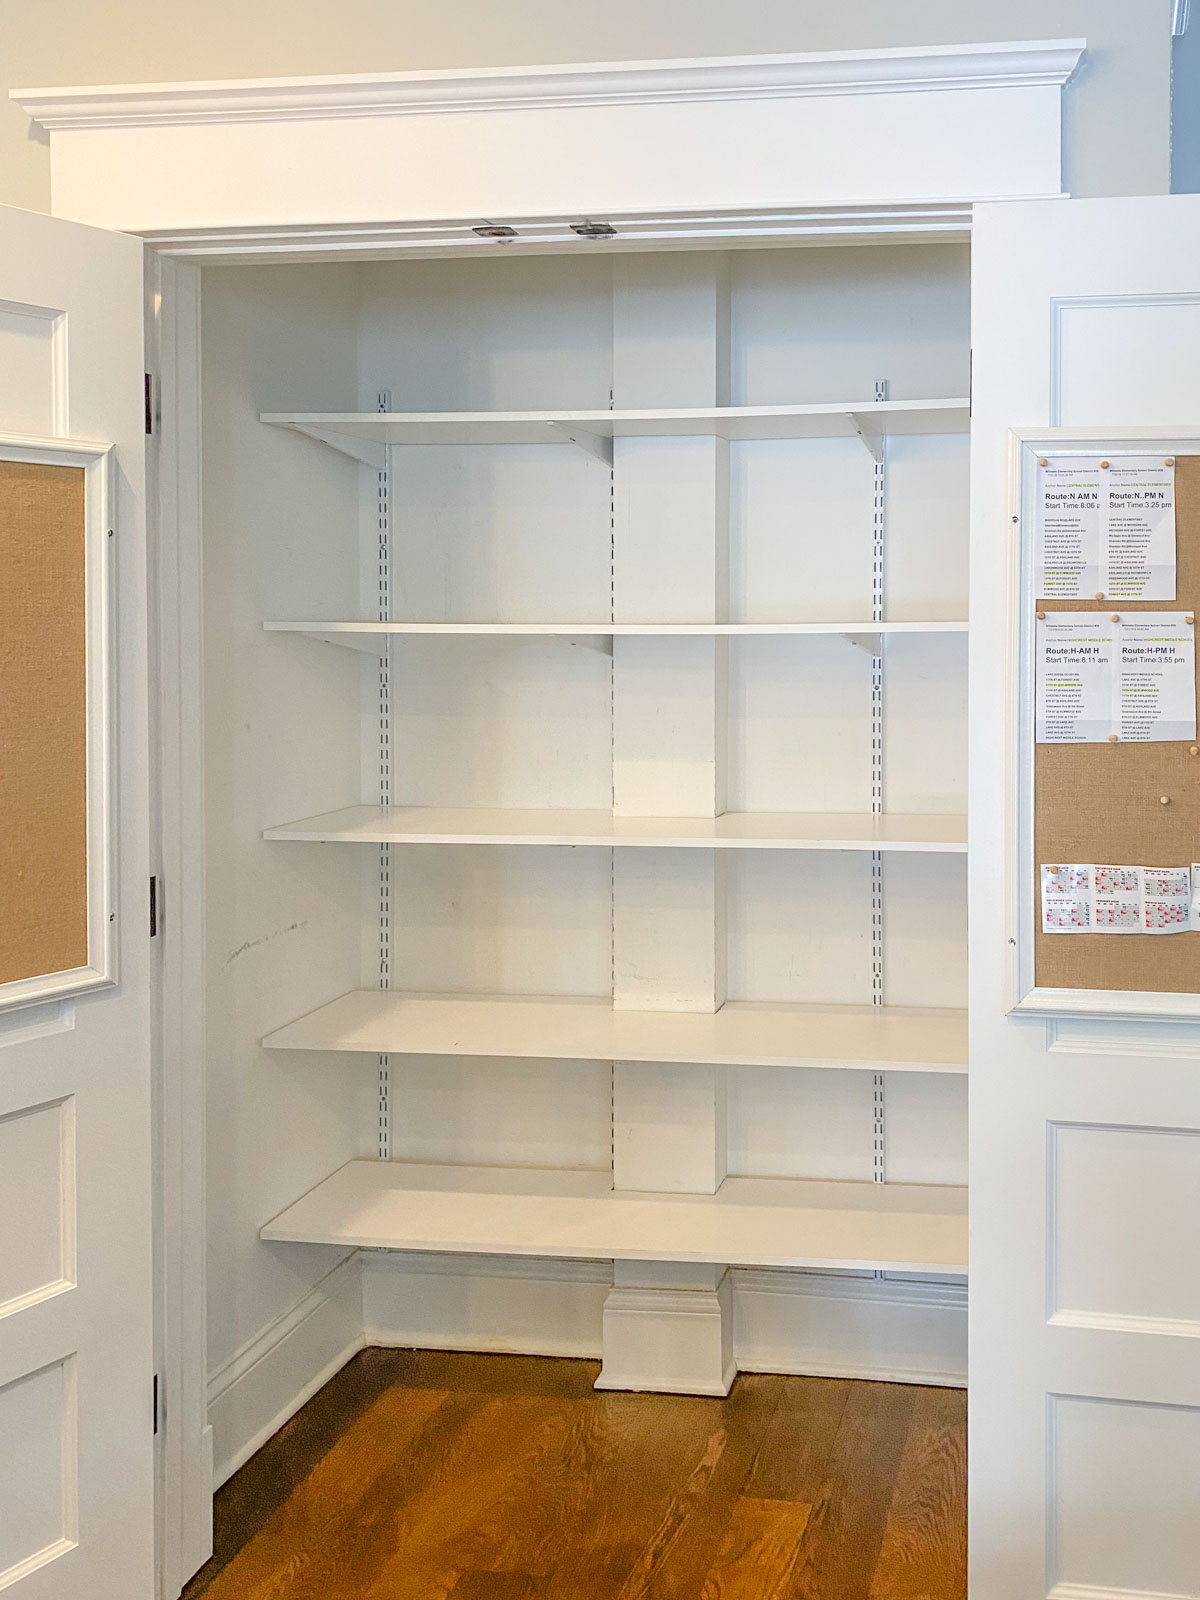
Remove everything from the pantry. Discard expired products and products that have been open for too long, dried out. Wipe down all the shelves of the pantry.
Sort all the items into groups. A few categories I used:
- Snacks for kids
- Adult snacks – crackers etc
- Breakfast
- Baking
- Pasta
- Cans
- Cooking liquids (olive oils etc)
- Beverages
Then sort all your baskets/containers into groups. Wipe them down if needed, remove stickers and then place them into the pantry with no contents. It took me some time to create the layout I wanted with the products for the pantry organization.

TIP: Write the above categories on post-it notes and place them on each container or basket to help visualize them in the empty pantry.
Then beginning placing items that need to be at kids’ height (after school snacks) on the right shelf height and organized by product into baskets.
Once the kid’s shelf was done. I was able to organize cans and cooking oils to pasta and beverages. I prefer to have the beverages closer to the floor in case a kid grabs one, it slips and falls.
Then all the cleaning supplies to trash bags are placed in the extra-large baskets on the floor.
When it comes to keeping the kitchen pantry organized I always implement the 1/4 rule. At least a 1/4 of the shelf remains empty, allowing for visible open spacing. If every inch of the shelf is full, then it can feel overwhelming and cluttered.
Want to grab a few items for yourself! The Container Store is having their Kitchen Sale now through April 5th
Happy Organizing! I Would Love To Hear How You Have Organized Your Kitchen Pantry
Pin For Later
