Thank you Lowe’s Home Improvement For Sponsoring my Interior Painting Tips Post. As always all thoughts and opinions are 100% my own
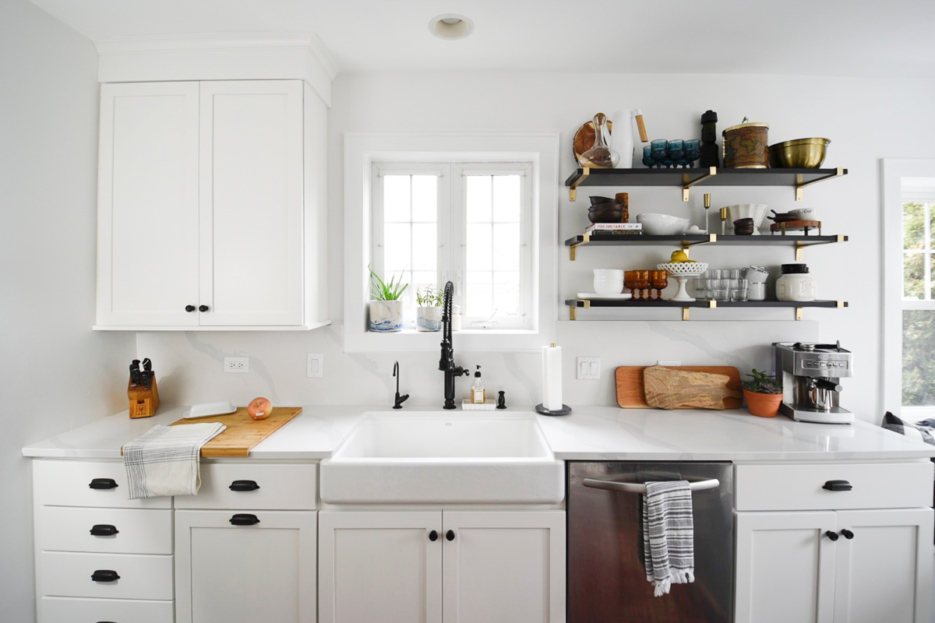
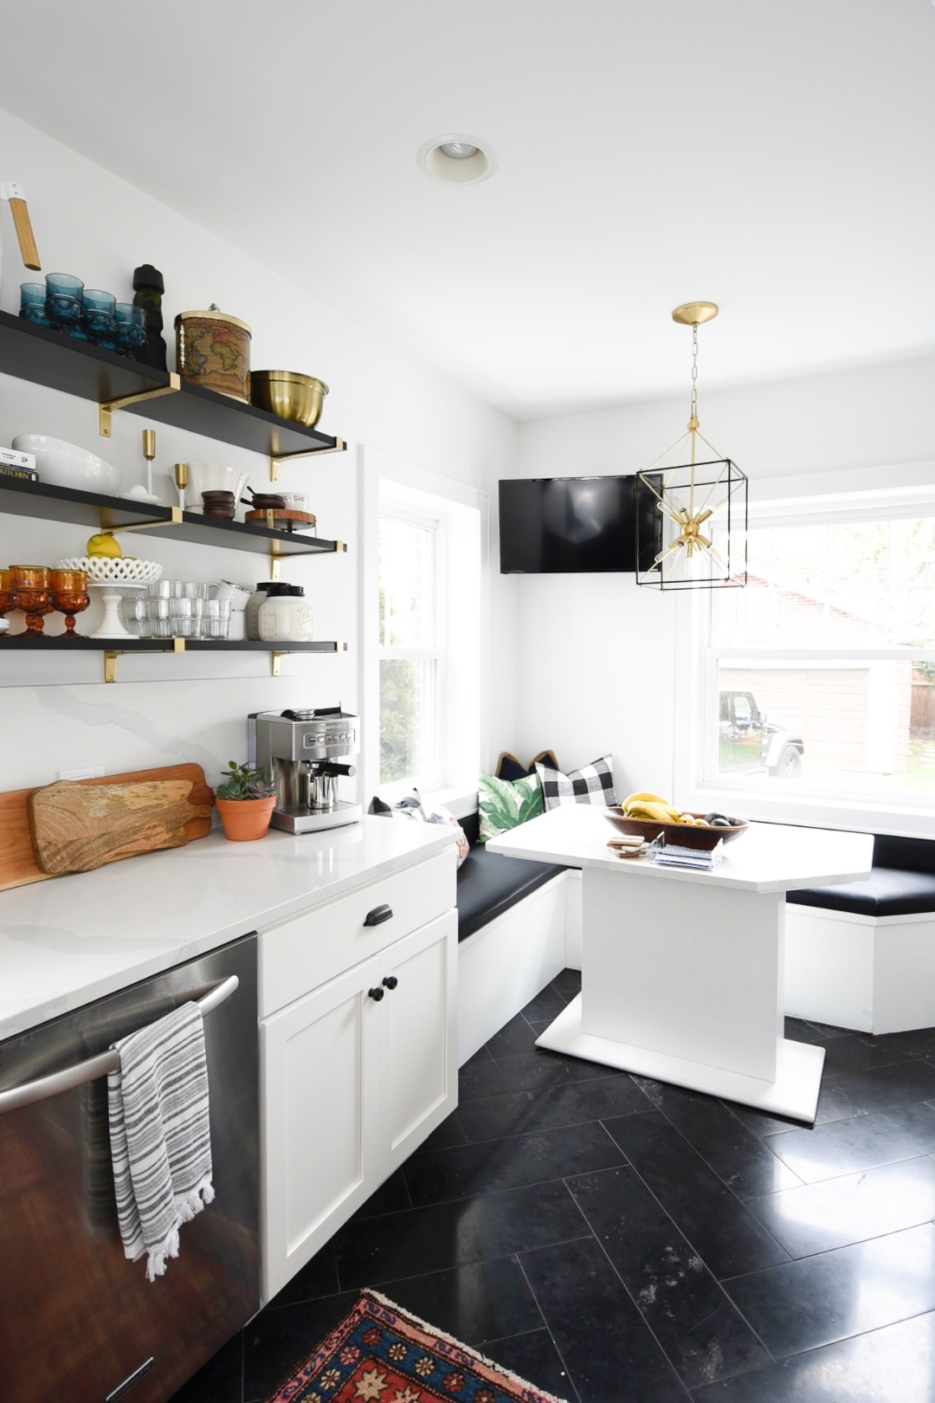
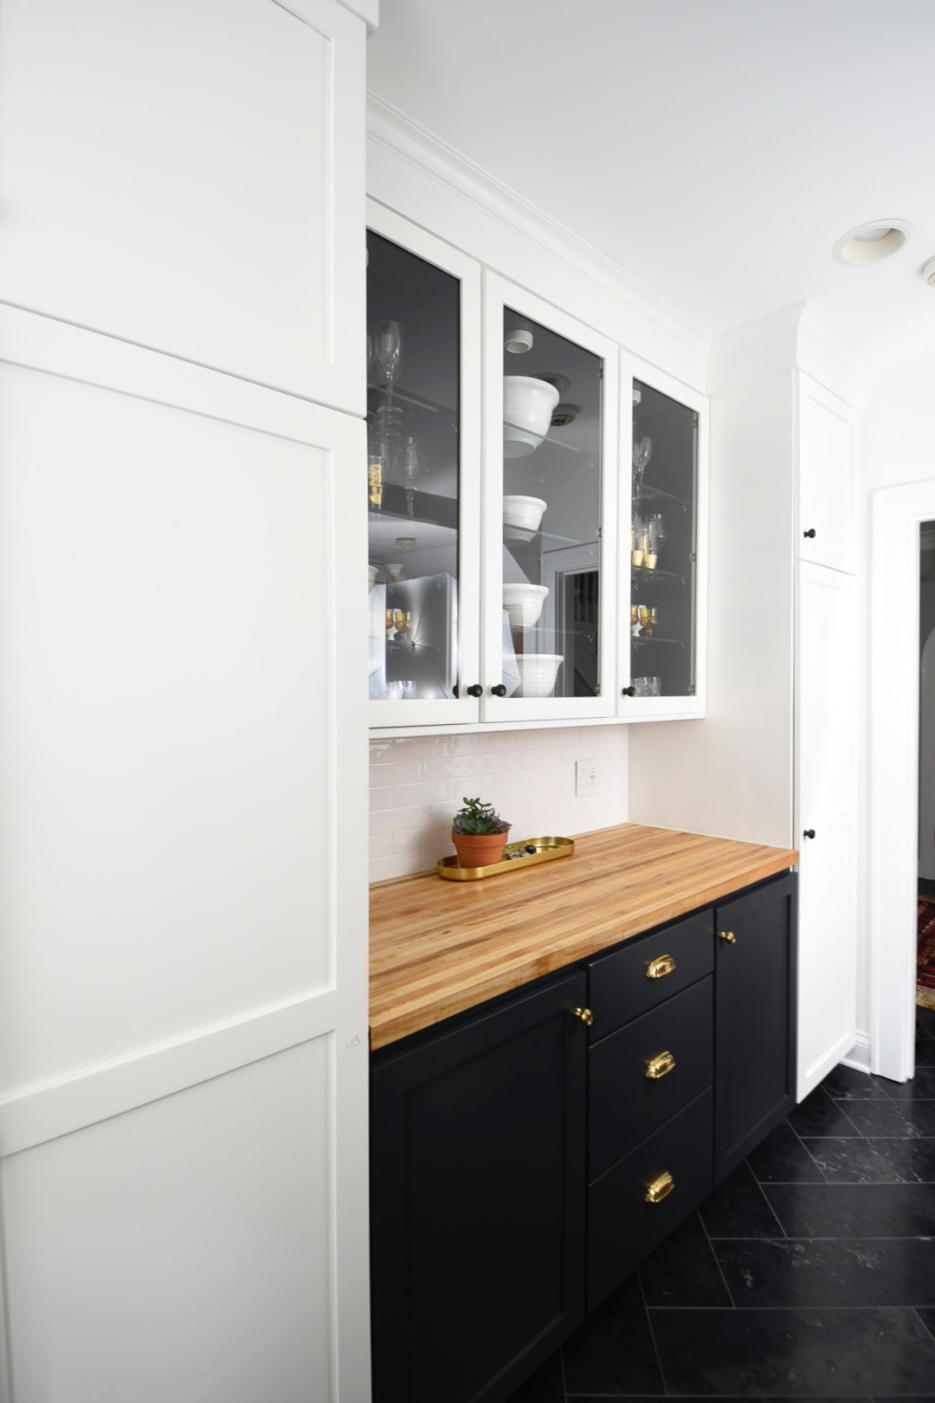
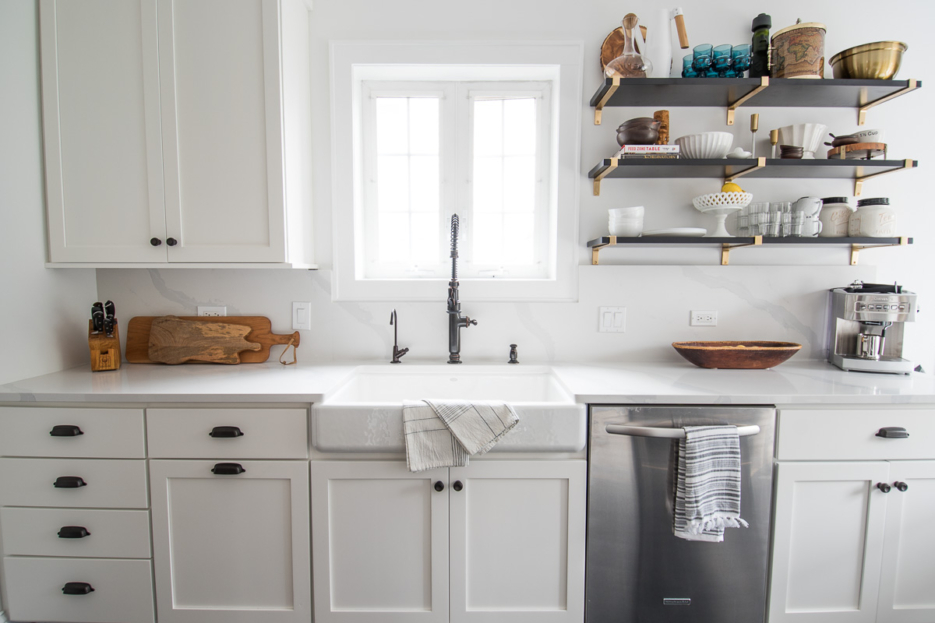
Kitchen Countertops and backsplash are complete and time to paint. I usually paint most spaces in my home. Through the years I have gotten better with practice and learning from the pros at my staging projects or client homes. Then I realized, I couldn’t find a comprehensive interior painting tips for the weekend diy’er. So, here it is, my tips, painter secrets and every single product I use to paint my interiors like a pro.
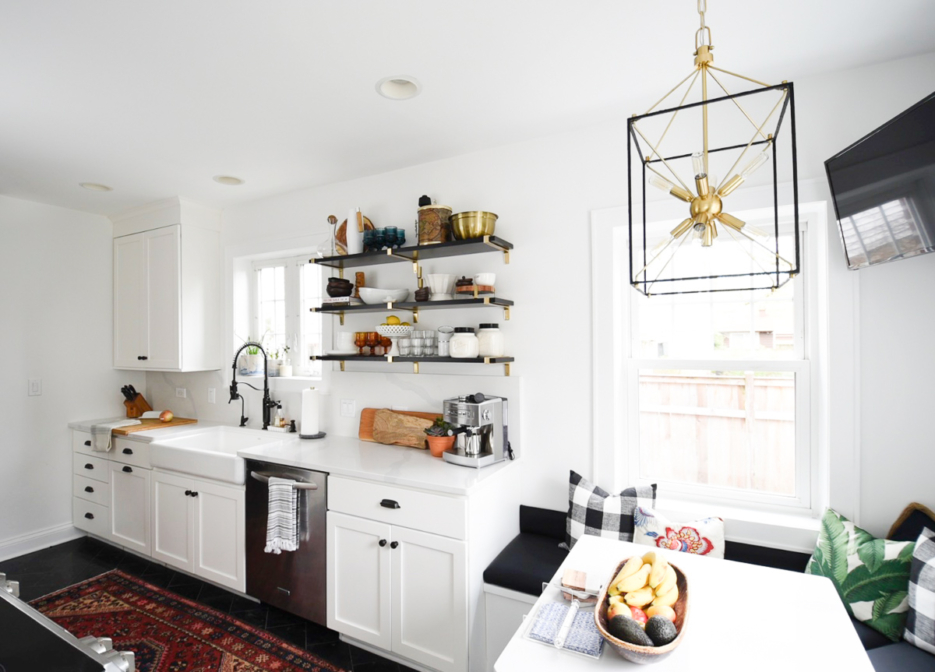
Interior Painting Tips
When it comes to painting interior rooms what you use truly does matter and “how” you use it. If you are more of a visual person I created a DIY Painting Tips video explaining my process and tools on my you tube channel. Otherwise, lets explore all the products and steps. To save you time I created a list of my go-to painting supplies below, all of which I get at my one stop shop Lowe’s Home Improvement.
Interior Painting Supplies:
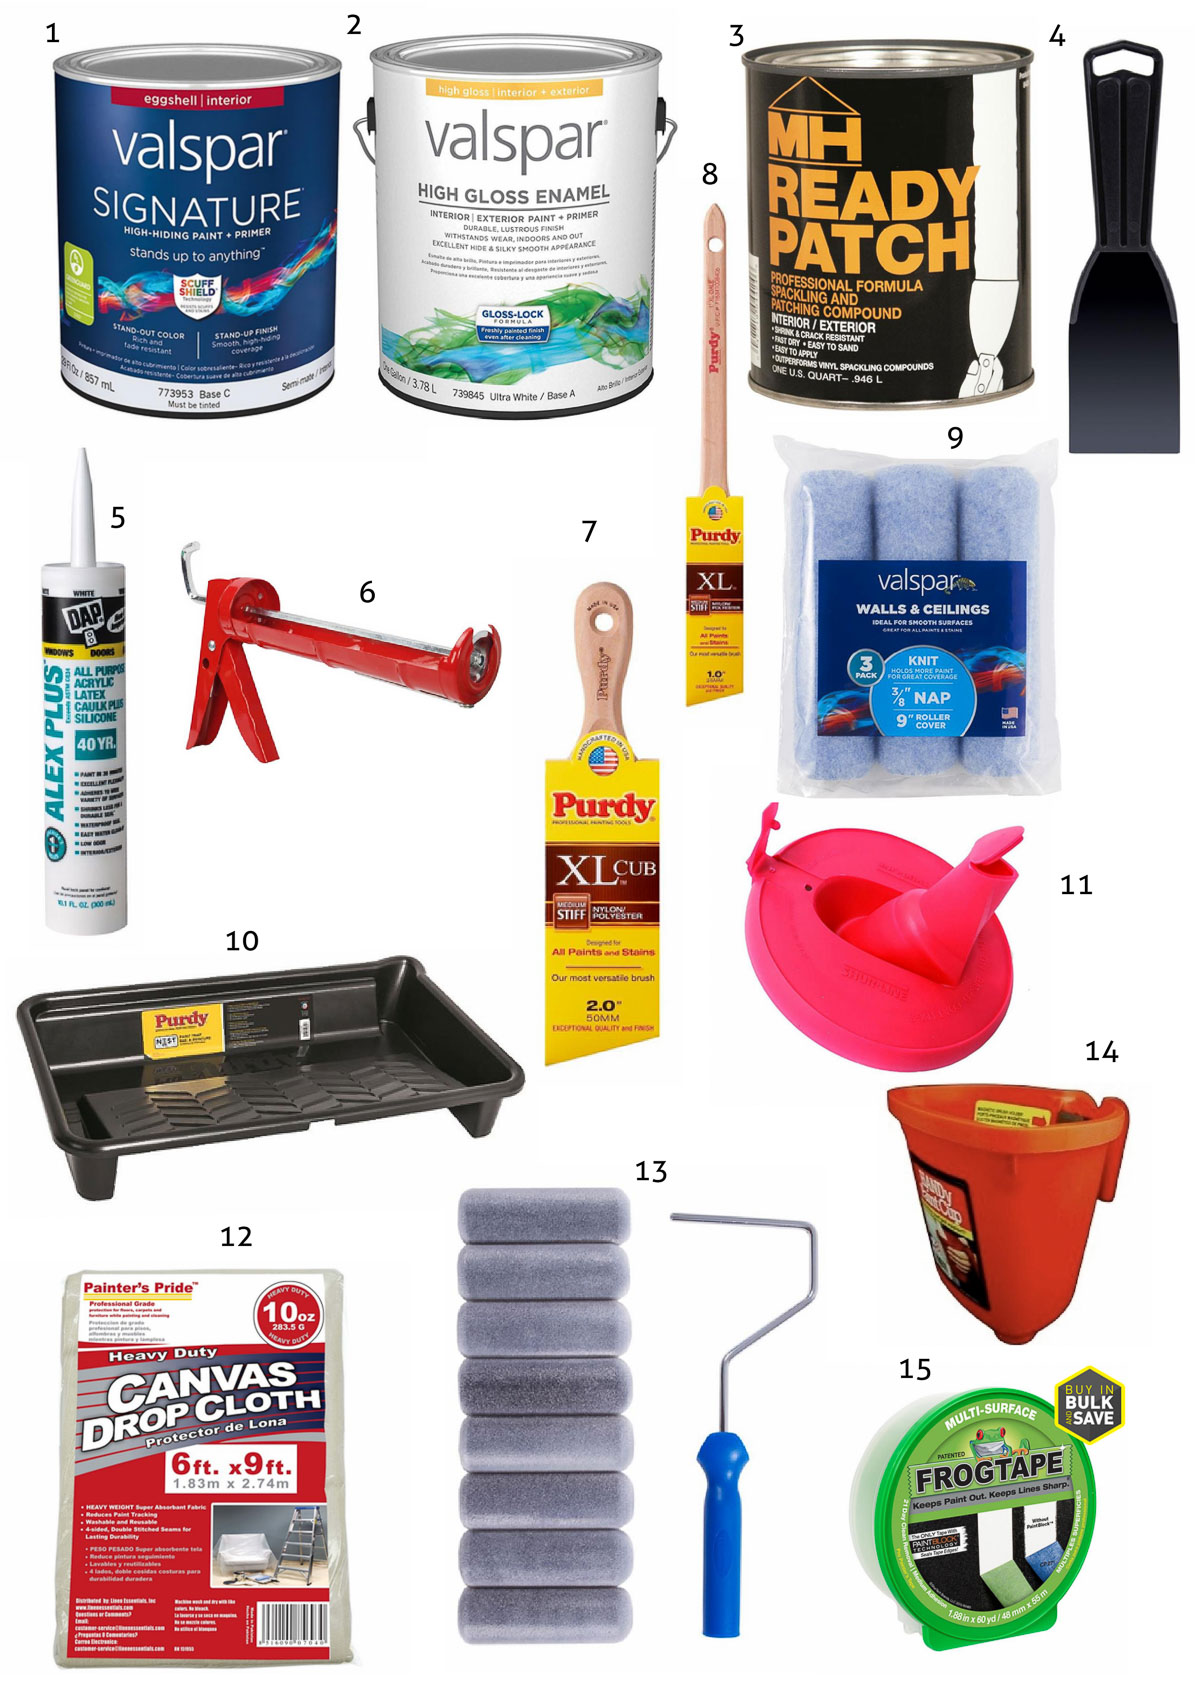
2 . Valspar Gloss Latex Enamel Paint
3. Zinsser Ready Patch 32-fl oz White Patching Compound
5. DAP Alex Plus 10.1-oz White Paintable Latex Caulk
7. Purdy XL Cub Nylon/Polyester Blend Angle 2-in Paint Brush
8. Purdy XL Dale Nylon/Polyester Blend Angle 1-in Paint Brush
8. Valspar 3-Pack 9-in x 3/8-in Knit Polyester Paint Roller Cover
10. Purdy 16-in x 26-in Paint Tray
11. SHUR-LINE 6.75-in Red Plastic Paint Can Lid
12. Painter’s Pride 10-oz Canvas 6-ft x 9-ft Drop Cloth
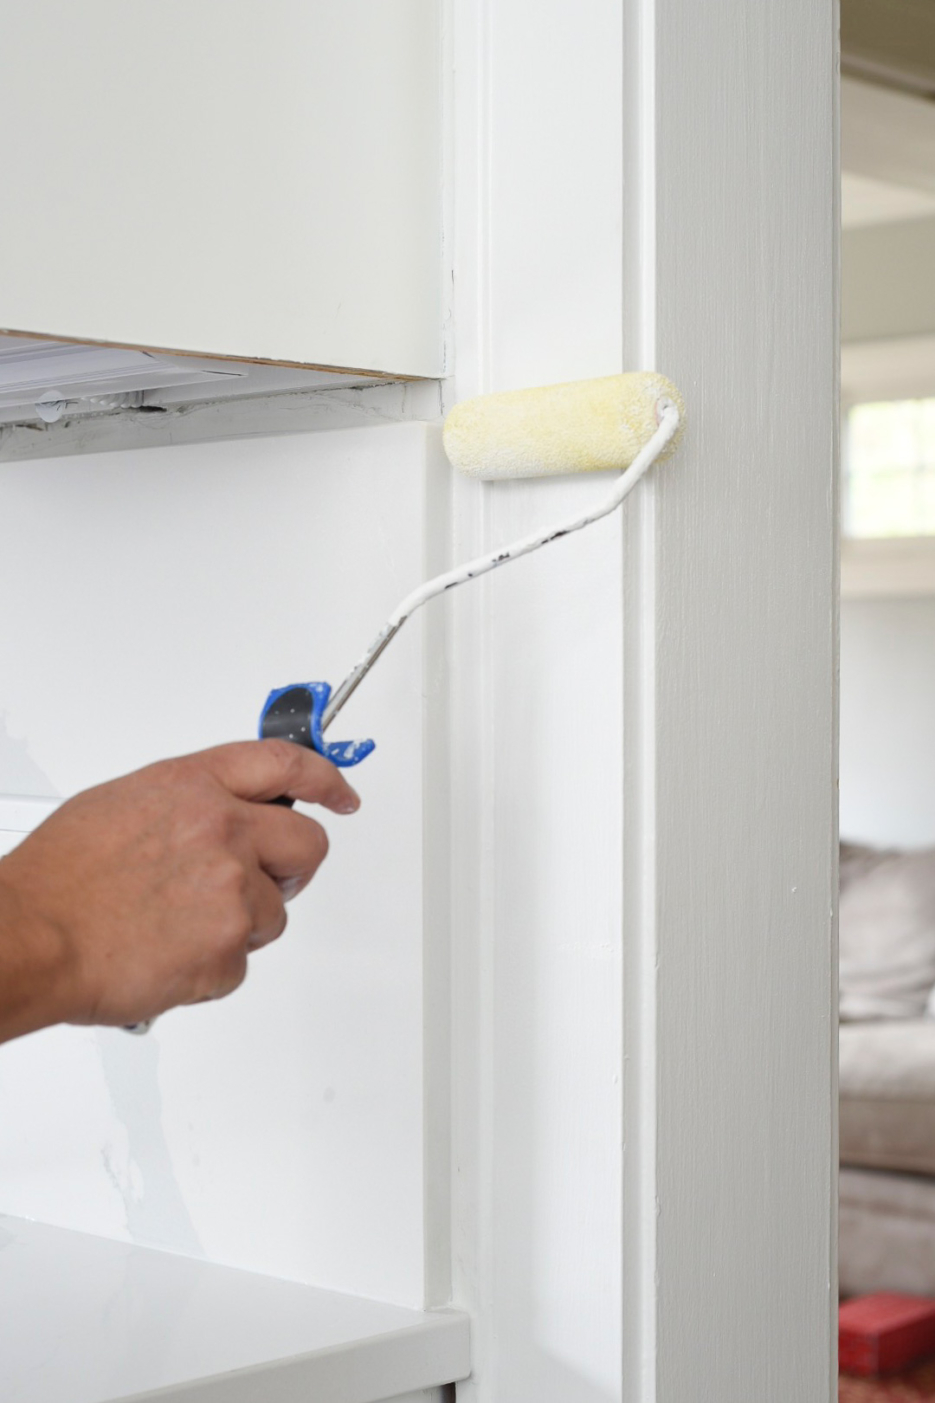
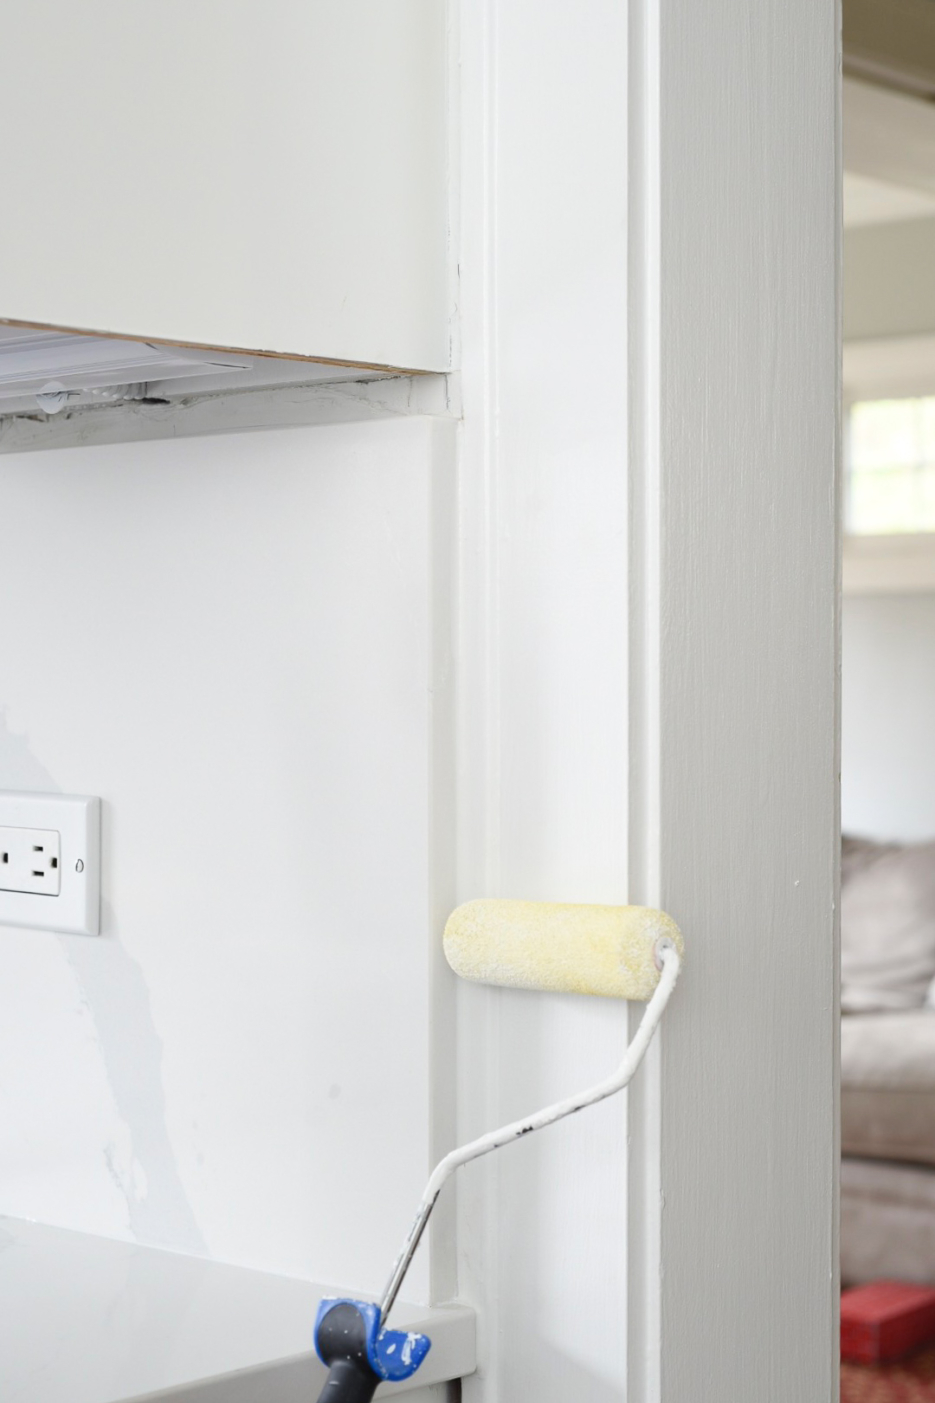
13. WHIZZ 4-in FLOCK Cabinet, Door, and More Foam Mini Paint Roller
14. HANDy Paint Cup 16-fl oz Paint Pail
15. FrogTape 1.88-in Painter’s Tape
Don’t let the list stress you out. Everything on the list, except the paint, painters tape and caulk, will last you a long time. You do not have to buy new brushes or rollers for every project. Simply make that initial investment in quality pieces and store them properly.
Interior Painting Tips: How to Use The Supplies
Each item above has a purpose. Don’t forget, you can watch my Interior Painting Tips video too if you prefer a visual. But here are some of my interior painting tips:
- Paint: I prefer that all my interior walls to be an Eggshell finish. Even for clients.
- For all trim / doors I alway use high gloss latex. Easy peasy, no need to stress over finishes, just stick with the same two as I do and all that is left is to pick a color.
- Before any paint can be done, protect your floors and furniture with a drop cloth. I only use plastic if there is going to be a lot of dust. Then I remove the plastic and use drop cloths.
- Patch any necessary drywall with MH Zinsser Ready Patch. I love this product and it truly gives a more professional finish. Let dry, I tend to wait hours, and sand with 220 grit or finer.
- Caulk. I actually caulk some areas before painting and some after. The areas I caulk before painting tend to be cracks that are visible in the middle of trim work. Otherwise, all caulking is done after painting trim/window trim/door frames to give it a more finished look.
- Check out my video to see how your caulking gun has all the tools you need to prep your Latex Caulk product.
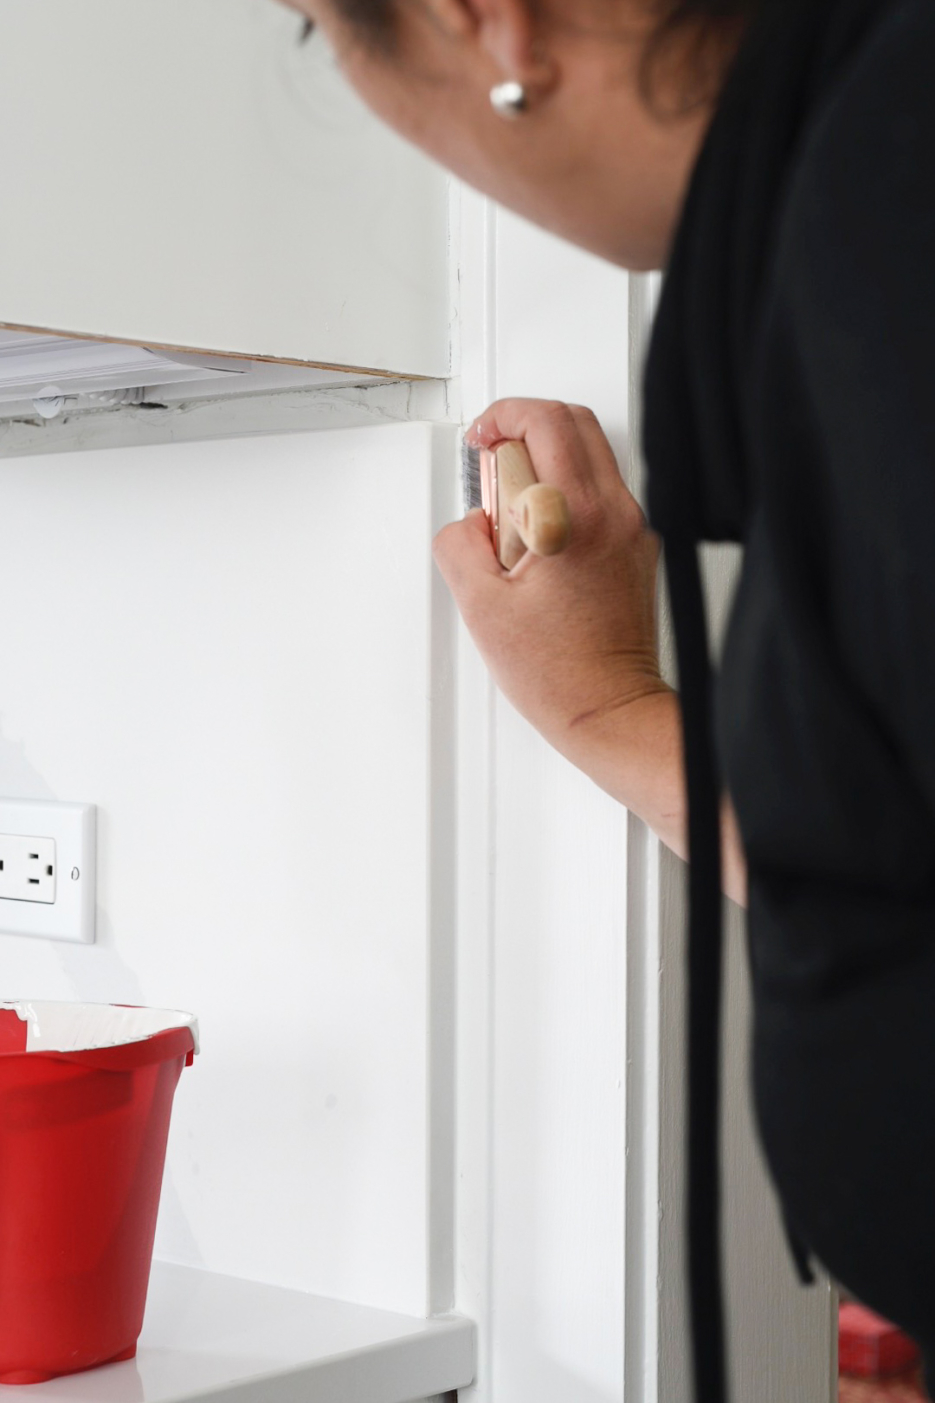
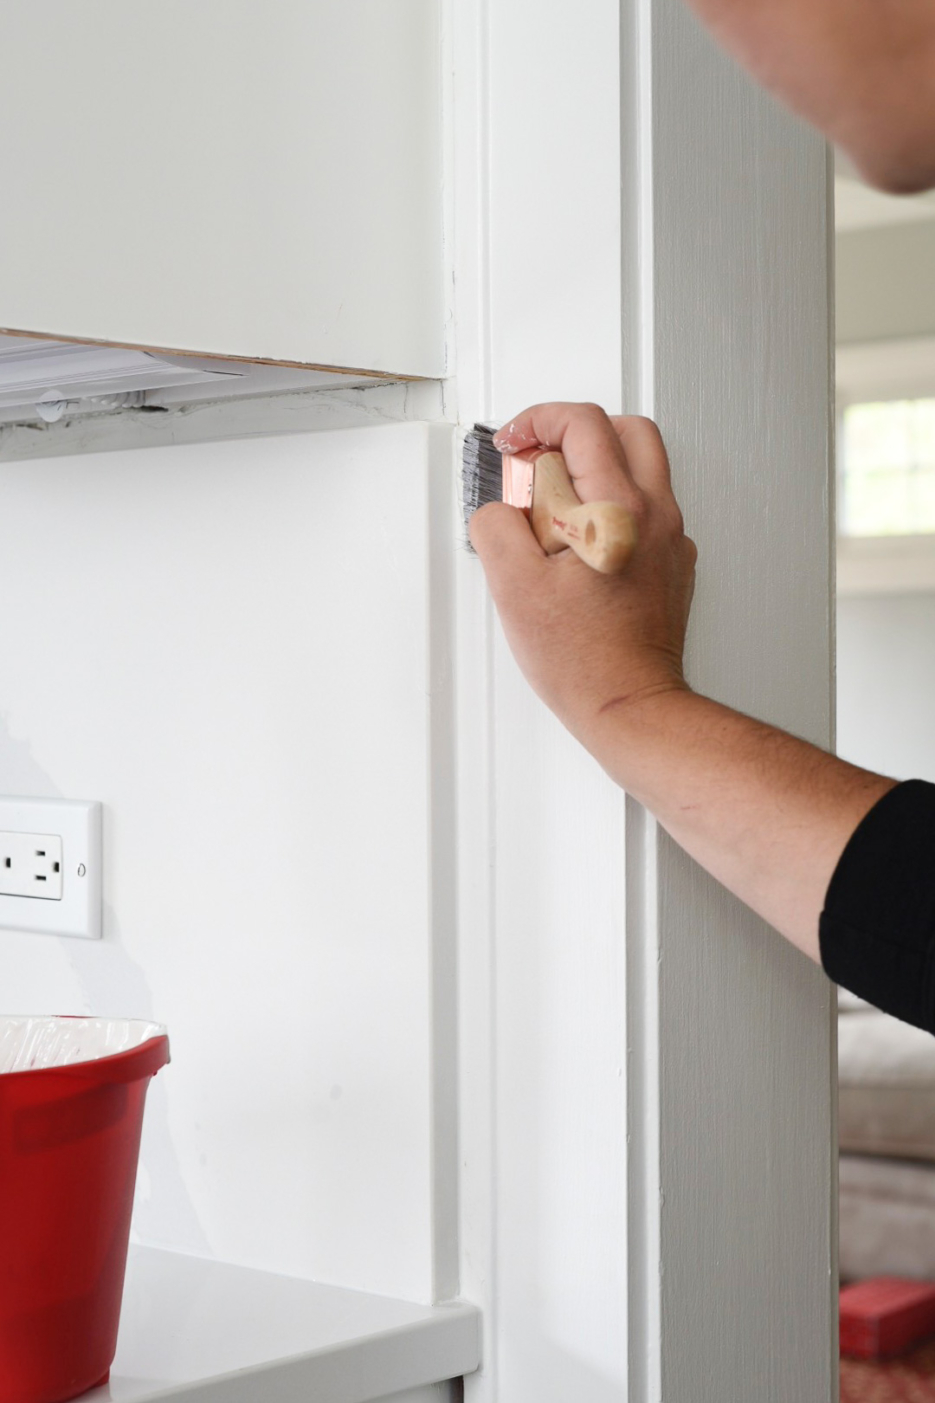
- Brushes: I only use Purdy Nylon/Polyester blend brushes with an angle and short handle. Also, I only use brushes to get close to the edges on trim, doors, windows, countertops. Once I have brushed around these areas I switch to a roller while the brush paint is still wet.
- Rollers: You want two types of rollers. One for your trim work and one for your walls. For all trim I use a 4 in Flock Foam Roller, it will truly give your trim work a finish without visible lines. Then, for walls, I always use a 3/8in nap. I like how it looks. The thicker the nap the more visible markings on the wall and I prefer a more smooth finish.
- My ultimate new favorite painting toy is the Shur-Line 6.75-in Red Plastic Paint Can Lid. I can’t stop sharing how great it is in my instagram stories and you can see how it pours perfectly in my you tube video as well. No more mess and keeps your can of paint always ready to use.
Interior Painting Tips: How to Paint Trim/Wall with No Painters Tape
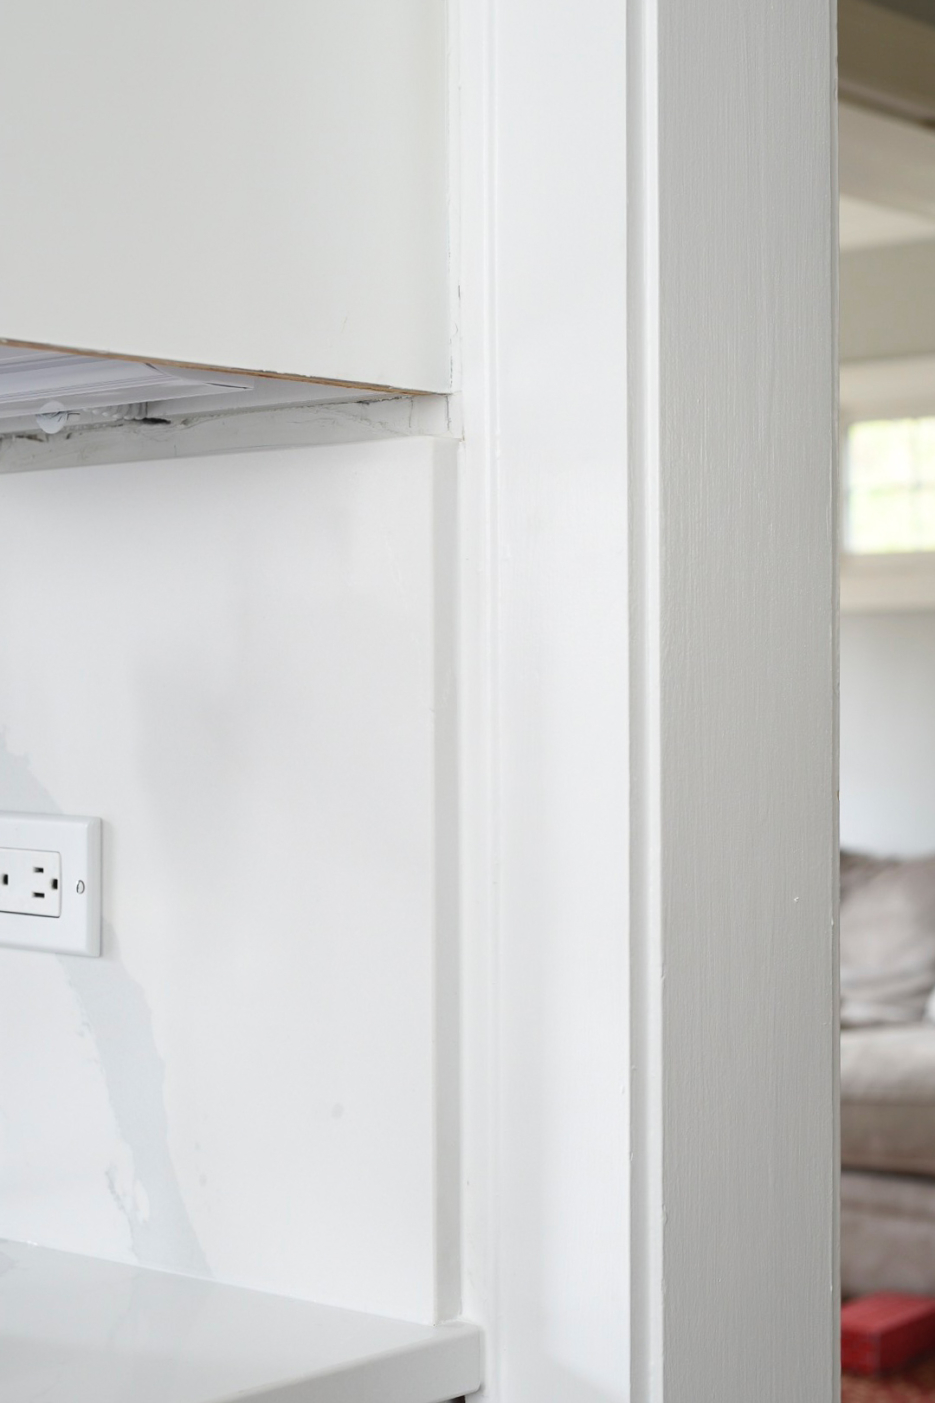
So, yes, I do use painters tape if I am want a geometric design on the wall, a pattern, or when painting furniture. I will also use painters tape when painting quarter rounds that are extremely close to my floor tiles or wood flooring. Otherwise, I paint free hand on the trim and walls. I wasn’t always able to do this! Trust me, it took years of practice and messy spaces plus the few tips I learned from the pros over the years.
- Always use an angled brush
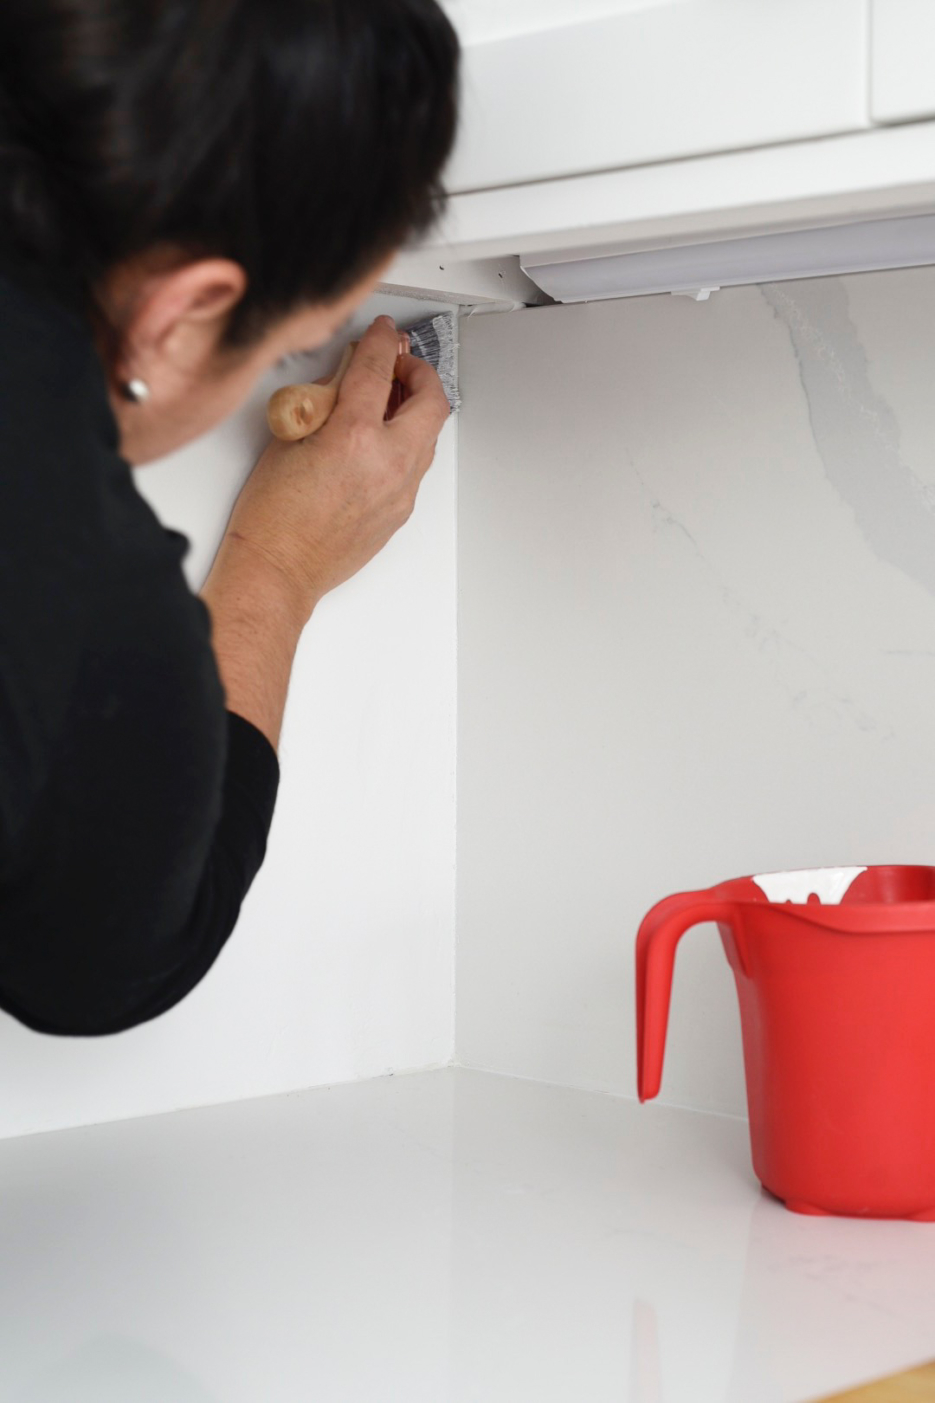
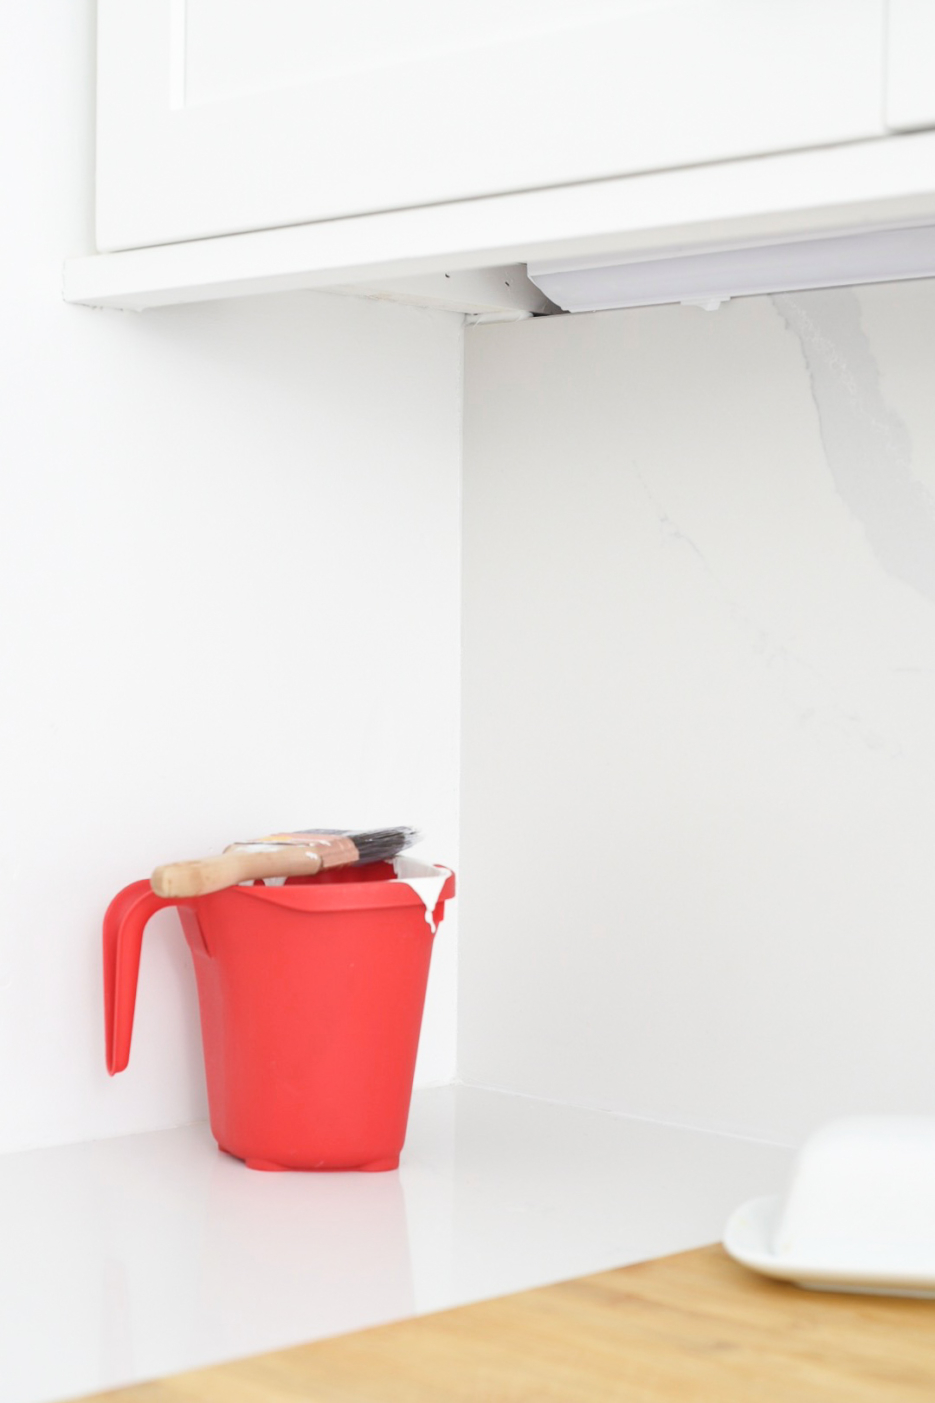
- ONLY put a little paint on the side of the brush that will come in- contact with the trim/wall you want painted. This is truly important. You can see it in the video or here in the photo.
- Use your backhand/knuckles as your guide. When a painter taught me this it was life changing. I use my middle knuckle as the guide along the wall I am not painting. Moving down or up with my knuckle firmly pressed against the wall, not allowing my brush to move.
- Apply a slight pressure. As you move the brush (using your knuckle as a guide) apply a slight pressure as you stroke down.
Like many, I can never finish a project before the kids get home from school or some other distraction. If I am not done painting I NEVER clean my brushes/rollers or even painters tray. Instead I will store them with this 3-step process.
- Remove large amounts of paint from your brush or rollers but not too much. Keep them moist with paint.
- Wrap them in plastic wrap. I tend to wrap them a couple times making sure no air can get in.
- For the painters tray, I place it in a garbage bag, try to remove as much air and tie close. Keeps the paint in the tray perfect!
- Place the brush / rollers in the refrigerator. YUP! You can keep it in there for days, take it out, and begin painting with a perfectly wet brush.
I am so excited to be done, painting is always the last step and feels so good to finally be able to enjoy every inch of my new kitchen.
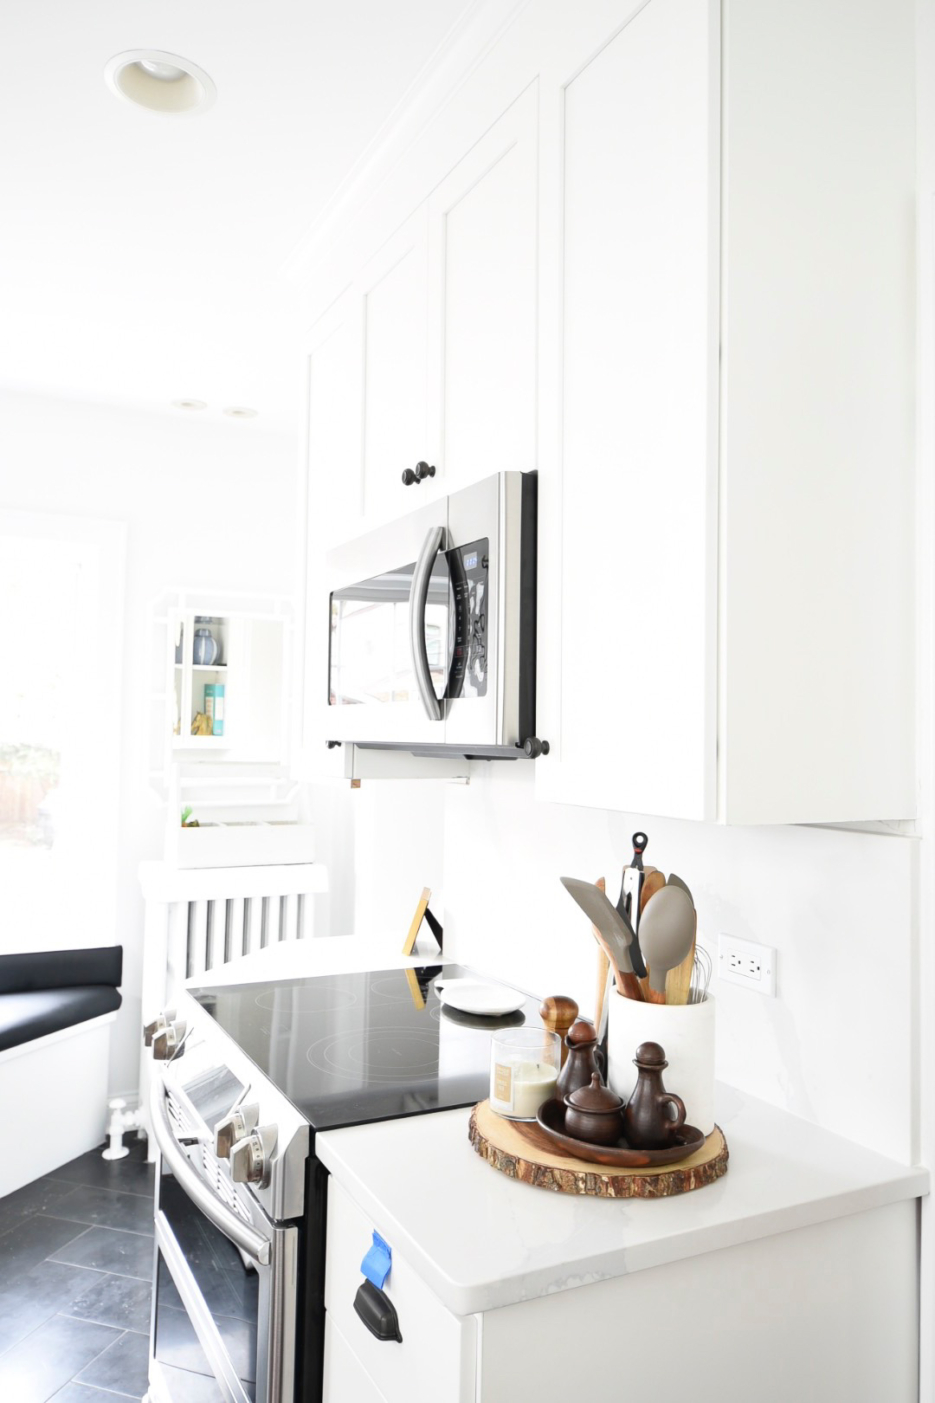
I know that reading these tips might seem odd, so please, head over to my youtube video where I share exactly how to use your caulking gun and how to paint trim work without tape.
PIN FOR LATER



Magda says
Thank you for this post. It gave me some ideas about refreshing the flat and where to start 🙂