Thank You To Lowe’s Home Improvement For Sponsoring This Post
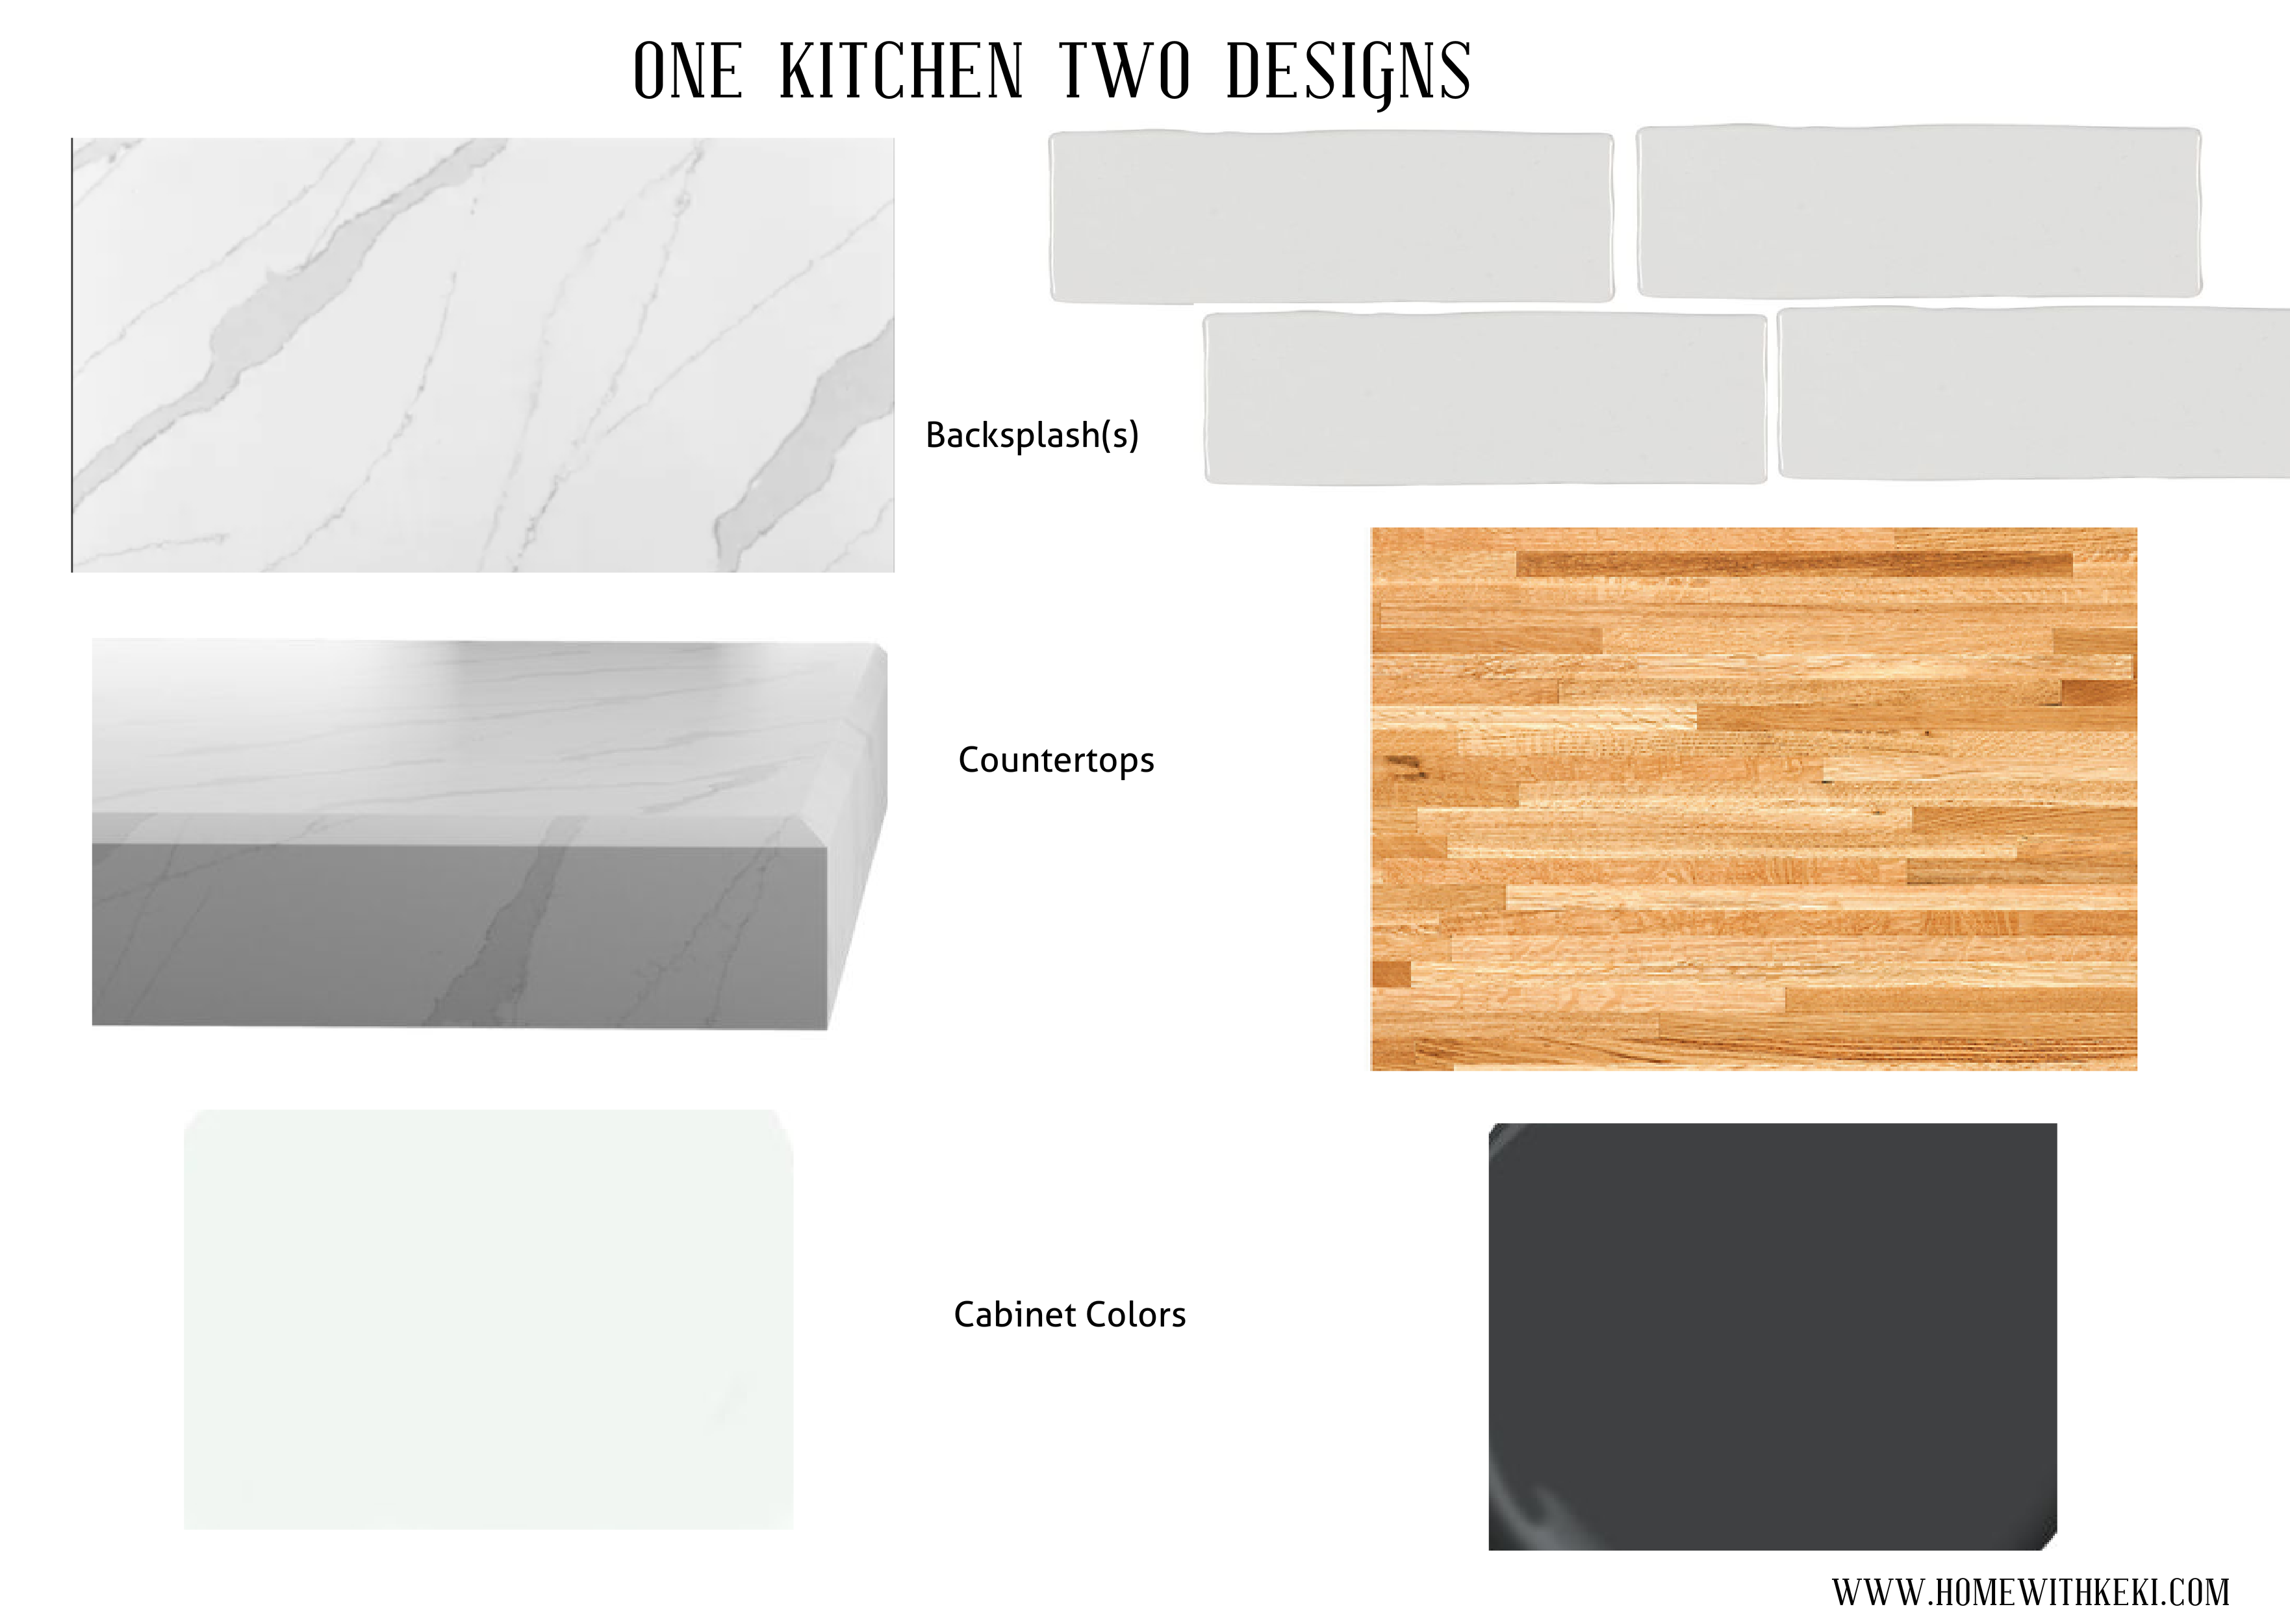
The kitchen renovation is in full swing as we hit the four week mark and with the support of Lowe’s Home Improvement I have made some progress this past week. I was not only able to have my slab viewing for the main countertops and backsplash; but, I got my butcher block backsplash kitchen installed for the butlers pantry area. You can see the full design for my kitchen refresh plans from last month’s post, and so far, everything is exactly what I envisioned.
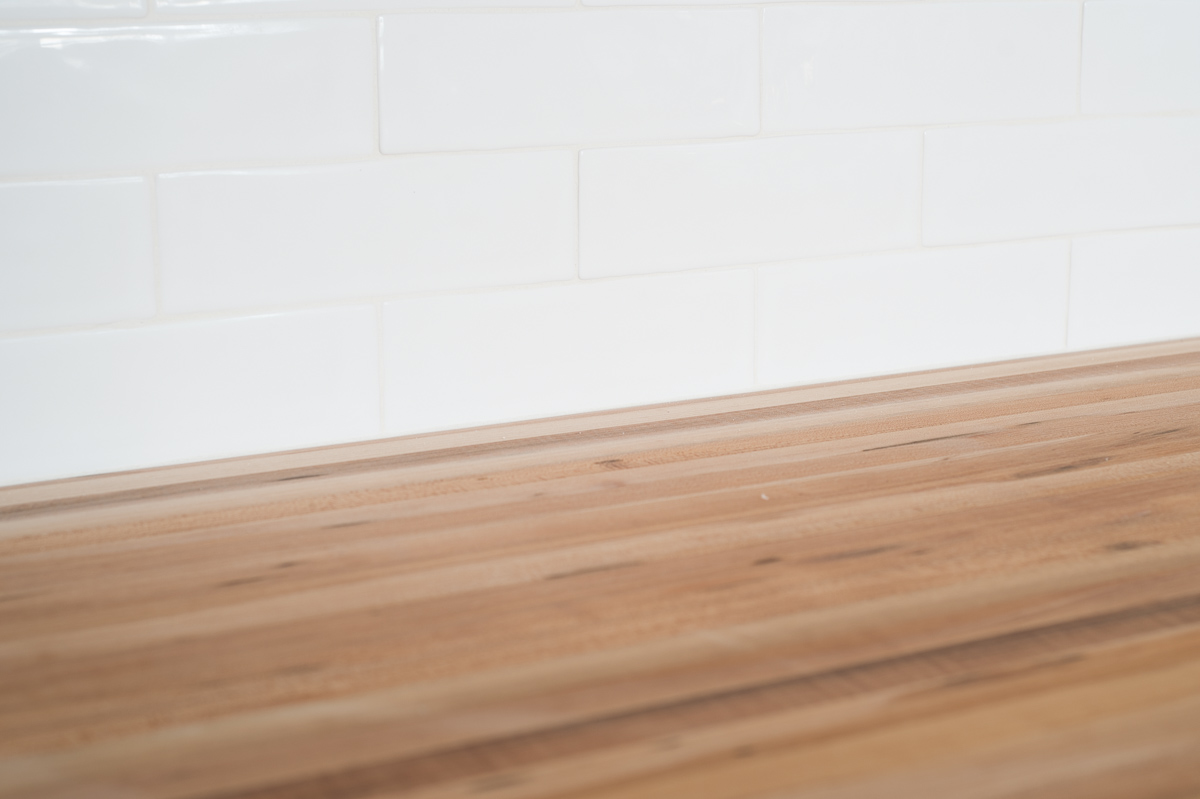
Butcher Block Backsplash Kitchen
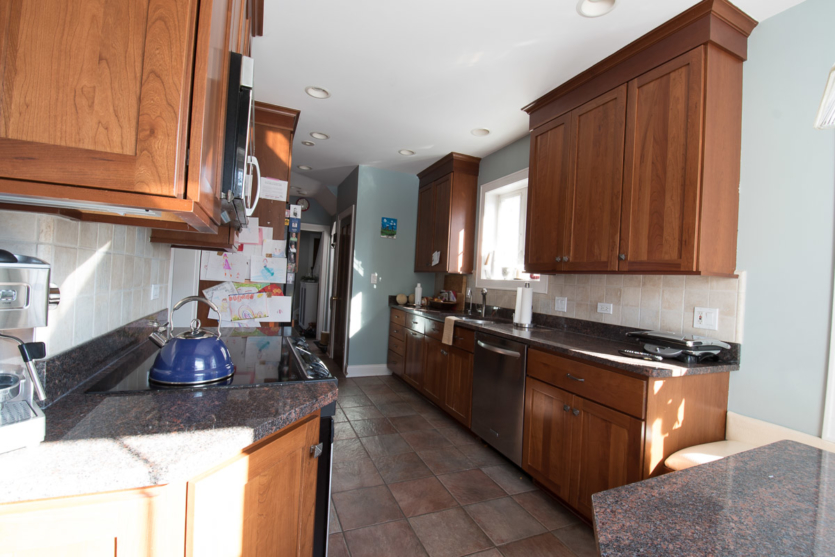
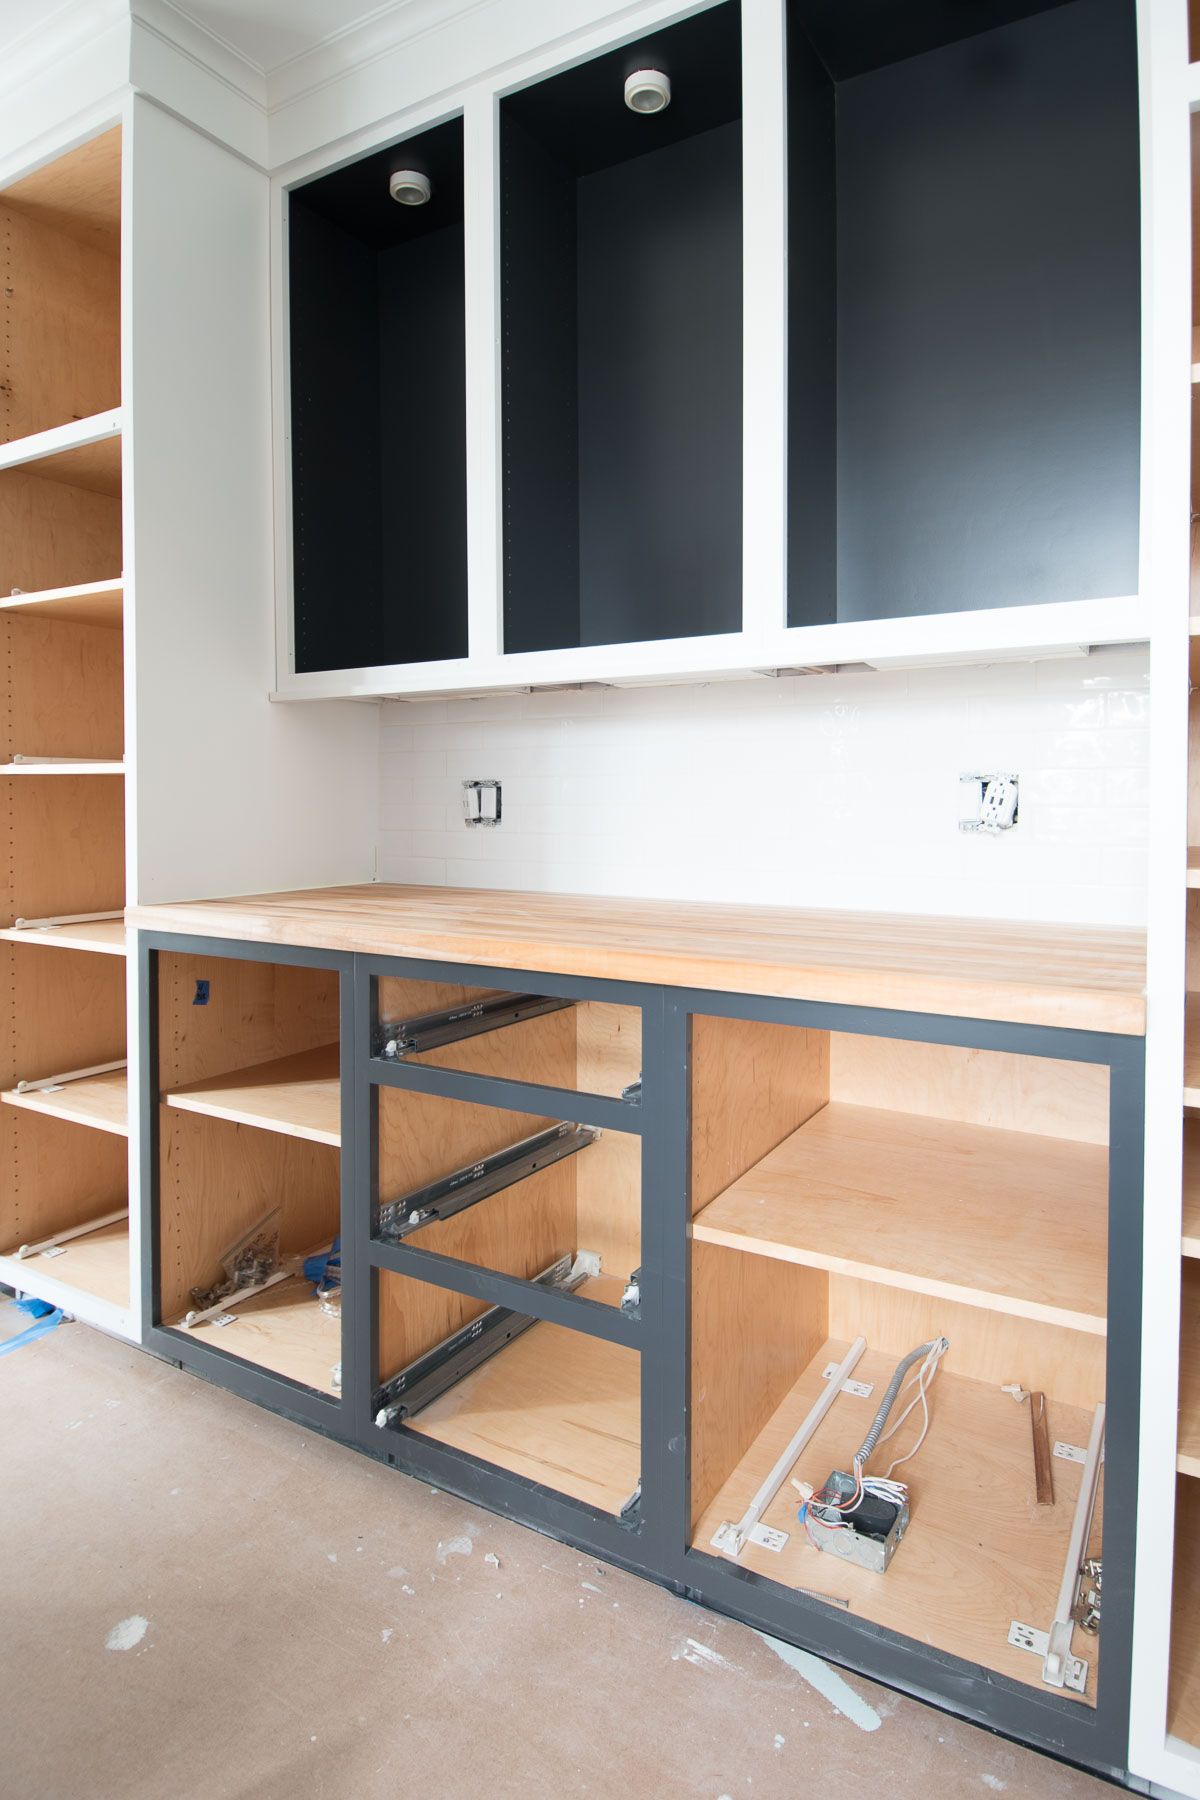
I have a galley kitchen of sorts and I was never planning on tearing down walls. For that reason, I wanted to design the kitchen into two separate areas. The smaller area was the original butler’s pantry of my 100 year-old home. It was closed off originally, as most butlers pantry’s are, but a doorway was created to the main entryway of the home since then. For that reason, it is more of a butler’s pathway now.
The previous kitchen design had all the same features as the main kitchen. Same cabinets, same backsplash and countertops. I wanted my main kitchen to stand out on it’s own this time, and to do that I had to separate it from the “butlers pantry” somehow.
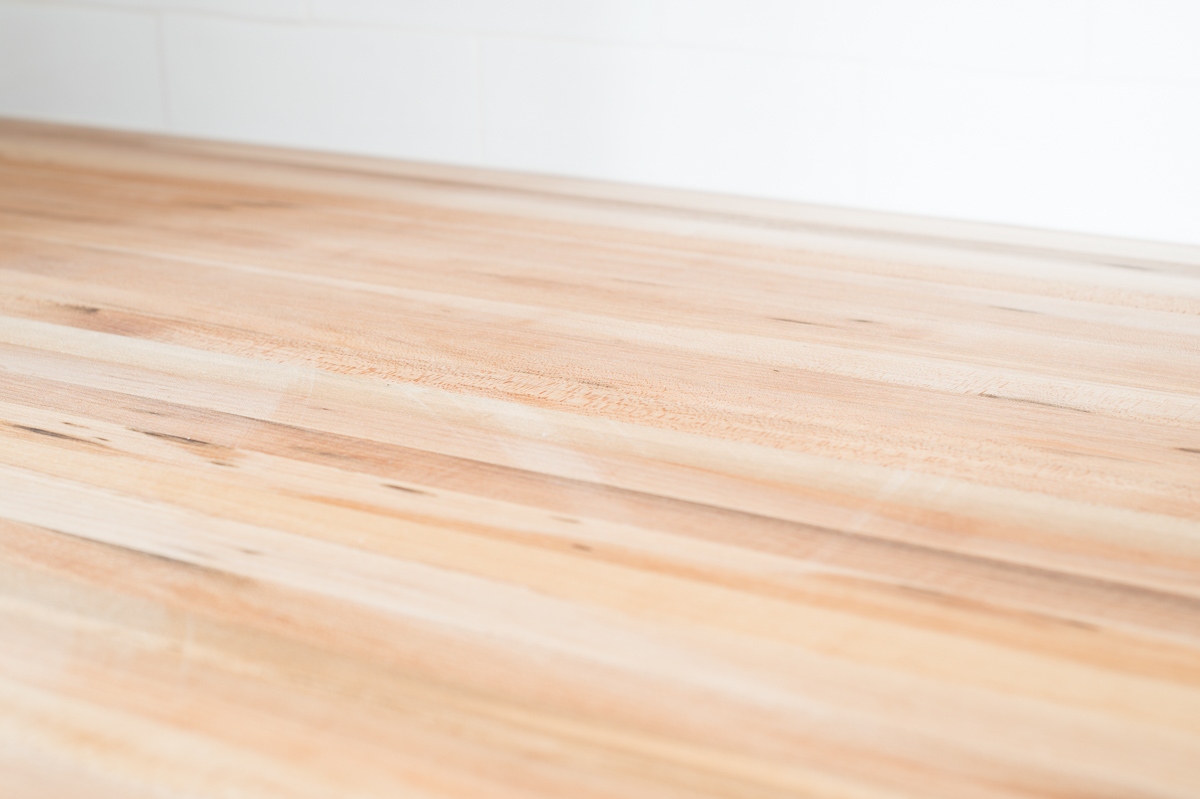
Butcher Block Countertops
I was beyond excited to discover that Lowe’s Home Improvement offers multiple countertop options including butcher block. I was able to choose from 5 different stain options, plus, they are completely customizable. Any size and shape. Another great plus, only a two week turnaround and my butcher block was ready for pickup. A few tips when ordering your butcher block and install
- Create a template of your countertop with accurate measurements
- Select your stain:
- Natural Maple
- Walnut
- Red Oak
- Rustic Maple (my selection)
- Cherry
- Select your style of butcher block:
- Uniblock 1″ Continuous Strips
- Ecoblock Finger jointed 1″ strips
- Gourmet End Grain
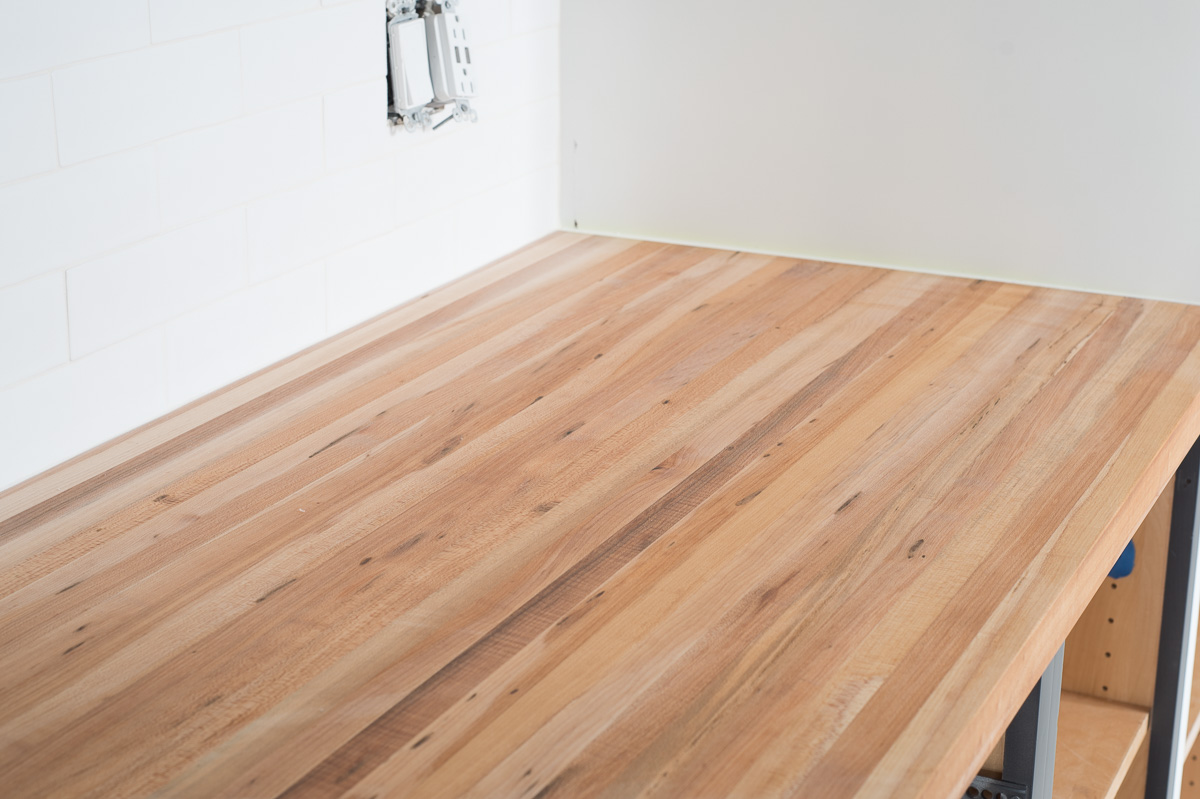
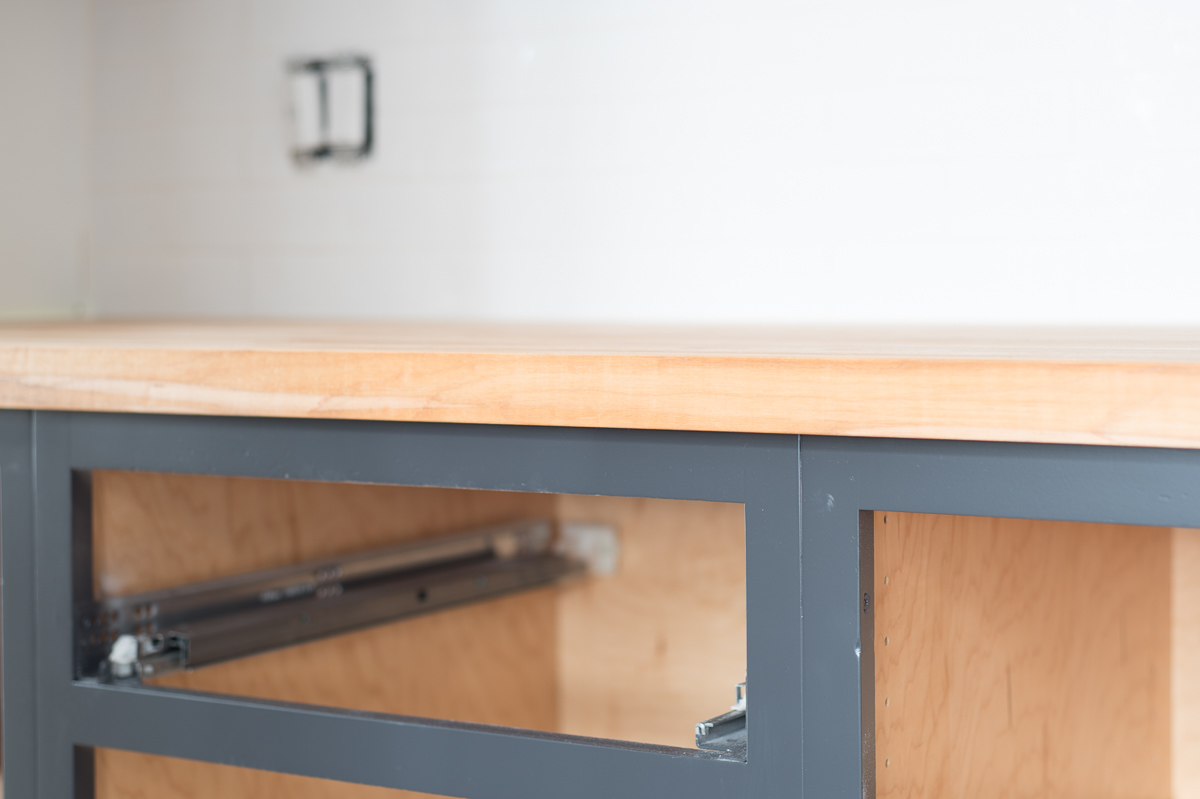
- Installing the butcher block was beyond simple
- We applied some liquid nails to the support beams underneath
- Slide it in
- Undermount nails to secure
- Care: A little sanding, then, natural oil and prep to be done periodically.
Backsplash For Butcher Block
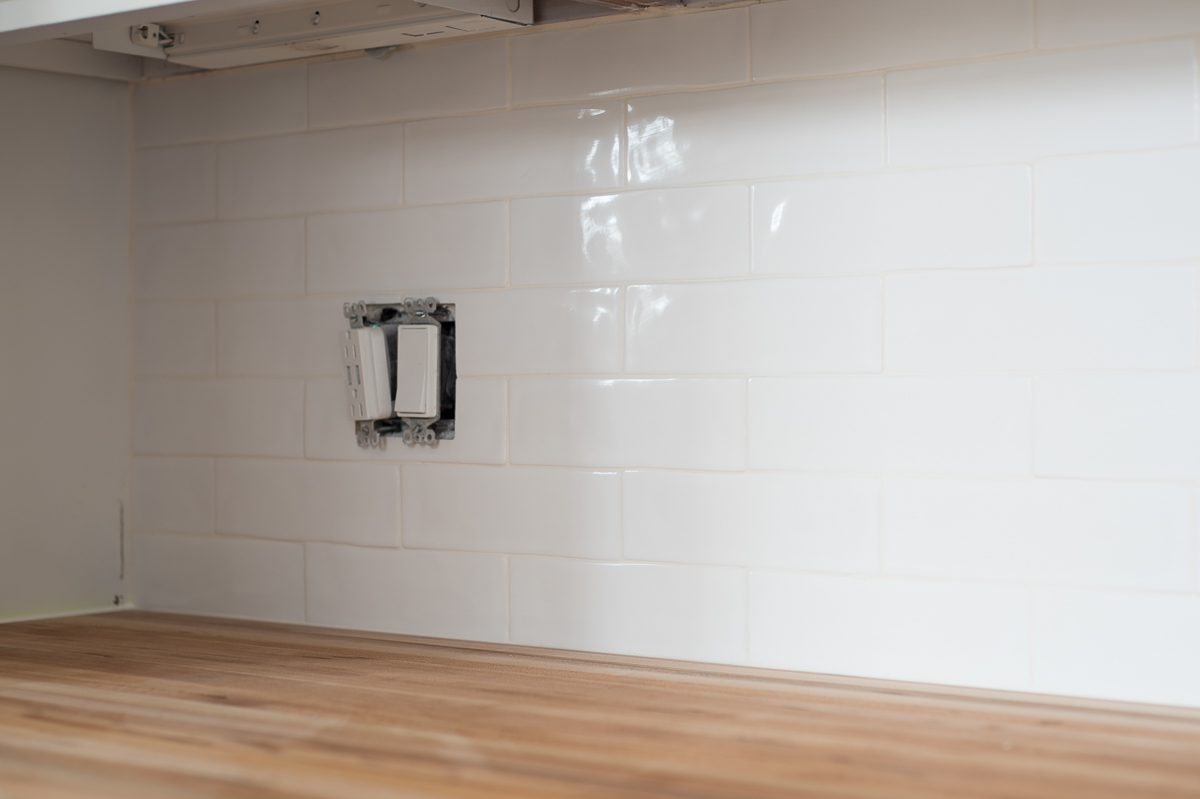
I wanted to keep with the style of my 100 year-old home butler’s pantry and opted for a subway tile. But, I didn’t want the typical white subway tile. On a shopping trip to Lowe’s I discovered the Elida Handcrafted Tiles. Each piece is beautiful, as they are handcrafted in Spain, and I couldn’t be happier. A few tips and what I used:
Supplies
- Elida Tiles – I went with the offset tile pattern to give it a more traditional feel
- Grout MAPEI Keracolor U 10-lb White Unsanded Grout
- MAPEI Type 1 Ceramic Tile Mastic

Ecoblock Butcher Countertop // Elida Tiles // Mapei White Grout / Mapei Ceramic Tile Mastic
Steps
- Prep the wall: sand down and make sure all major bumps or repairs are made
- Apply a thin layer of small mixed mastic in small areas
- Using a V-notched trowel to remove the extra and create even grooves
- No spacers: YUP, many people don’t realize that subway tiles usually come with built-in spacers at 1/16. Which is great because I did NOT want large grout lines. The tiles were laid at 1/2 offset pattern and using no spacers.
- Grout and clean
Well, off to week five of the kitchen renovation and all the finishing touches coming in April so stay tune or Pin For Later

