It is done! I did it you all! I completed my DIY deck project and sharing my tips on how to stain a deck. Not sure if you all remember, but last month I updated my deck with new railings and flooring. I needed to wait a few weeks for the pre-treated wood to acclimate before I could stain or paint. Trust me, it was hard for me to wait, but I knew I also wanted it to look great longer, so patience was for sure a virtue. Here are some of my tips and well, let’s be honest, mishaps too. I love sharing with you all so you can learn from my mistakes. Now, time to decorate my newly finished deck for Fall.
This post is a sponsored collaboration with Lowe’s Home Improvement: As always all opinions are 100% truthful and my own
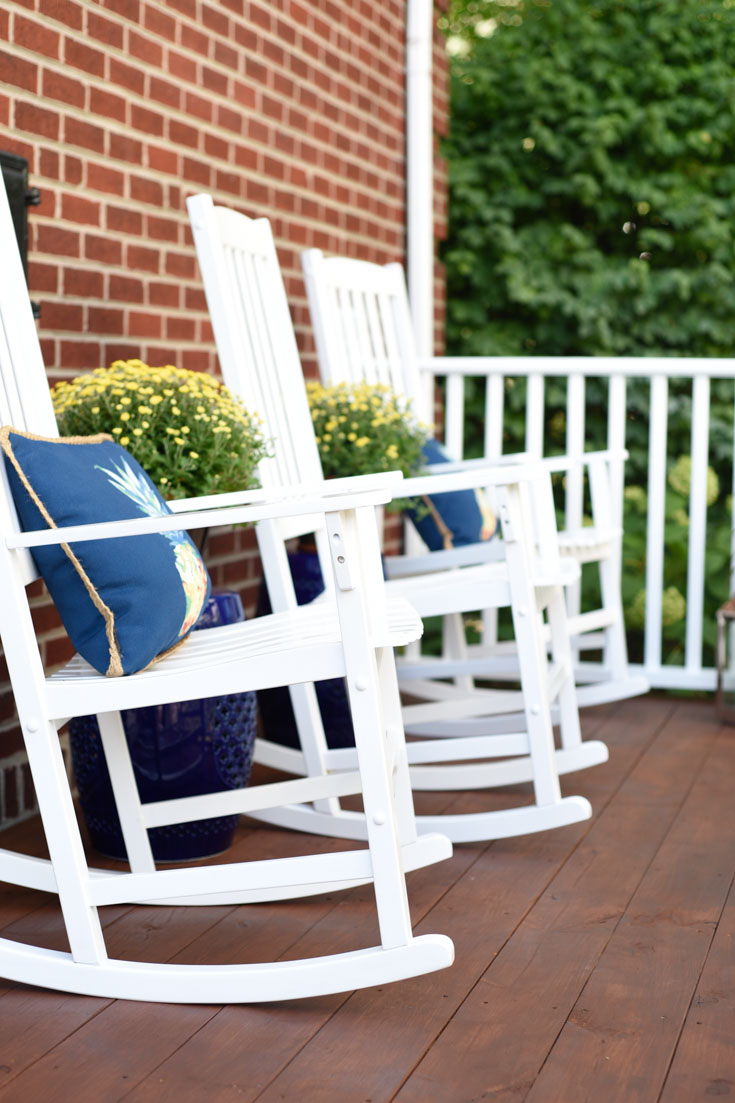
How To Stain a Deck
Now, if you followed along on my instagram stories you saw the dirty behind the scenes of taking on this project and I always share my truthful mistakes and tips. Because let’s be real, when I read those “how-t0 tutorials ” online and they don’t share “what NOT to do,” you begin to think that it is you. That all this D.I.Y stuff is not your cup of tea. NOT TRUE, mistakes happen and that is why I am here, I mean, hey, I am a girl DIY’er with three kids tapping me on the shoulder ever SINGLE time I am about to shoot a floor board with the nail gun.
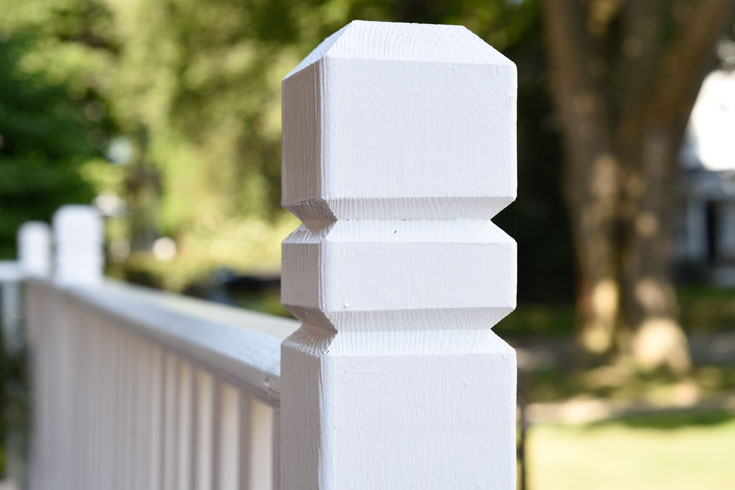
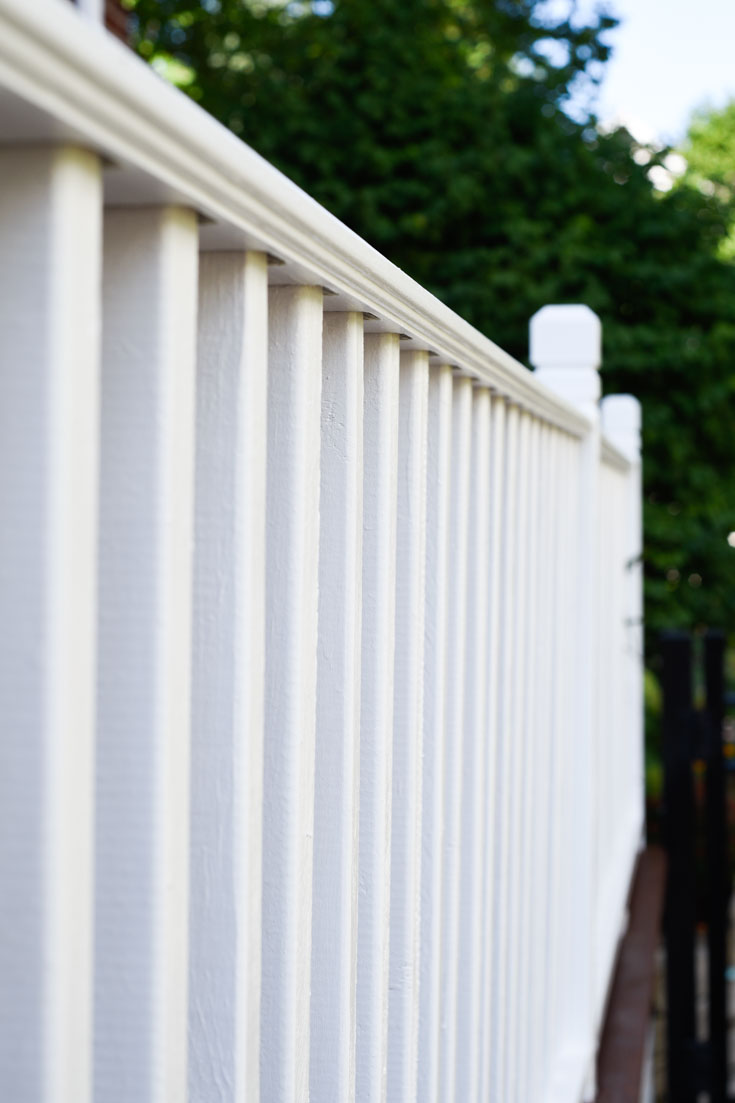
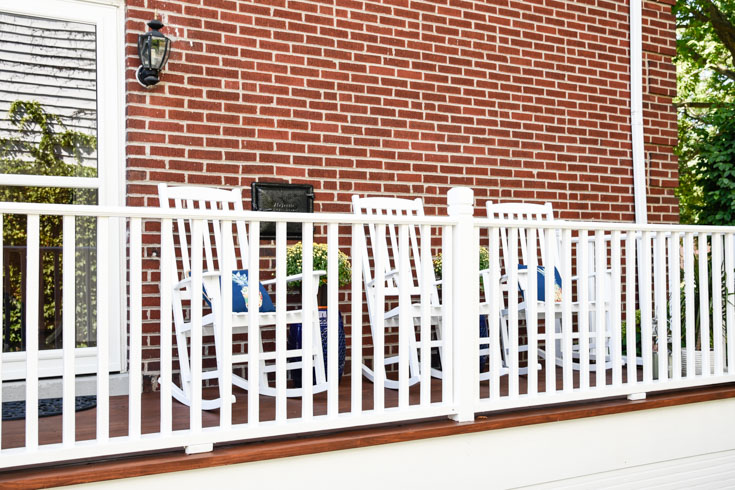
Okay, lets discover the pretty first, here are some of the before and after. I need to mention that we always had this deck, but, no one ever enjoyed it. In all honestly, I believe I styled it wrong before. Oversized furniture that made the small deck feel even smaller. Also, I knew I wanted to change out the balusters and post. They were too traditional for my taste. I like to say my style is not traditional but “updated vintique.” I make sure to stay true to the era of my Georgian colonial while giving it an updated look more modern feel.
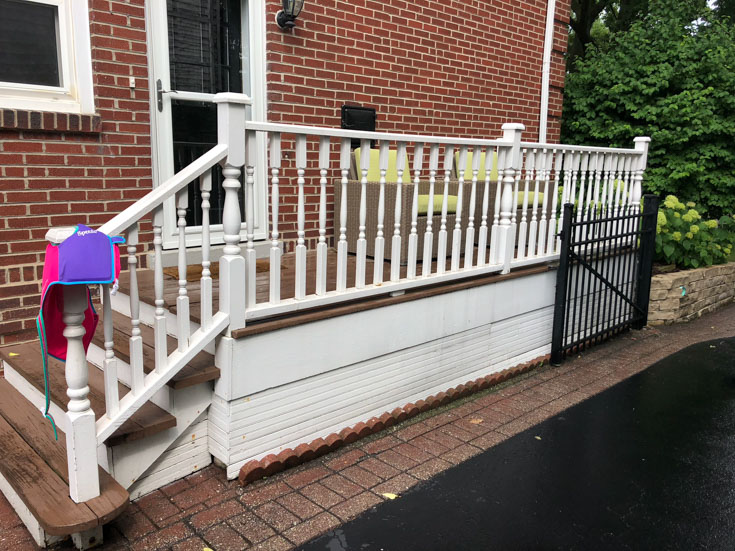
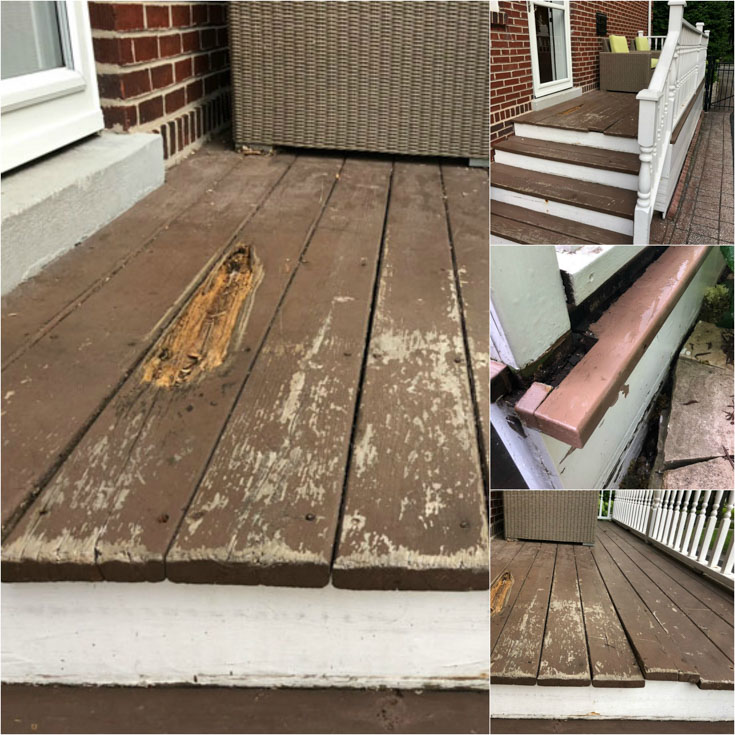
AFTER DECK REPAIR
Read about my deck repair and improvements
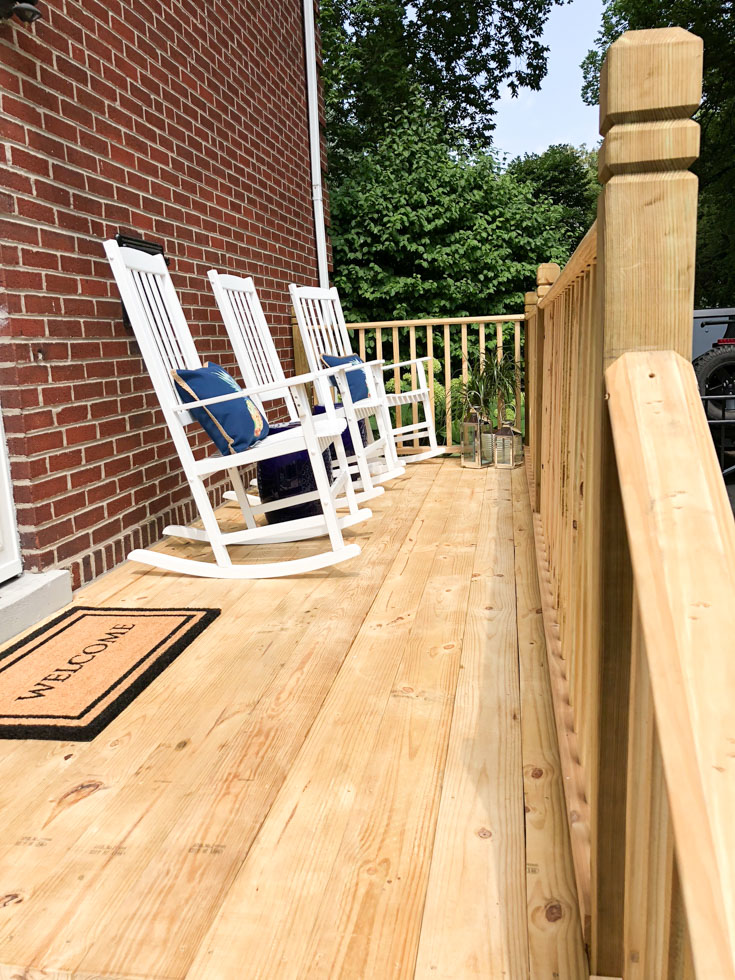
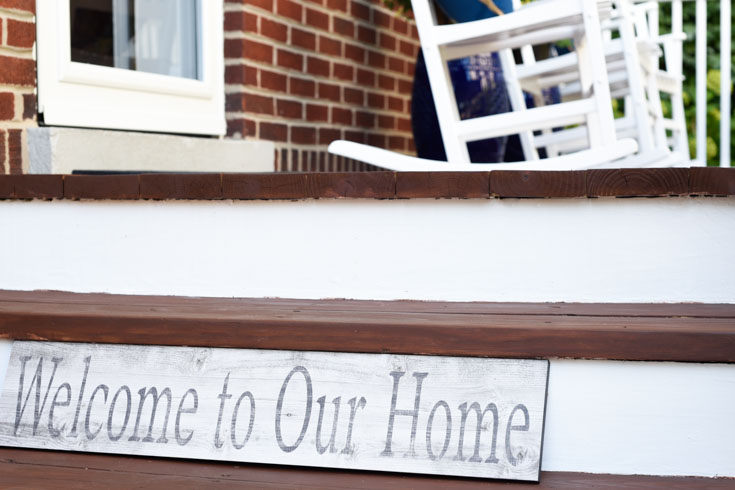
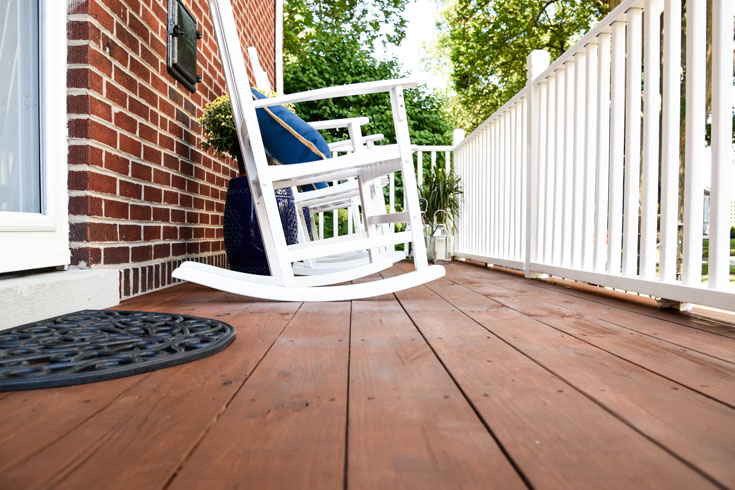
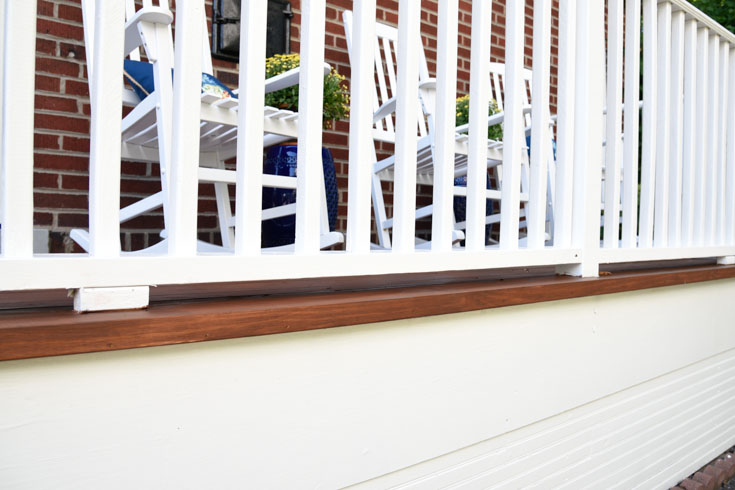
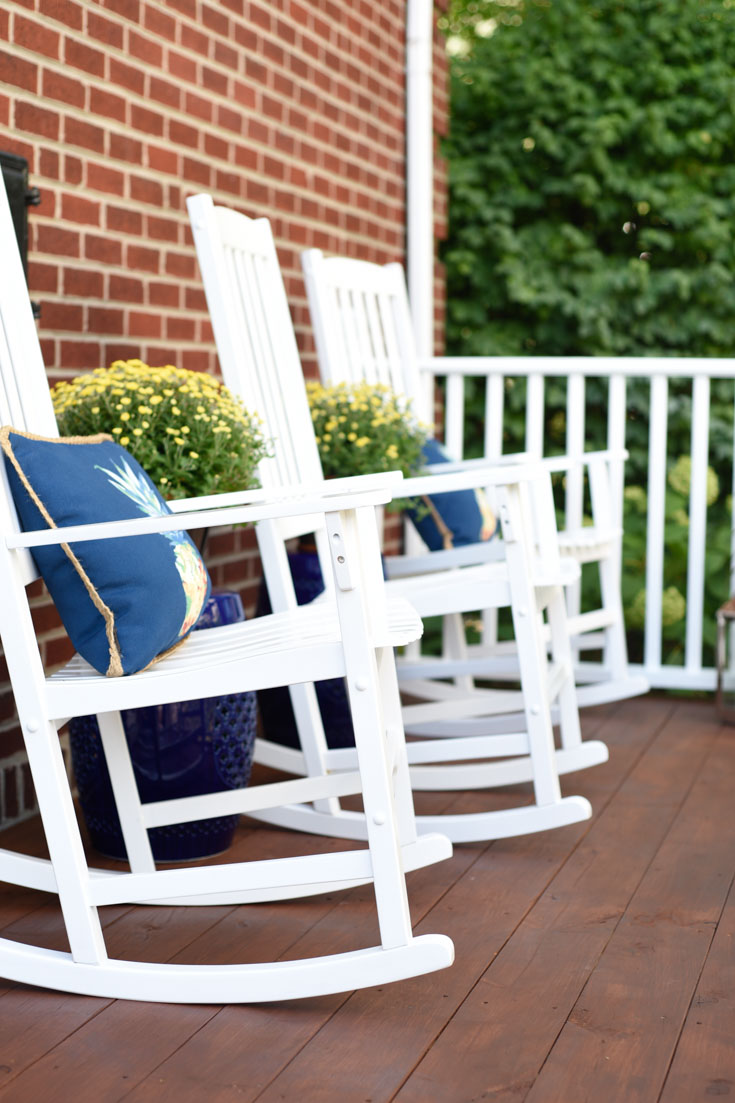
AND FINALLY AFTER STAIN AND PAINT

Tips On How To Stain A Deck
So let’s get right to it. Here are my top 10 tips to stain a deck and paint the railings. Also, what I learned from my own mistakes.
- Wait 6+ weeks before staining pretreated wood. Yup, I was going to paint and stain right away. But, when I was purchasing the lumber at my local Lowe’s, they saw me purchasing my stain at the same time. Thankfully, the Lowe’s associate looked at me and basically taught me about deck lumber and the absolute importance of waiting a minimum of 6-8 weeks for pre-treated lumber. PHEW, so glad he took the time to explain everything to me, cause apparently, it is a major “No No.” As a result, plan accordingly, if you want your deck ready for summer, make sure you start in April to give it time before staining.
- Sand sand and sand. You need to sand down any necessary flooring or handrails to prevent splintering . Last month, I repaired and replaced many damaged boards. Also, new balusters and handrails. Using 80 grit paper I sanded down splintered areas, rough patches, and all floor boards that I did not replace. I learned that this takes time but, well worth it to get an even new look. Just in case, here is what I used for my deck improvements:
- Railings: Sever Weather Prime-Treated Southern Yellow Pine Deck
- Decking: Severe Weather Prime-Treated Lumber 2x8x16
- Baluster: Sever Weather Prime-Treated Pine Deck Baluster 2x2x42
- Support Posts: Sever Weather Prime-Treated Deck Post
- Bottom Rail: Top Choice Lumber 2x4x8
- Support Beam: Sever Weather Prime Treated Lumber 2x10x8
- DEWALT 15-Amp Corded Circular Saw with Steel Shoe
- DEWALT 3-Amp Random Orbital Sander
- Wagner Flexio 3000 Handheld HVLP
- Wipe clean with a microfiber cloth or power blow immediately before to remove any dust.
- Protect near by plants, siding of home with plastic. So funny, if you saw my instagram stories, the exterior of my home looked liked a scene from Dexter. I might have gone over board with the protective plastic but I don’t regret it. I spent a good hour prepping the entire area with plastic before I began. This allowed me to use my hand sprayer for the primer.
- Make sure your wood is dry. We had a lot of rain lately. I kept watching the weather channel. I knew I needed 2-3 days for all the wood to dry, and, simply because I am paranoid, I wanted a good 48 hours after completion of no rain.
- Painting the handrails and posts: make sure you use an outdoor primer first! I sprayed this with my Wagner Flexio 3000 Handheld HVLP before using a roller to apply the paint. Some might say to start with your floors then railing. BUT, since this had to be done in one weekend I knew if I did flooring first that I would not be able to stand on it for 1-2 days, to paint the railings. So, I painted the railings first, on day one (floor boards covered in plastic). And then on day two I could sit down on the deck and begin staining the floor. Best choice I made.
- To seal or not to seal: there are different opinions out there. If you use pre-treated wood then you just need to put a water-proof stain. If you are using natural cedar you must seal. Well, after completing my paint and staining I did the water test to determine if I needed to seal.
- The water test: Drop a little water on the newly stained deck. If it soaks into the wood, you need to seal. If it beads up you are good to go. After applying Cabot Semi-Solid Stain, my deck passed the water test. Great product! BUT, we have harsh and long winters so I got nervous. For that reason, I am applying a sealer. I will be using Thompson’s WaterSeal Clear Exterior Stain
- Have a great playlist on and headphones to drown out the kids asking for something every 3 minutes.
- AND lastly, make sure you have all the right materials: Here is what I used and loved.
DECK MATERIALS:
- DEWALT 3-Amp Random Orbital Sander
- Valspar Exterior Multi-purpose Water-based Primer
- Cabot Pre-Tinted Cordovan Semi-solid Exterior Stain
- Thompson’s WaterSeal Clear Exterior Stain
- HGTV Home by Sherwin Williams Weathershield Semi-Gloss Exterior Paint
- Stain Brush: Natural Bristle Flat 5in Paint Brush (I needed 2)
- Paint Brush: Purdy 2.5in Angle Brush
- Whizz 4in Maximus Siding / Porch Roller (my #1 favorite roller!!)
DECORATIVE ITEMS:
- Boston Loft Furnishings Carolina Eucalyptus Rocking Chair with Slat Seat
- Surya Auburndale 18.1-in Blue Ceramic Barrel Garden Stool
- Decorative Mums
- White Planter
- Pillows
- Welcome to Our Home Sign
- Allen & Roth Door Mat
Tips on Exactly How to Paint the Railings:
With all areas covered in plastic, including all floor boards, I decided to use my Wagner hand sprayer for the primer. I didn’t want to spend hours brushing on primer and I am so glad I sprayed it. The entire area was primed in 5 minutes. While I cleaned up my equipment (remember, you must wash your sprayer and all it’s parts when done) the primer had already dried and I was ready to being painting.
With my Purdy 2.5in brush I painted around the details of the deck, the parts that touched the floor boards. Then with a 4in roller I was able to paint it quickly. This is my favorite roller, I use it for interior walls and it’s great for siding as well. I prefer this roller over all others because of the final dried appearance. Anyhoo, repeat for a second coat. This entire process took 6-7 hours. One coat of primer and two coats of paint. I let it sit overnight and then the next day it was all about the floor boards.
Tips On Exactly How To Add The Stain:
Stain Options: They are many options to deck stain colors. MANY! You can go with a transparent, semi-transparent, to a solid. I feel like solid stains are used to hide worn out decks, they can hide many imperfections. But, since my deck was new I wanted to be able to see the grain of the wood. Also, we have such harsh winters I wanted it to have a deeper protection with a semi-solid. The semi-solid finish masks some of the wood grain, but allows some of the wood texture to be seen.
Colors: I loved the idea of grey or even simply adding a natural sealer and leaving the look of the pre-treated cedar. However, I personally felt that that look didn’t go with the style of my home. I fell in love with my 1929 Georgian Colonial for a reason, and for that reason, I always research projects for that era. Also, I am a stickler on pattern and repeat. I preferred the look of repeating the white from the window frames to the railings and the reddish/brown brick to the floor boards.
The color I opted for was Cabot’s Brickstone and couldn’t be happier. I also preferred to apply two thin coats of semi-solid stain. I wanted to see some grain, while adding deeper color. When applying your stain you can use a paint roller or even a sprayer. I preferred to use the natural bristle brush as I felt like I had more control of the stain, with more control of the stain, it wouldn’t be to heavy in one spot. I wanted to be careful that the stain didn’t puddle in certain areas.
Some tips:
- Start by coating with the grain, 2-3 entire boards at a time, from one end to the other. Heavy repeated strokes
- To avoid puddling make sure to not move on to new boards until you have brushed as much wet stain as possible on existing boards, as they can soak in and dry quickly.
- Technically, on new decks you only need to apply one coat. However, I had some pre-existing boards. In order, to get color consistency I needed two coats.
- Remember, that more stain is not necessarily better.
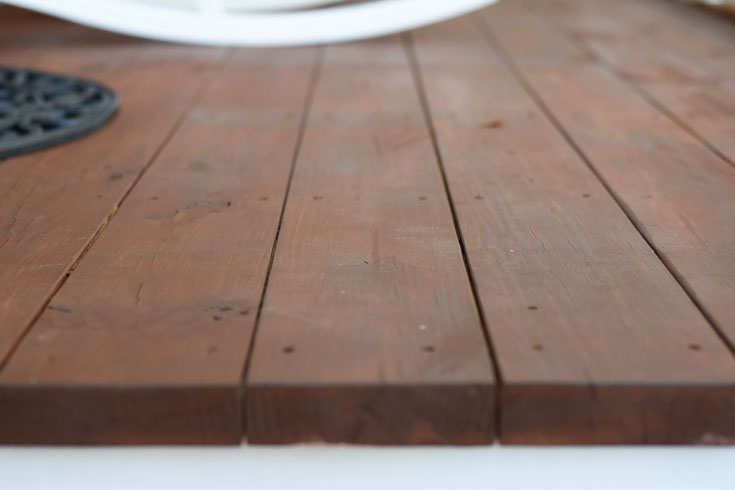


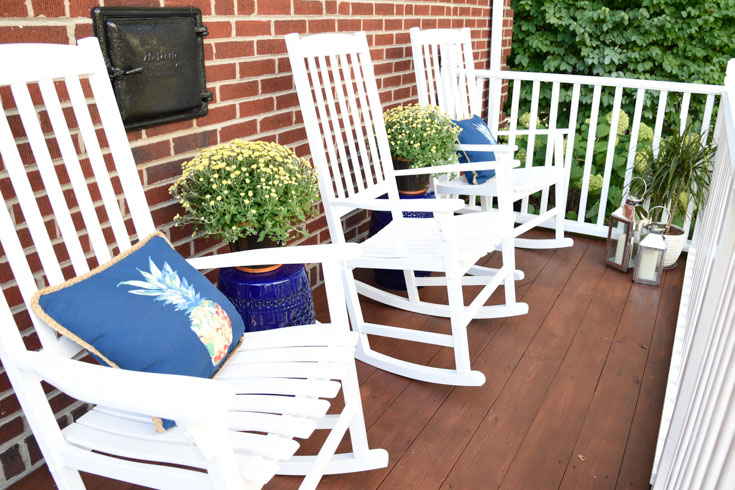
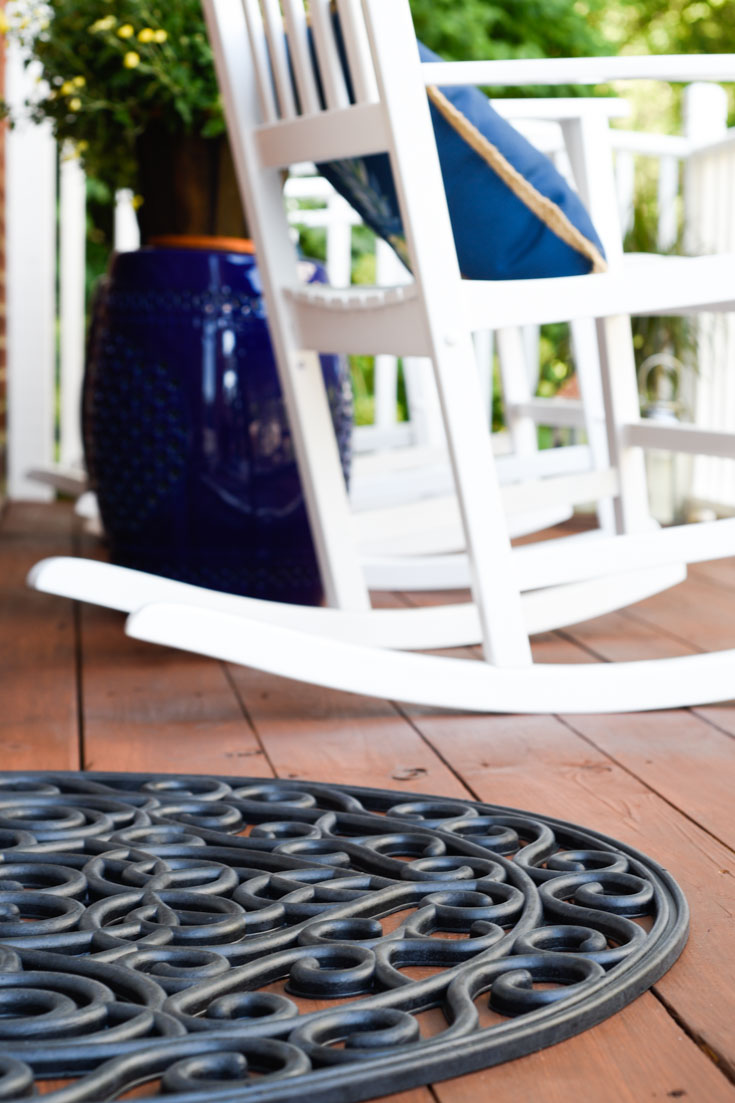
Since completing the deck I have actually stepped outside and enjoyed it more often than my previous deck. My daughter and friends too. I think it has to do with the overall feel of adding the rocking chairs. I imagine myself on my Charleston porch drinking some sweet tea.
PIN FOR LATER


Elle (CleverlyChanging) says
I love the stark white colors of the rockers. It provides old southern charm with a modern appeal.
Cecilia Cannon says
YES! exactly what I was aiming for Elle. Thank you!
Grace [Of Coffee and Crackers}] says
What a nice place to stay and read books or just simply chill on!
Thank you for sharing the tips.. I wish I have this kind of patio/place at my house too..
Cecilia Cannon says
Thank you Grace! It has become my favorite spot!