It’s Monday and you know what that means, Home Staging tip series! So, if you are here for my home reno projects or my Friday personal rants, and not so much for Home Staging stuff, that’s all good, come back Wednesday as I am sharing how I updated my 1929 home’s electrical sola. But, if you are here for my home staging tips, welcome back. If you are new here, some of the home staging topics I have covered are Top 5 Quick Home Staging Styling Tips, Best Home Staging Courses, How to Build Your Home Staging Portfolio, Vacant Home Staging Tips and all my top paint colors when staging a home. Feel free to click on over there to grab those tips. So, yeah, I discussed how to start building your home staging portfolio but naturally I got some great questions from readers that I thought I tackle today and let you know what you need to build your home staging portfolio. Like literally, what you need to build it.
Home Staging: Photography Tips for Home Stagers
Before you launch your business you need to have your Home Staging portfolio. In my last home staging post, I went over a couple of things I did to build my portfolio before I launched, but now I want to share exactly what I use to build it. When I first started, I relied on a not so great dslr camera and/or the real estate photos done by the realtor. Sad thing is, when I started eight years ago, many realtors took their own pictures too. UGH! so looking back, a lot of my first photos provided to me by the realtor are just awful to look at now. It is amazing how far we have come in knowing how to market real estate and invest in a real estate photographer. I mean check out these photos of some staged properties back when I began.
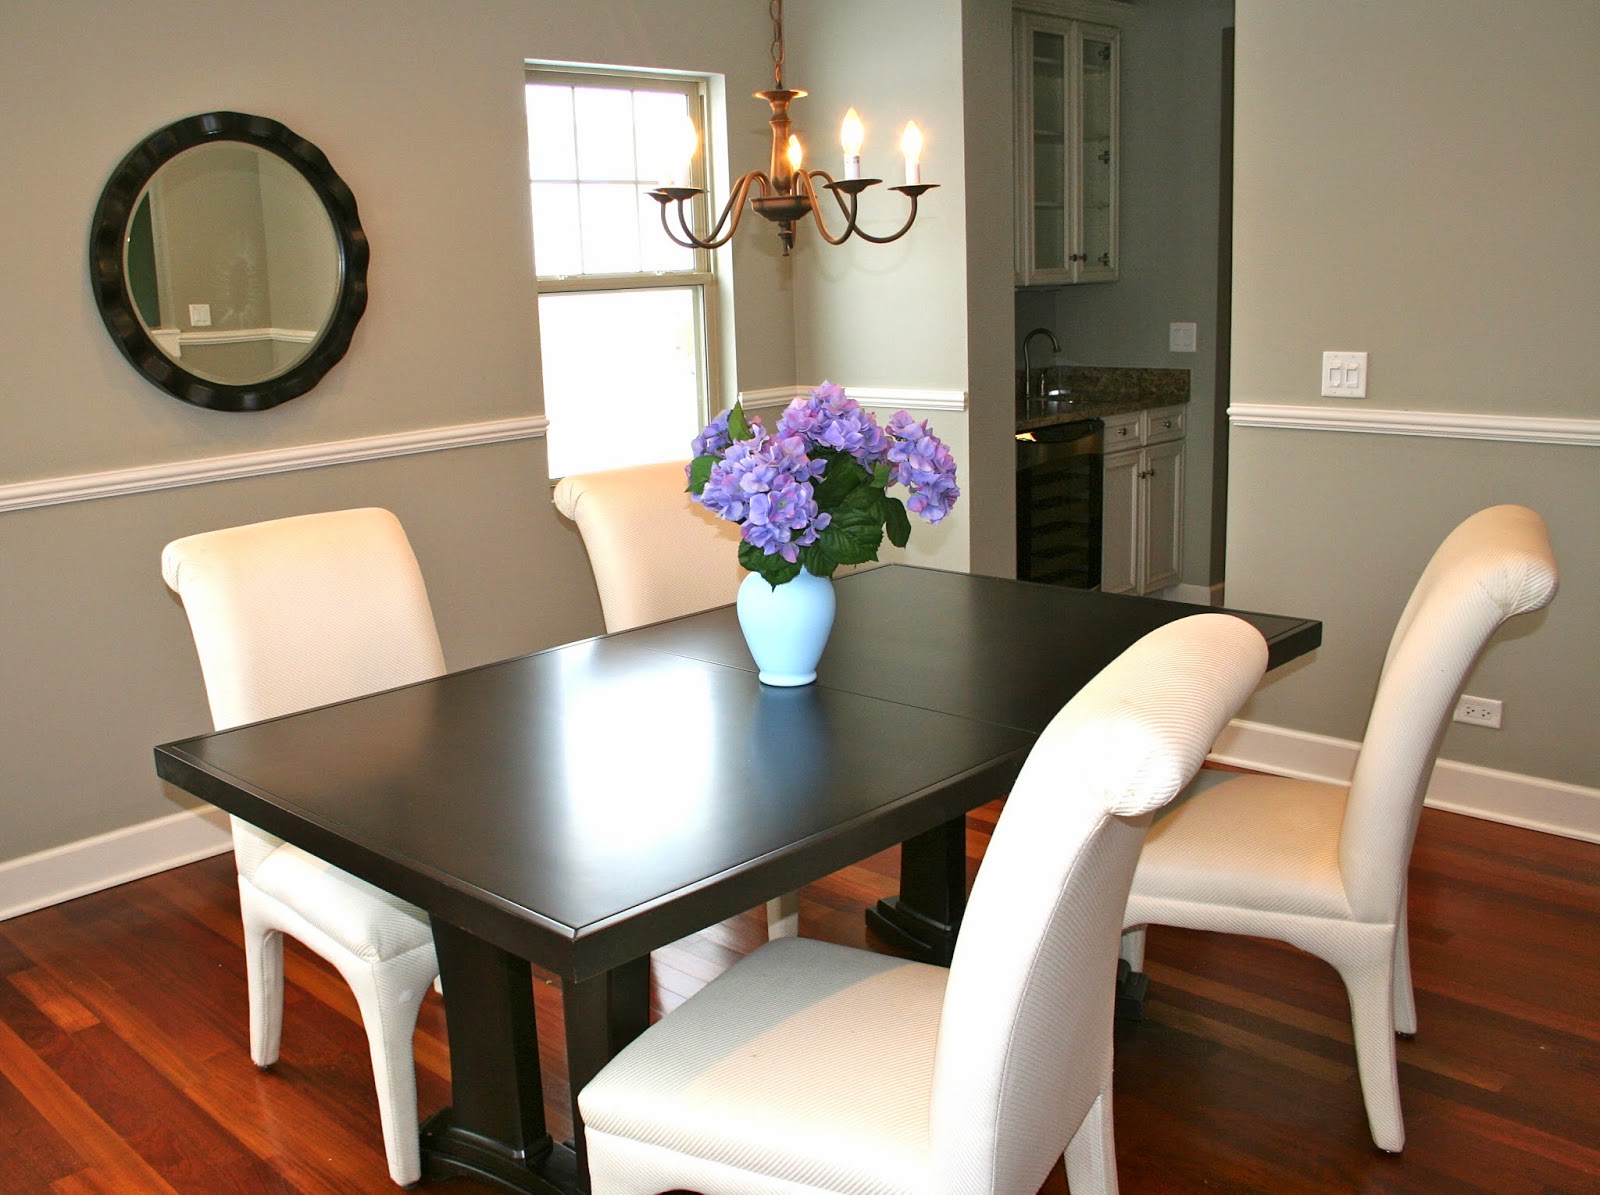
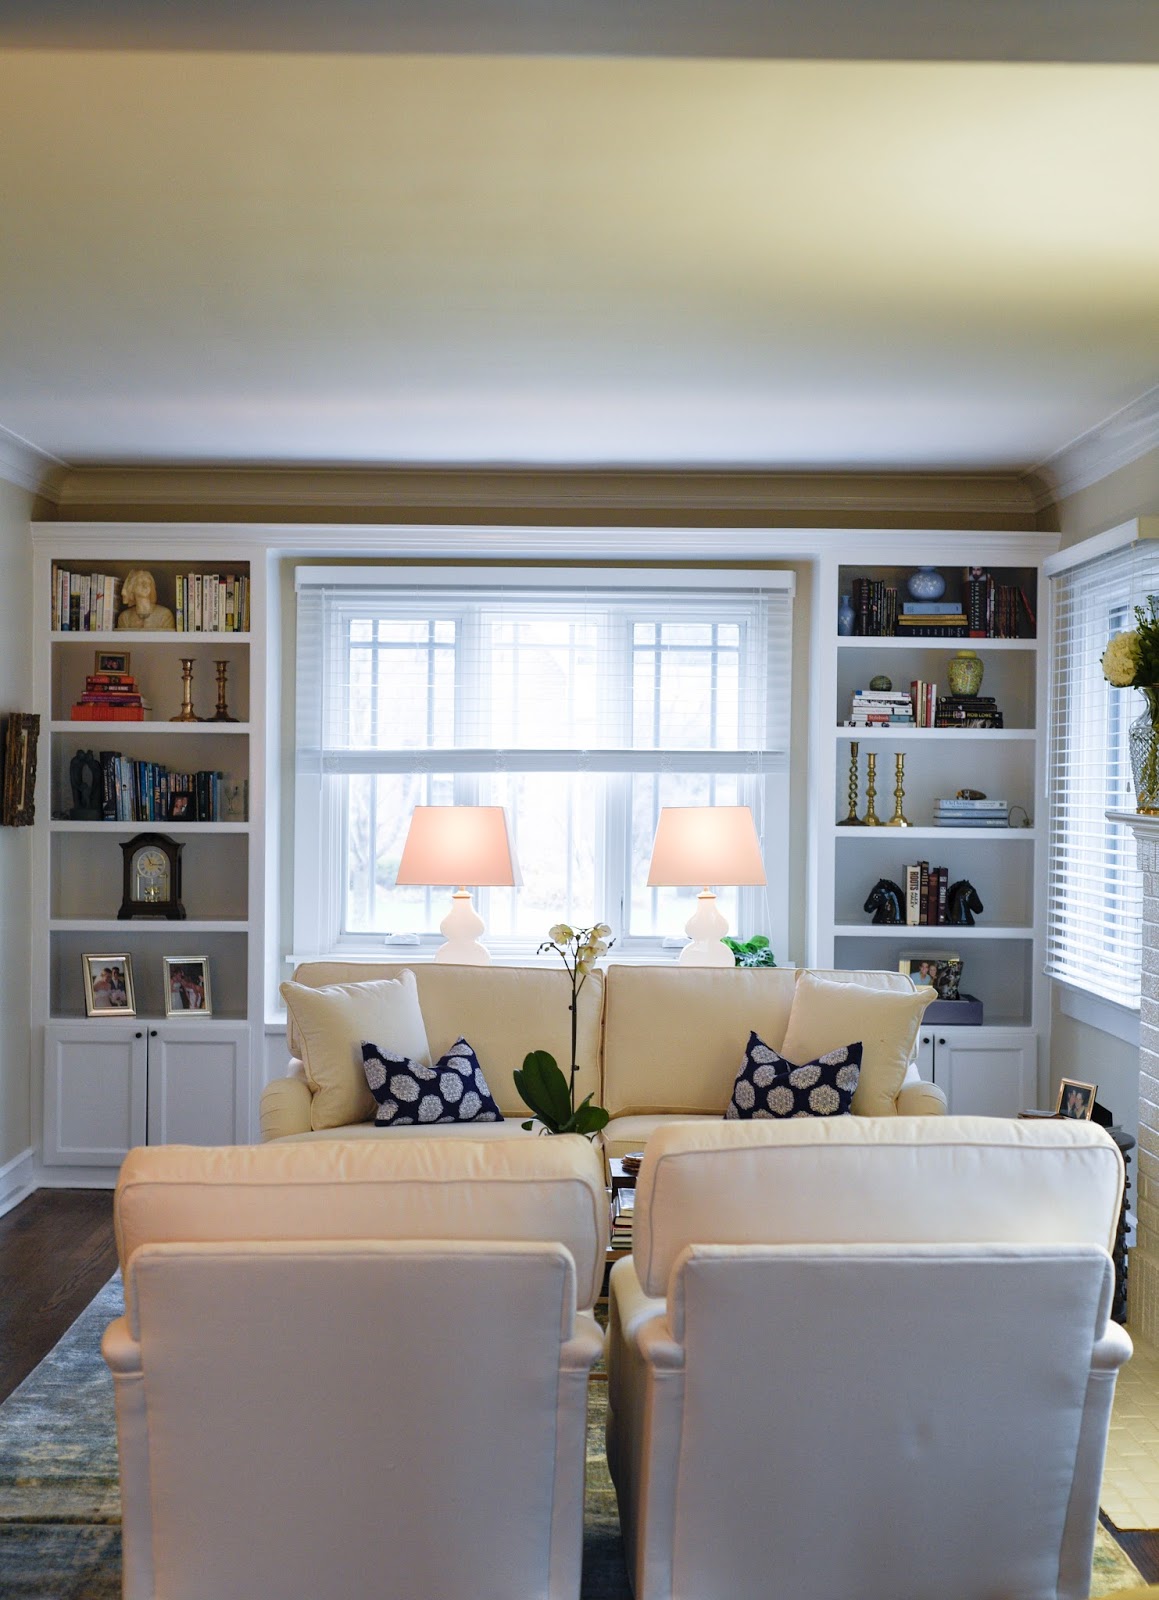
I know. Well, as we got smarter we all (home stagers and realtors) started hiring professional photographers and, boy oh boy was it worth it. But, there is a downfall; they aren’t cheap, granted, they shouldn’t be. It is an art and we all totally appreciate it. But, if you are starting out you might not be able to have a professional photographer onsite for your projects. Heck, even now when I am onsite, almost 2-3 times per week for install or staging, I wish I could have a professional photographer with me every time. BUT I am not there,…yet. I do have professional photos done depending on the project, but the best thing I ever did was invest in photography equipment and classes.
Yup, why not add another course-load to my ever day load, but I always loved photography. I remember opting to take the classes in school and being eager to shoot with my beginner camera. So, one day I decided that I would get myself a camera and start shooting. Practice, practice, practice.
Here is what you need to start building your portfolio
1 – DSLR Camera and 2 lenses (50mm and a wide angle)
If you are just starting, don’t go crazy and spend $5,000 on a camera and lens. Go ahead and buy off Craigslist. Trust me, some people will sell amazing cameras on Craigslist cause they are moving on to a newer version or simply need to sell. I started with a Canon but I actually did the switch over to Nikon and now work with a Nikon D750 and I love it. After a ton of research on interior design photography, I was convinced this was the route for me. The built-in wi-fi is amazing, all my photos are instantly transferred to my phone! I know, amazing. It’s super easy to use and I love the Nikon community online, they have a great support system.
I also use a Nikon 50mm and a wide-angle. The 50mm is for gallery shots while the I use the wide-angle to capture the entire room. If you have seen my business page at www.ceciliacannon.com you will see that I divided up my portfolio into gallery shots and room shots.
2 – Lightroom or Other Photoshop Software
I use lightroom because it is super user-friendly and I love that it has an app for my phone. I have not mastered Adobe but I am fine using lightroom for all my portfolio pictures. Lightroom will help me to adjust exposure, white balance, shadows, warmth, contrast, and at times remove that pesky outlet.
3 – Tripod
You must buy a tripod. I waited to long to buy one. Wish I had gotten one when I got my camera. There will be many times you need to take a photo and you don’t have enough light. AND DO NOT turn on your flash, shoot in manual. More on that in later. Anyway, when in manual, your camera will not take a picture if your lighting isn’t good. But, you can play with the settings if you use a tripod. Why a tripod? Cause, any movement will be captured. I got my tripod on amazon and love it, so far. It can handle the weight of my camera and it is easy to adjust the leg lengths quickly. Don’t forget to make sure the tripod is compatible with your camera, not all are universal.
4 – Lighting kit or Speedlight
Going off of the tripod. I didn’t get a lighting kit till this year. Why did I wait so long? just being dumb. Again, I regret not having it sooner. However, a lighting kit is not a small carry-on. It is equipment and takes time to set-up. For that reason, a speedlight is another great investment. When do I use a lighting kit versus a speedlight. I photograph my home a lot for my online portfolio on instagram and my blog. That is when I will most likely use a lighting kit. If I am headed to an event or showroom or client home, I bring my speedlight.
5 – Take a Course
My first course was a full day photo session I found on Groupon and loved it. It was onsite in a classroom and started with the basics. The instructor was fab and it took us 9 hours for $79, love groupon. I would do that same class again if it was offered. I also did a 365 day challenge. Which was taking a photo a day for 365 days with your dslr. I loved this because I now for a fact that the first photo of my living room looked a little blurry and dark. 365 days later it took me only a few seconds to know what my iso / aperture / speed had to be to take a perfect vignette picture and I did. If you can’t find an online course or something on groupon, check out your local community college, I did!
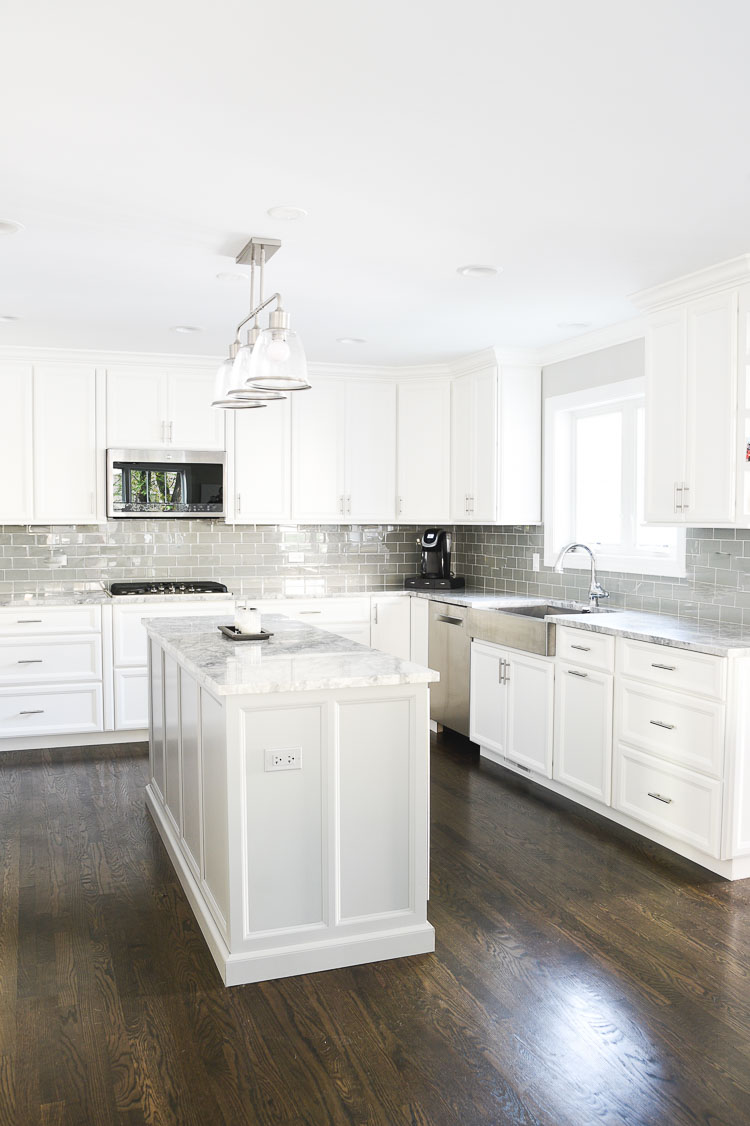
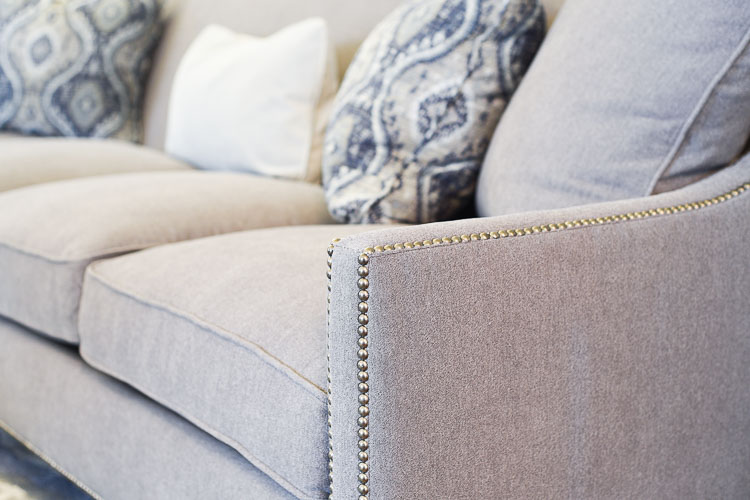
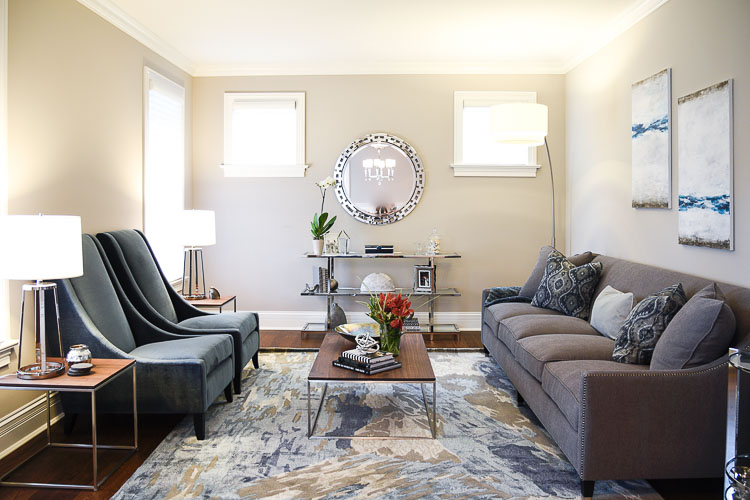
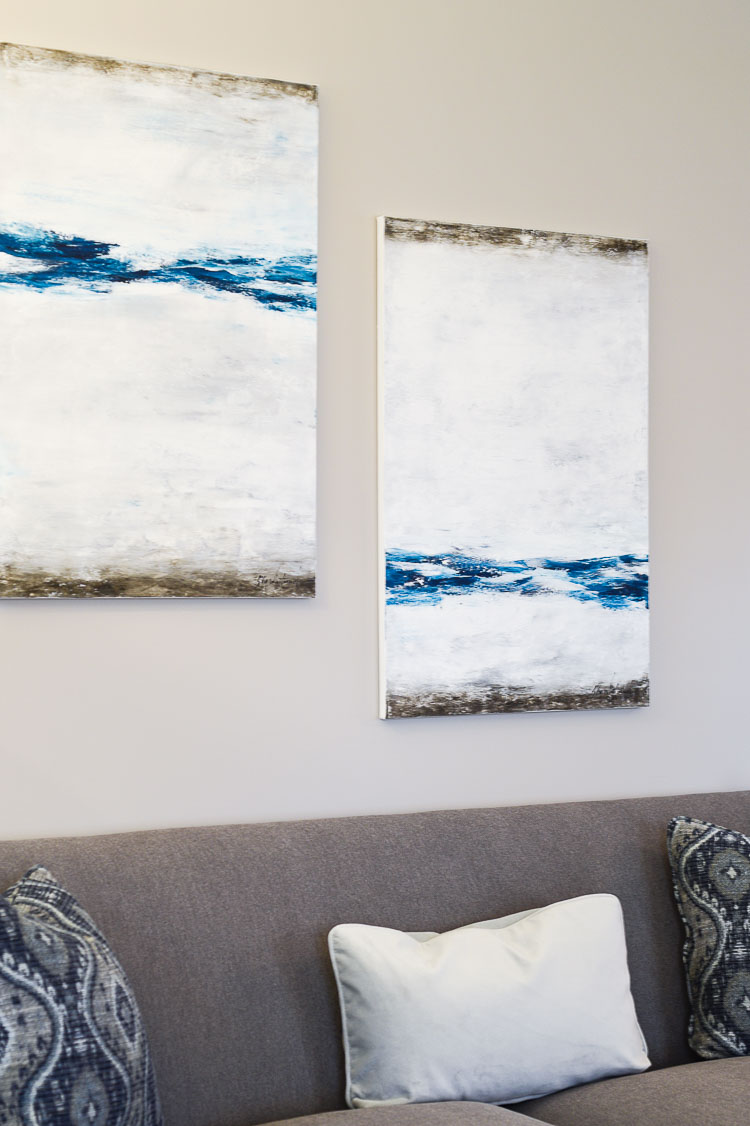
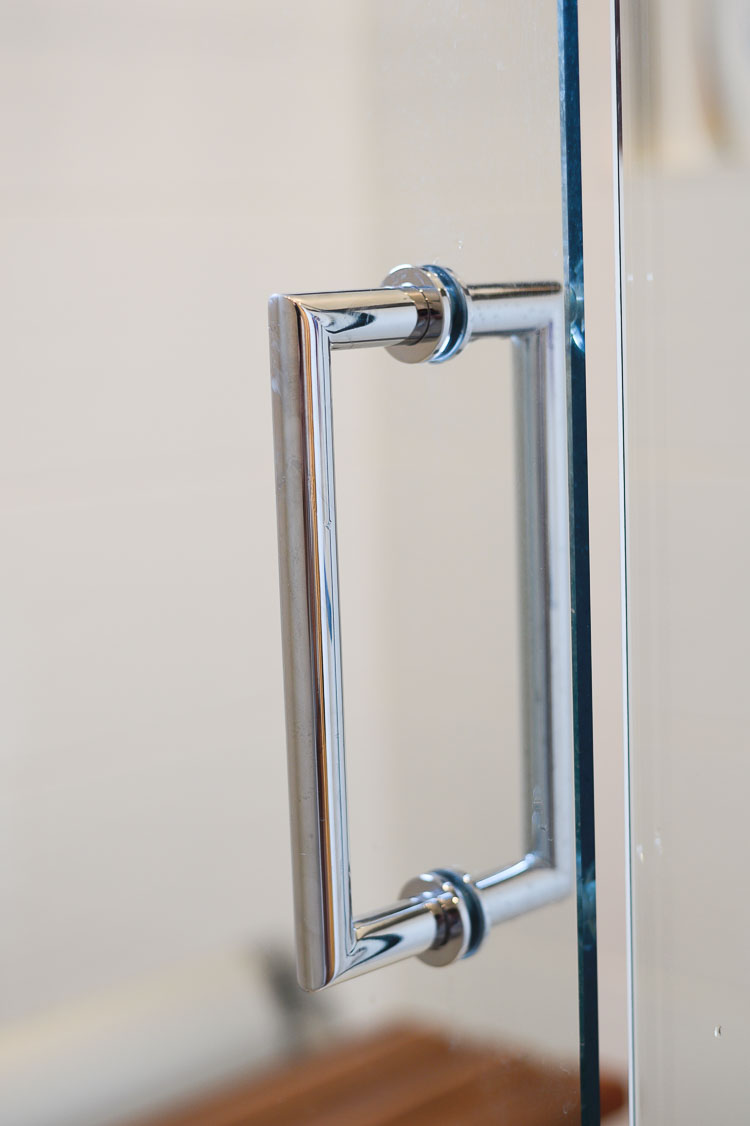
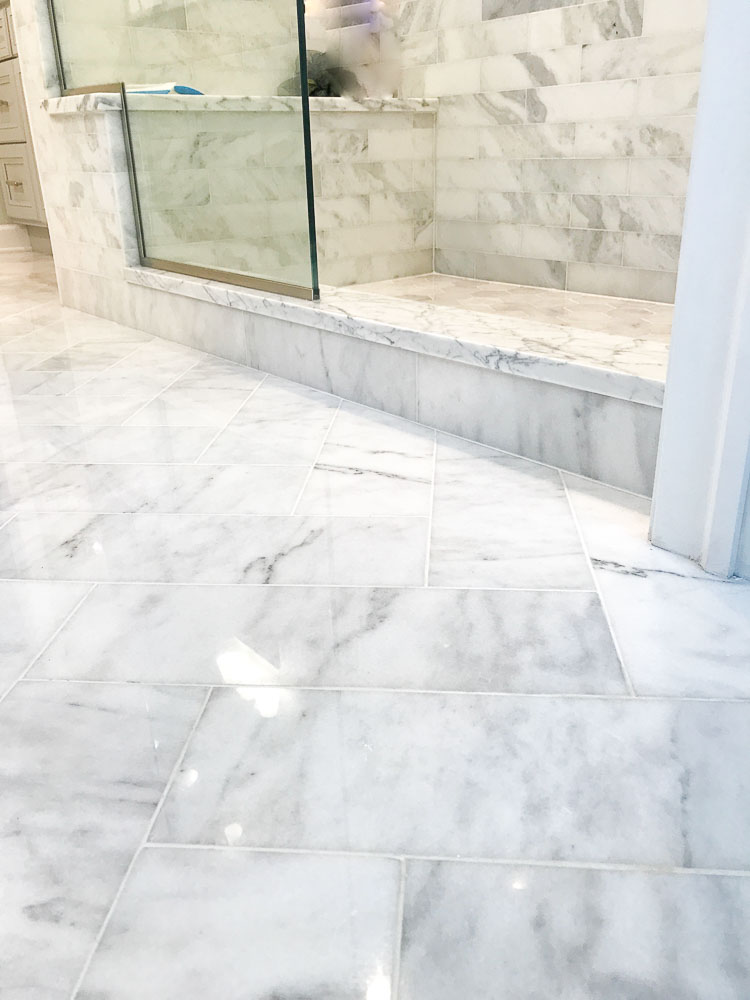
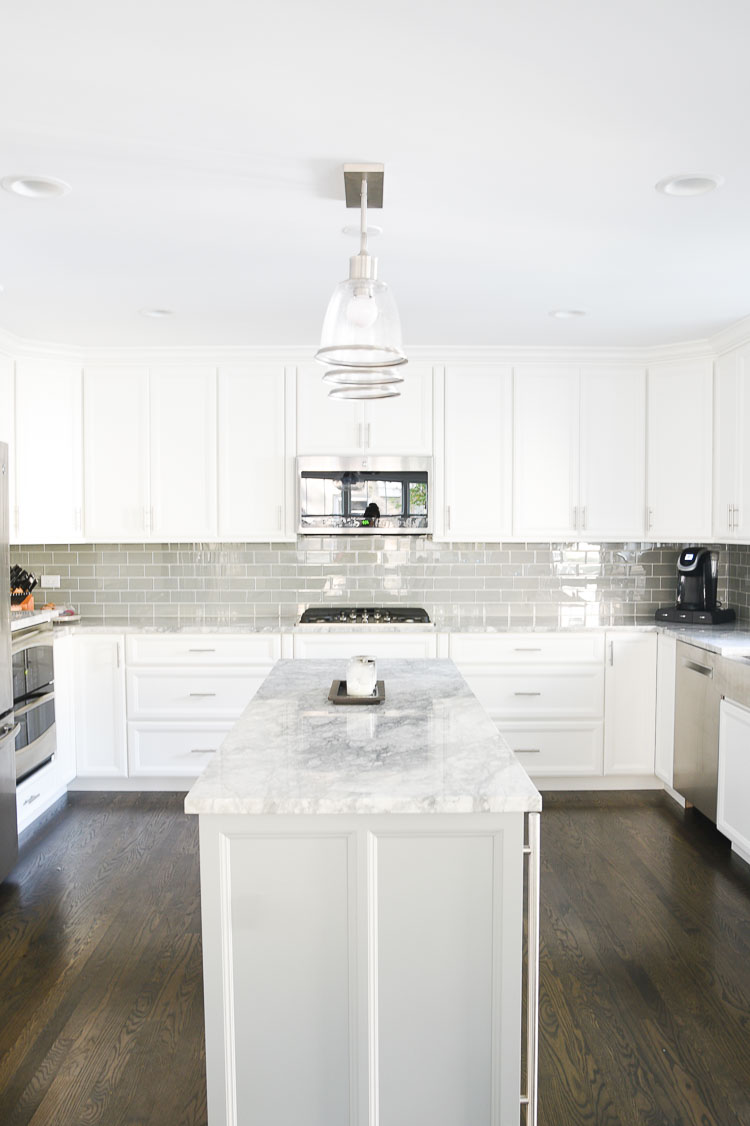
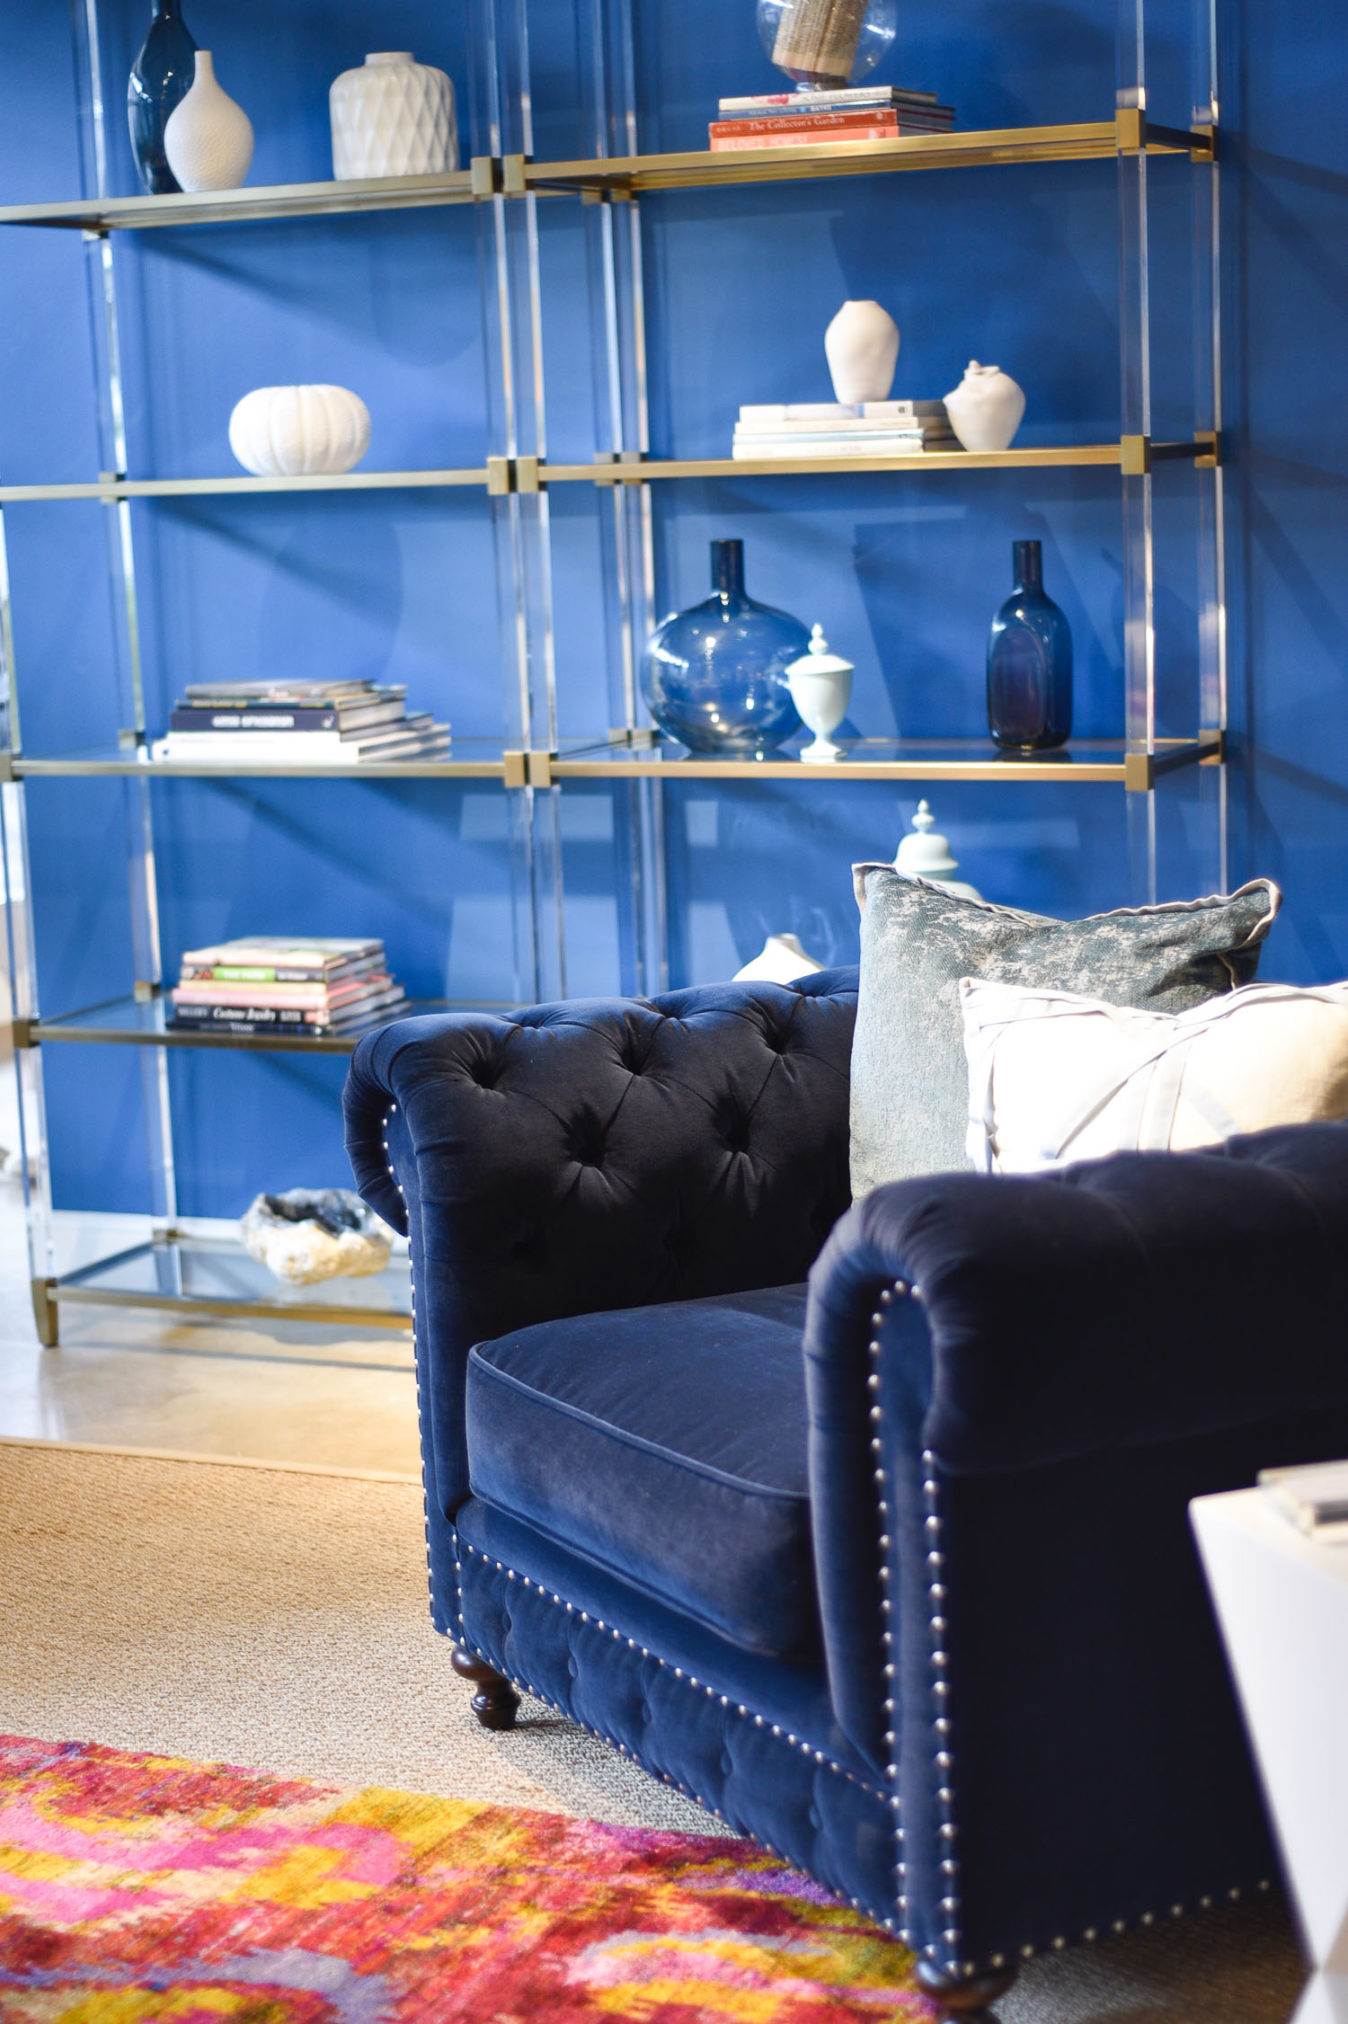
Okay, so having spent the time to learn and investment over time, here is where I am at photographing my own portfolio. Any improvements? What do you think…


Katy Beacher says
Thank you. I love the spacious feeling of the kitchen but it need a pop of color such as a green plant or a bowl of fruit.
Cecilia Cannon says
YES! it was bare, I was just showing how photography equipment helps, hence why the posts is about camera equipment tips for interior photos.
Lisa says
I have some questions about the lighting kits and would love your help and further advice to find a suitable lighting kit that is available to ship to Canada and more information on how to use it.
Cecilia Cannon says
Lisa – would love to help. I got mine off amazon and it was under $100. it came with everything I needed including bulbs. it is a great starter kit. No need to spend hundreds just yet.
Samantha says
Great tips! Your photography is always so beautiful:)
Cecilia Cannon says
awe thanks! and your photos too!!
Katie/Celebrating With The Bug says
I have a lot to learn when it comes to photography and thees are great tips!
Cecilia Cannon says
Hope some help