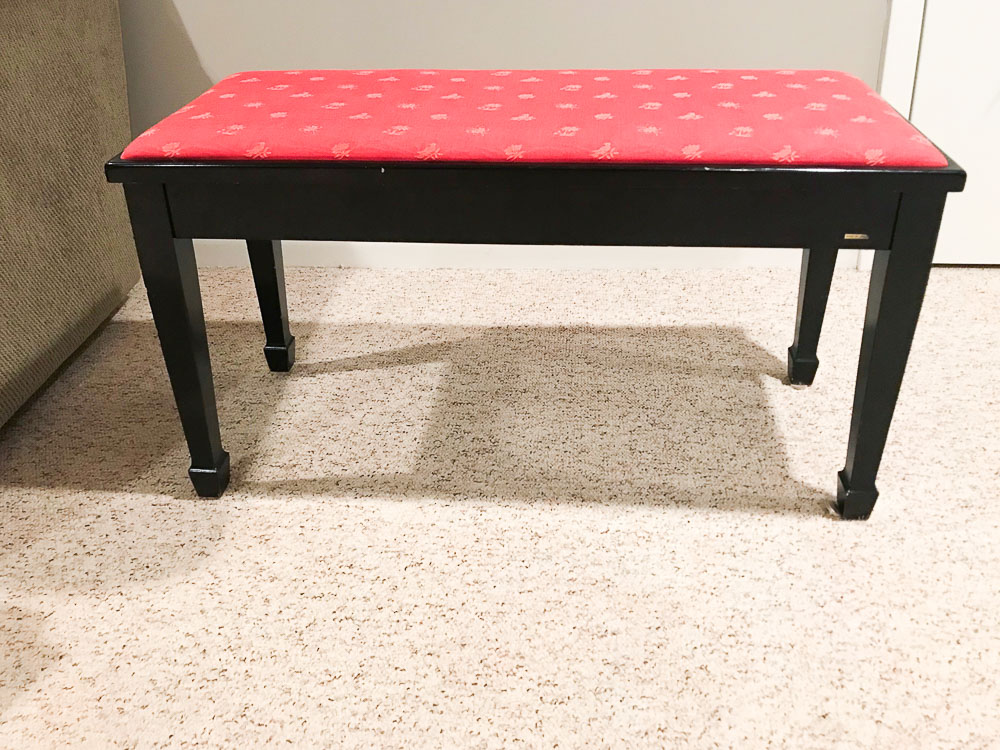
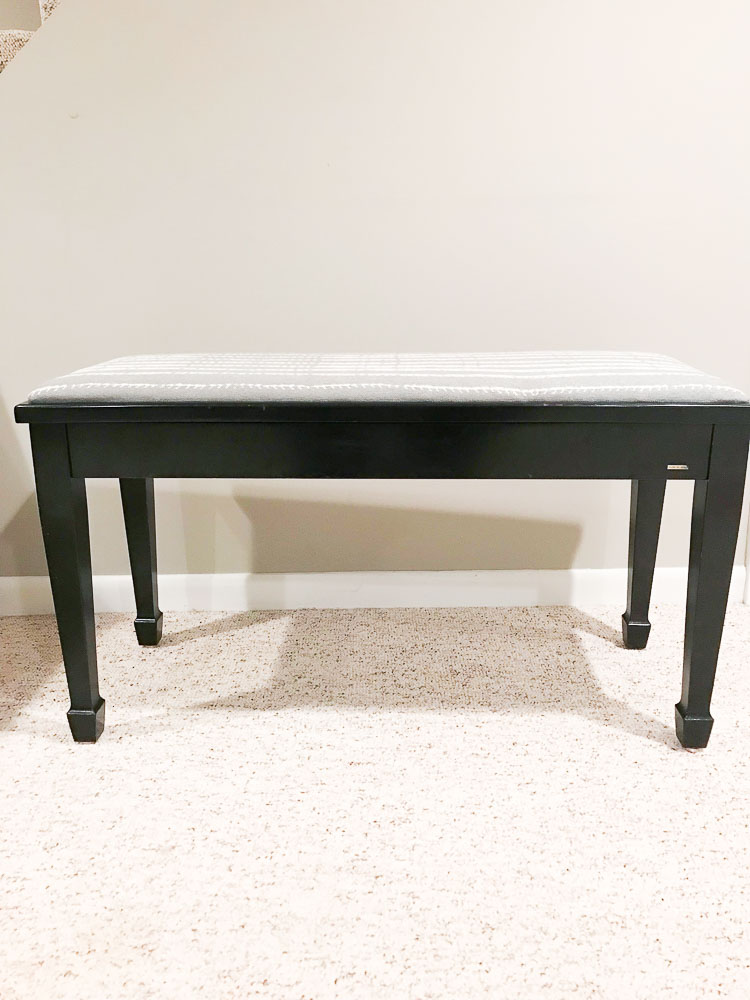
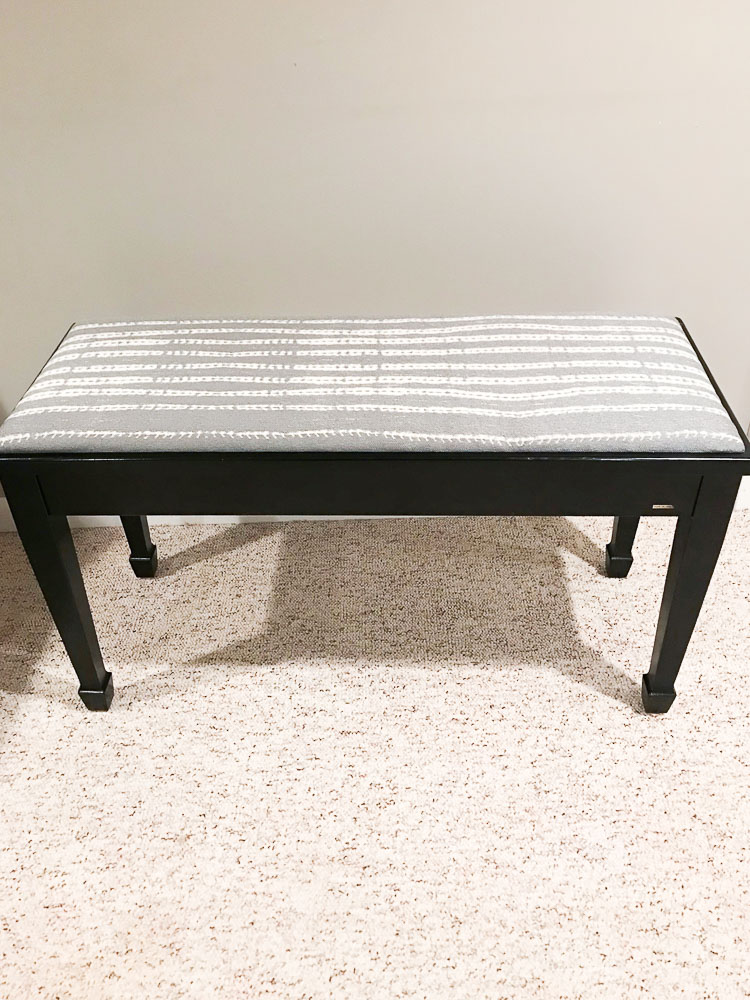
I recently was able to coordinate a piano buy from one client to another. It’s a beautiful piano, the only downfall was the piano bench. In trying to save clients a little money, I was able to re-upholster the piano bench on my own, better than having them fork over a few hundred. There are many pieces I would re-upholster on my own; however I have yet to conquer a full piece. You know, like a wingback, but that’s still a goal. Either way, re-upholstering piano benches is an easy DIY for most, as long as you follow these steps.
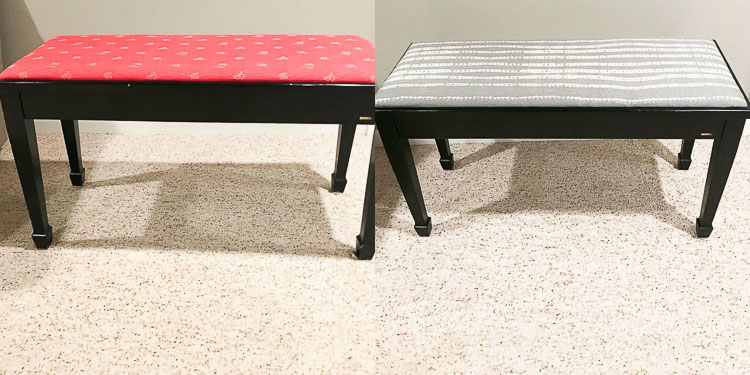
DIY Re-upholstering Piano Benches
To re-upholster piano benches just have patience and follow these easy steps. Jump to Video below for my DIY quick tips too.
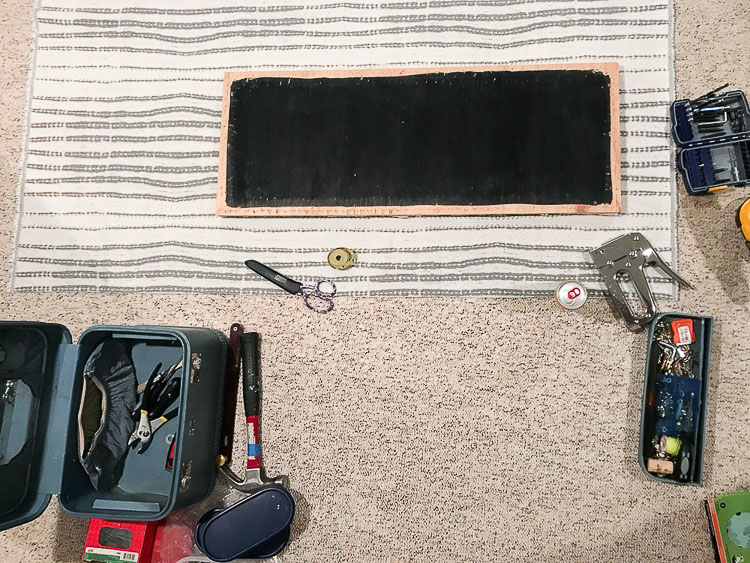
SUPPLIES
1/4 inch Staples to 1/2 inch staples
1 – Take Under Bench Before Pictures
LOL, no joke, for some pieces, they need to go back a certain way. I always take pictures, sometimes even a video, of what the bench looked like underneath. Under the cushion is the most important part of the piece as it is what is holding the cushion top in place.
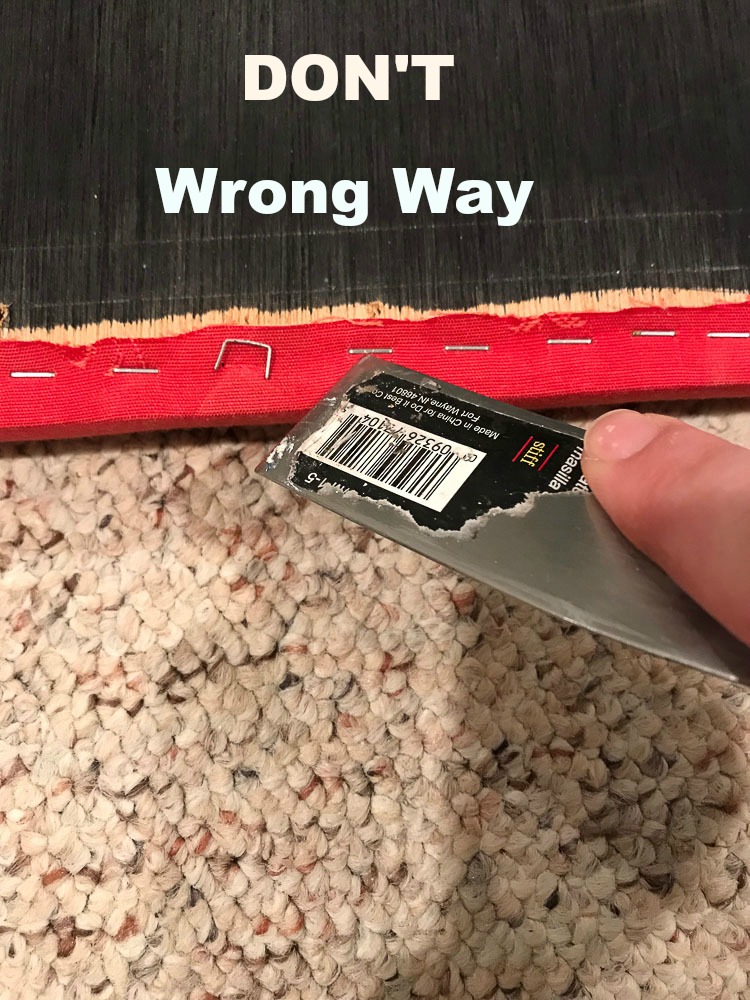
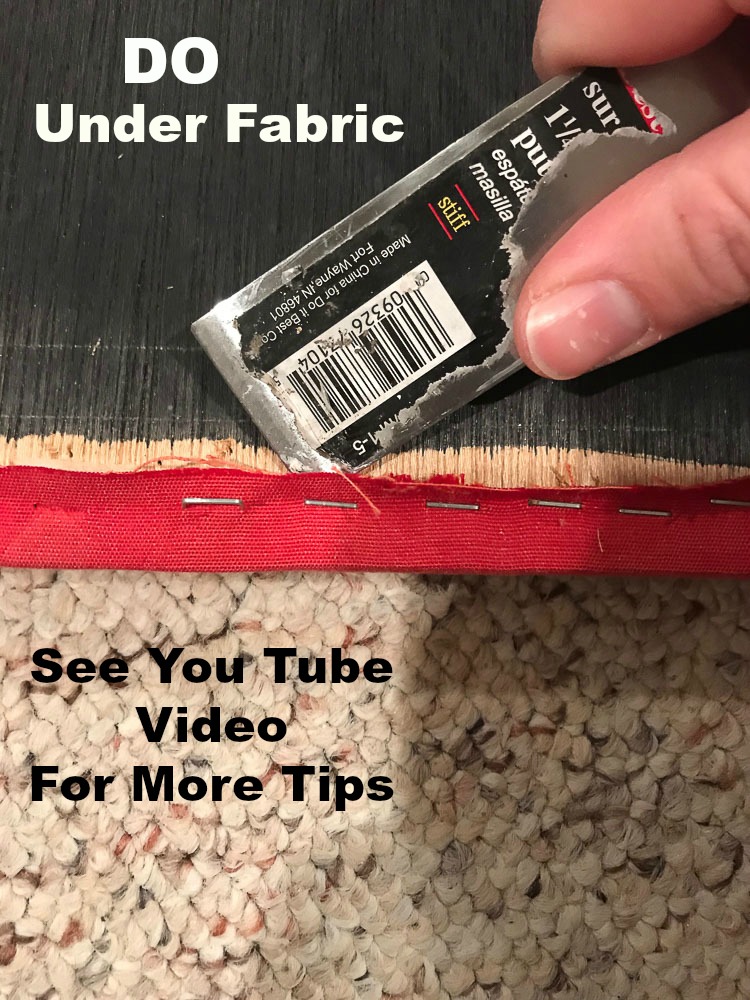
2 – Remove Old Staples (all of them) (See my tip video to remove quickly)
Sometimes this is annoying, or very annoying, cause it feels like there are millions of staples. But it is a must! If you leave just one, it might be the one that rips into the new fabric. Luckily, I have discovered a quick and easy way to remove them, see the video below.
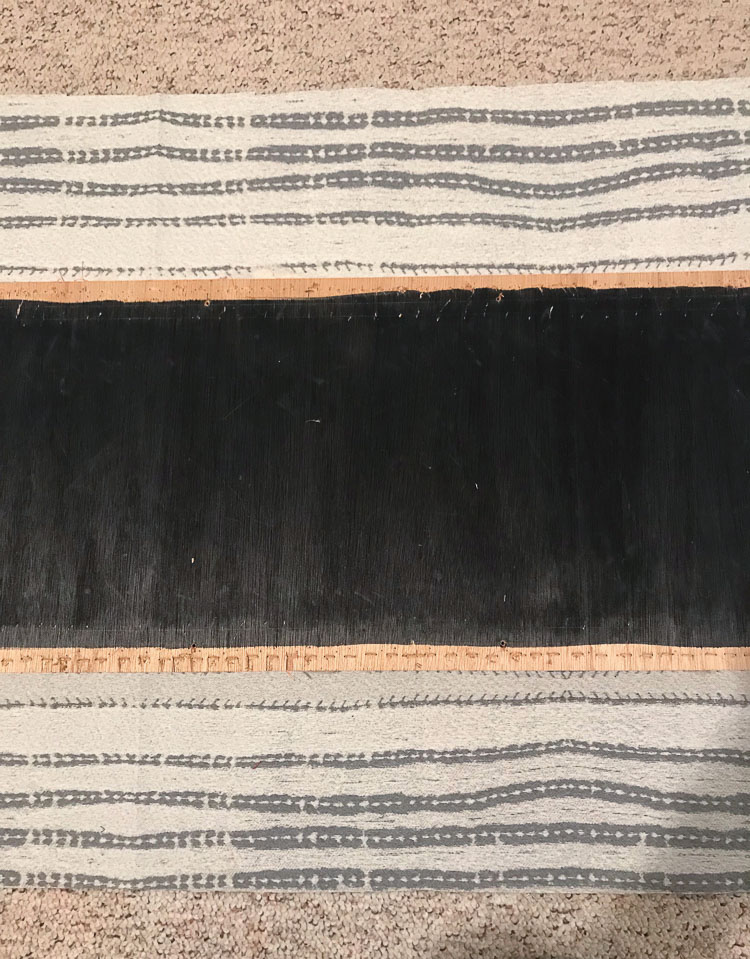
3 – Lay Fabric Centered
I probably spend too much time with the fabric laid, making sure 1000 times it is centered. I want the pattern repeat to be just right.
4 – Pull Hard and Tug
The easiest way for me to re-upholster piano benches is to have it on the floor (place something underneath so you don’t get your new fabric dirty). Then, I kneel on the top of it, fabric underneath the bench, and pull fabric on first side in the center. I work my way from the center to the corner. Once you get to your first corner, continue pulling, but switch staples. I use 1/4in staple, but at the corners I will use a 5/16 or 1/2in depending on fabric. This is because I wrap the fabric at the corners like a gift and it might layer. I need to make sure I have a thick enough staple to keep the fabric tight and close to the board.
5 – Trim off Extra & Install Back on Bench
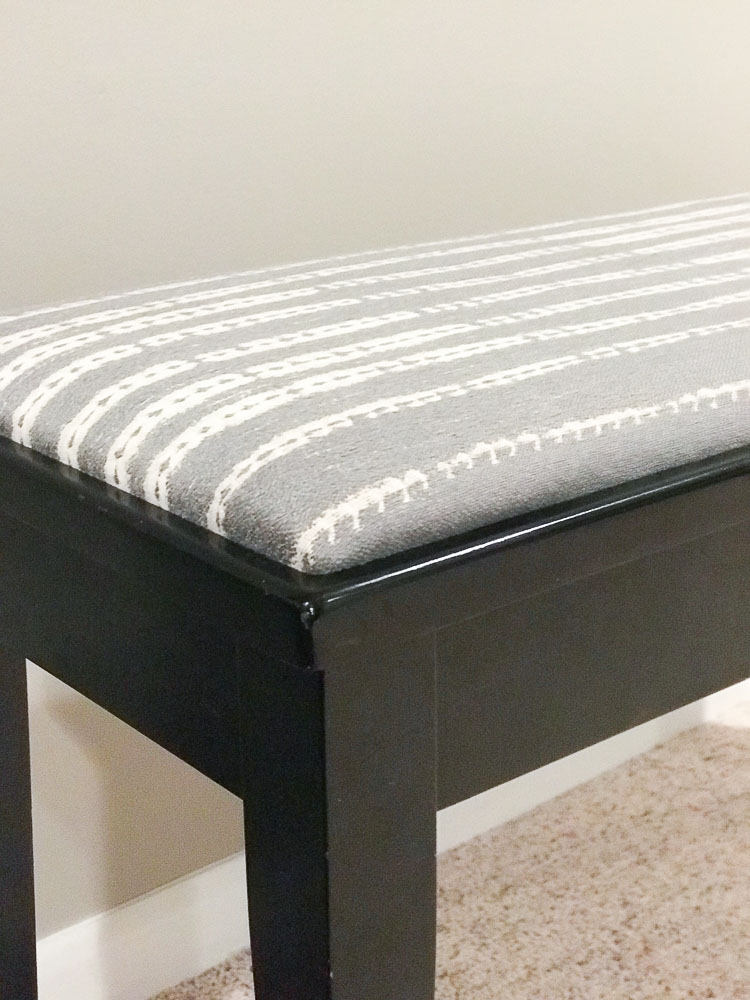
Once fully “wrapped” I trim off extra fabric close to the staples for a cleaner look. Then I screw the piece back onto the orignal bench in the same order I removed it.



Jessica Joachim says
This came out great! While I don’t have a piano bench to do, I am planning on reupholstering some old wicker furniture that was my moms. It is at least 30 years old because she had it before I was born and it needs some love for sure, but it is still such great furniture.
Cecilia Cannon says
oh great! these tips will help with chairs or other style benches.
Joanna @ Everyday Made Fresh says
I have a bench in our bedroom that is somewhat similar. I tried to reupholster it years ago, but I had no idea what I was doing. I’m gonna grab some fabric and do it the right way, thanks!
Cecilia Cannon says
oh my gosh! YEAH!!!!
Krystal Butherus says
Anything I can do myself, with or without the assistance my husband, I’m all for! I love this DIY. We don’t have a piano, but I have friends who do, and would recommend this DIY to them.
Cecilia Cannon says
love it!
Laura @ MommyDearest says
I love a good DIY, I don’t have a piano bench, but I do have a similar style bench to reupholster soon. Your Bench turned out great. Love the staple removing tip too.
Cecilia Cannon says
awesome, I hope this helps
Rebecca Bryant says
How cool. I like when you can redo something to make it look new. I love the new color of the bench seating.
Cecilia Cannon says
thanks, the grey is much better
Kristina says
I love doing home DIY things! I’d like to try this on my dining room table chairs!
Cecilia Cannon says
yes, the same process would work there too
Kimberly Lewis says
this looks so easy, I think I can do it! The best thing is that small change makes such a big difference.
AnnMarie John says
This is why I like neutral colors more, because it looks cleaner and more classy! I love how the bench looks after! I would love to make this!
Jalisa Harris says
This project came out great. Plus I love the neutral color. Even though I stink at diy projects this is something I would love to do.
serena says
I have a bench at the end of my bed that needs a face lift. Going to give this a try. Thanks for sharing.
Rachel says
Thanks for the tutorial. I have some chairs that I really need to re-cover and now I know how!
Lisa says
They look amazing!I would love to reupholster my dining room chairs. This looks like it is something that I can do. I just might give it a whirl when I have some free time. BTW your benches look amazing.
TColeman says
This would be such a fun project. I love to take older items and make them into new again.
Krystle Cook says
These turned out incredible! I need to try and do something with my old chair/bench.