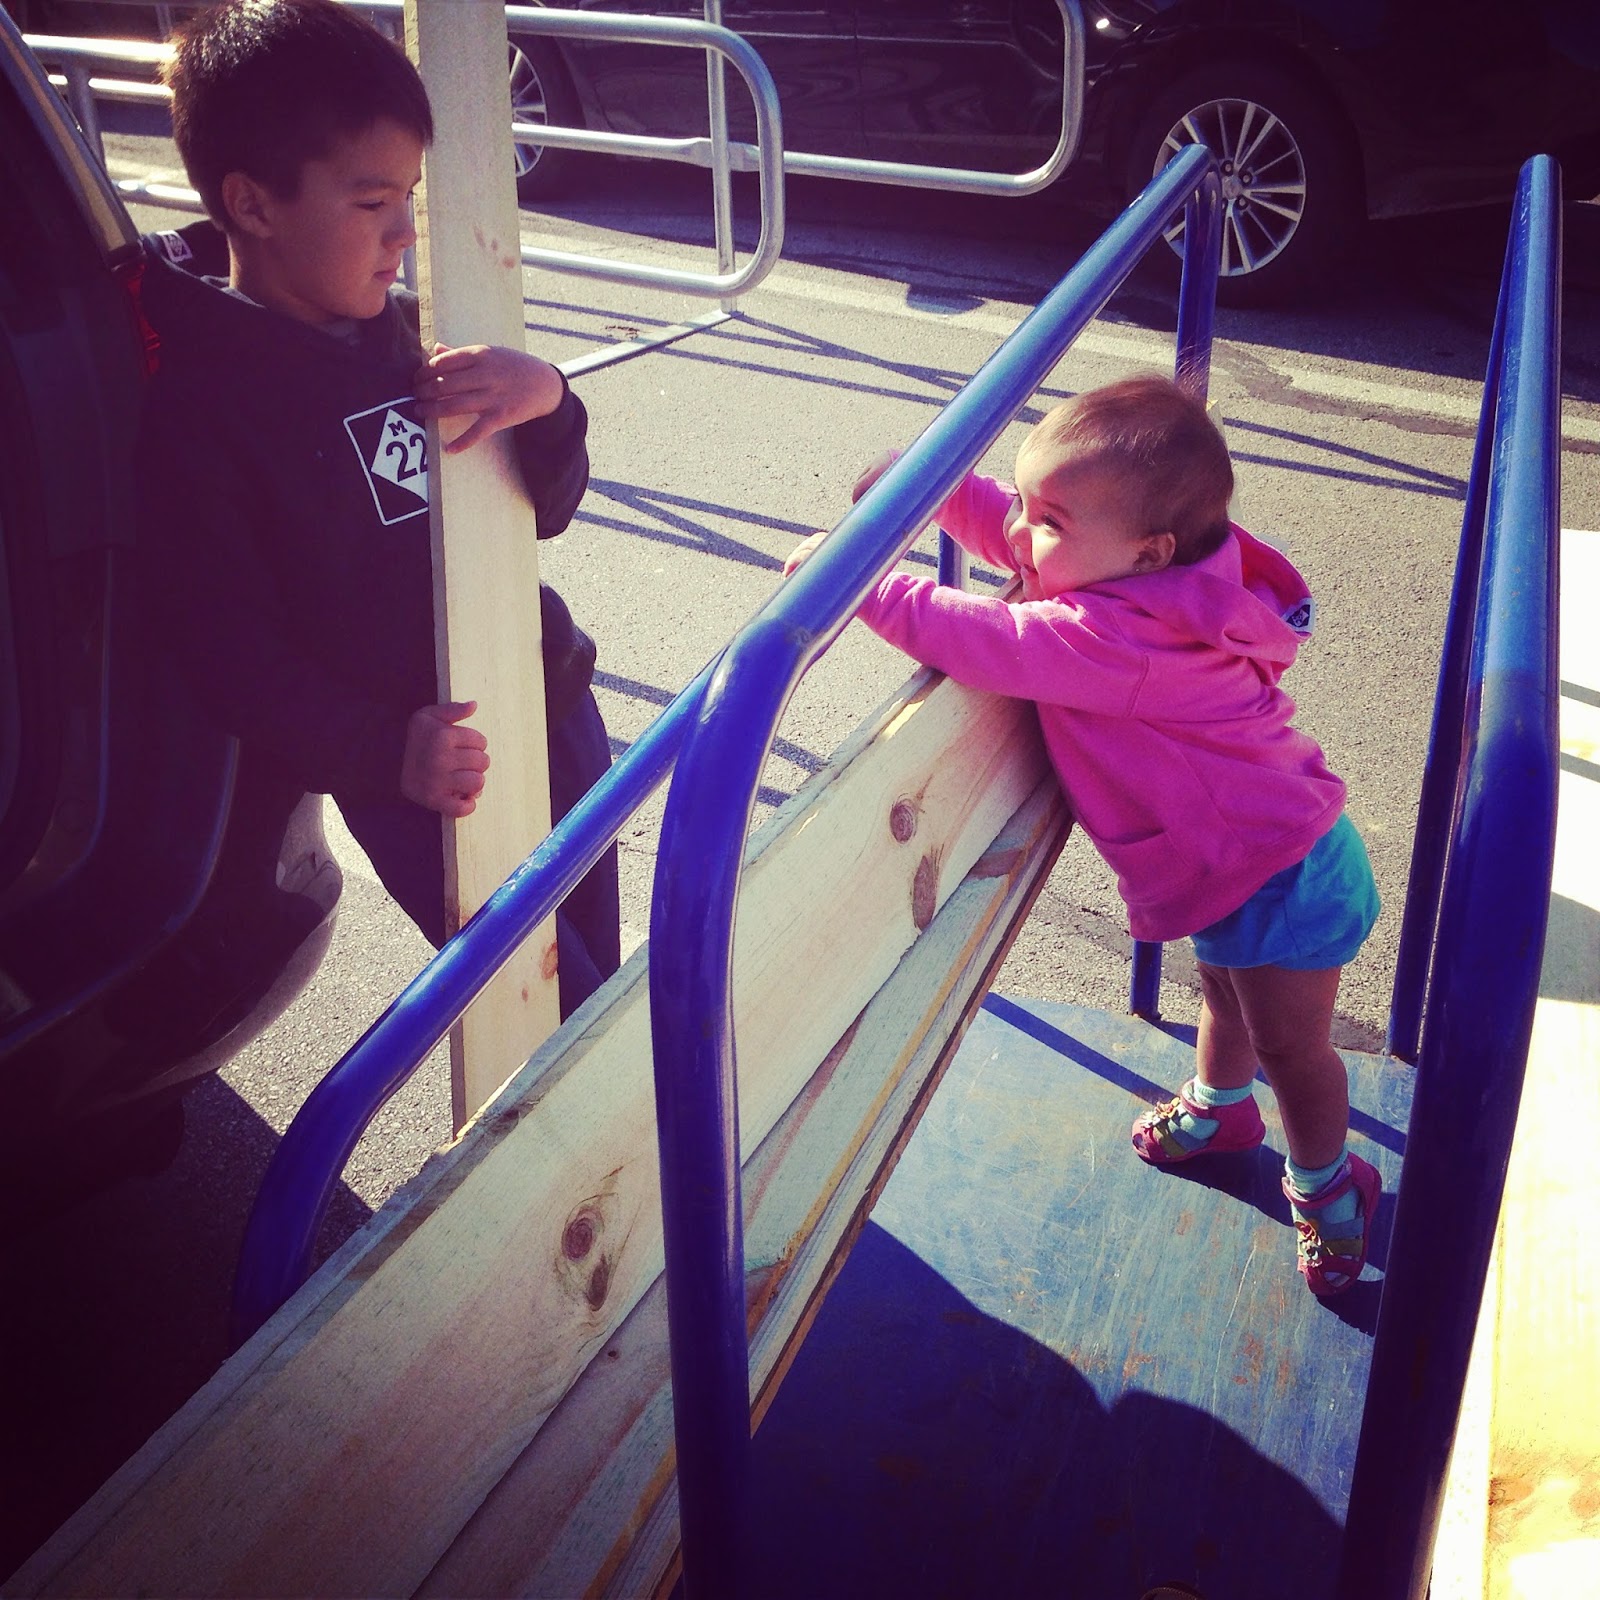
So we needed a fire pit cover. For this I got the kids involved. It was actually a fun and easy D.I.Y project.
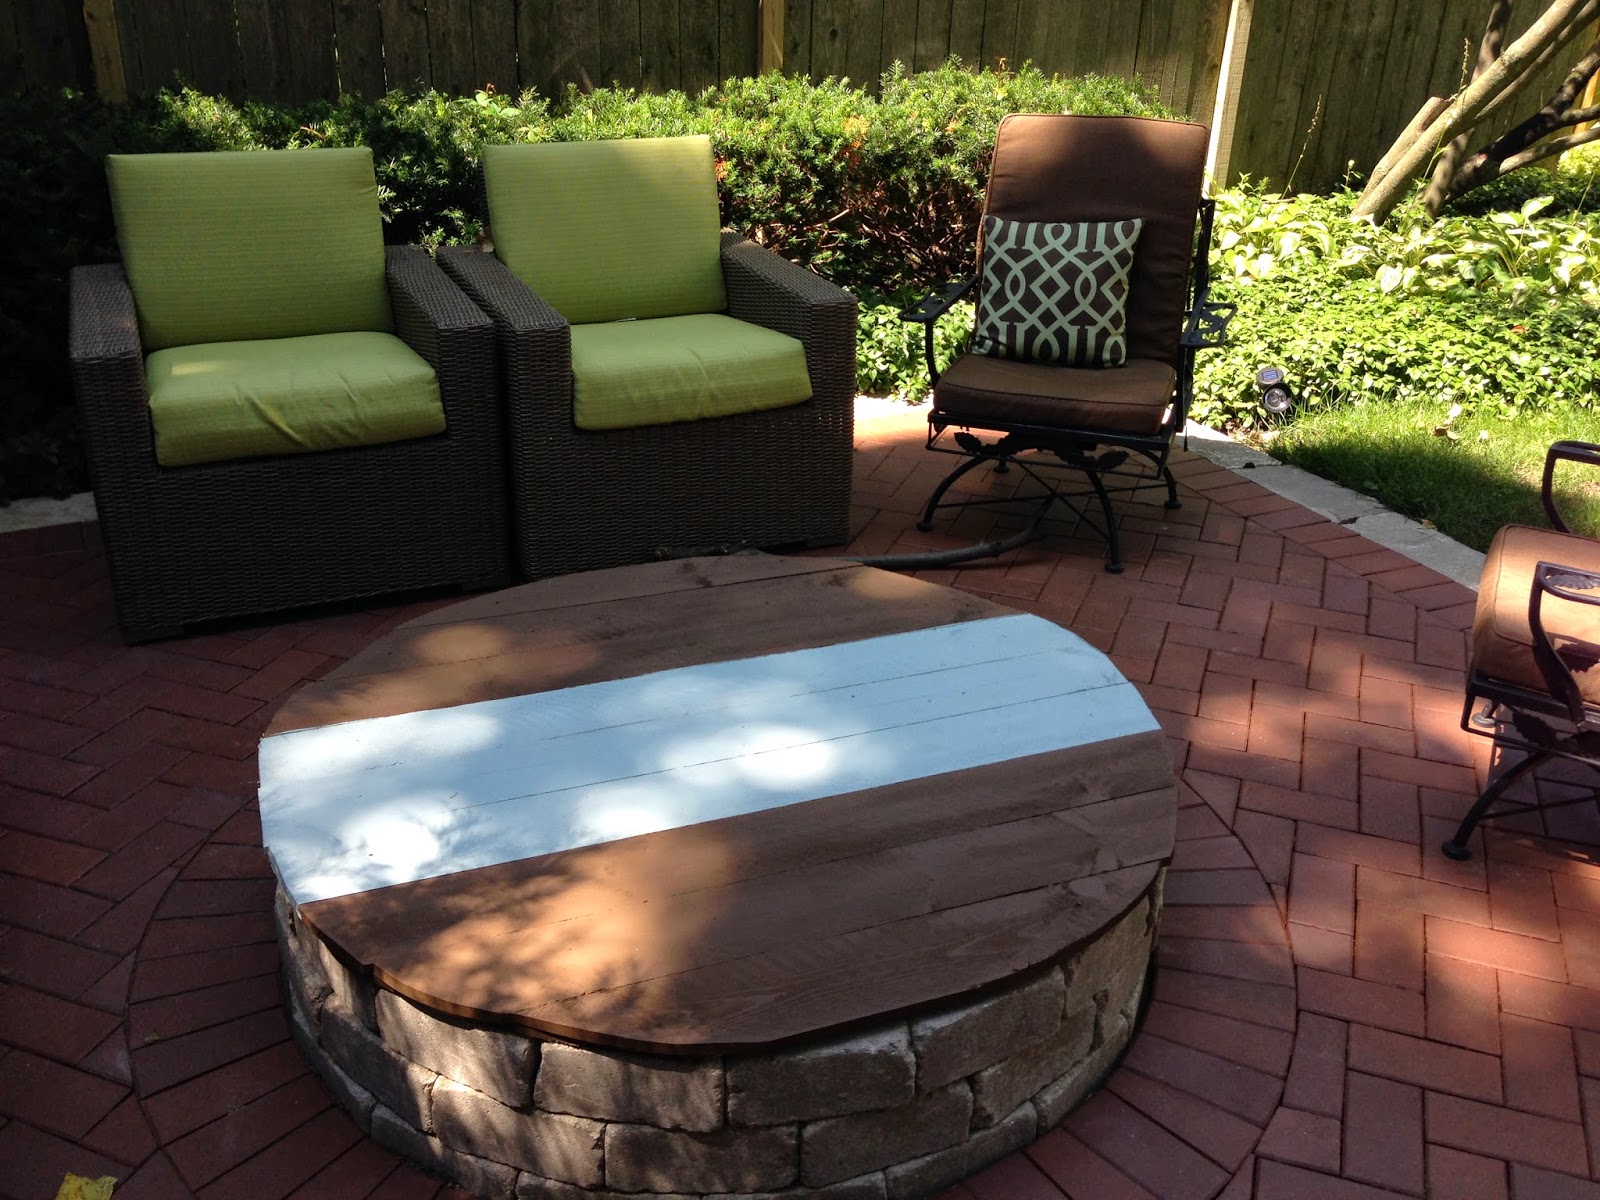
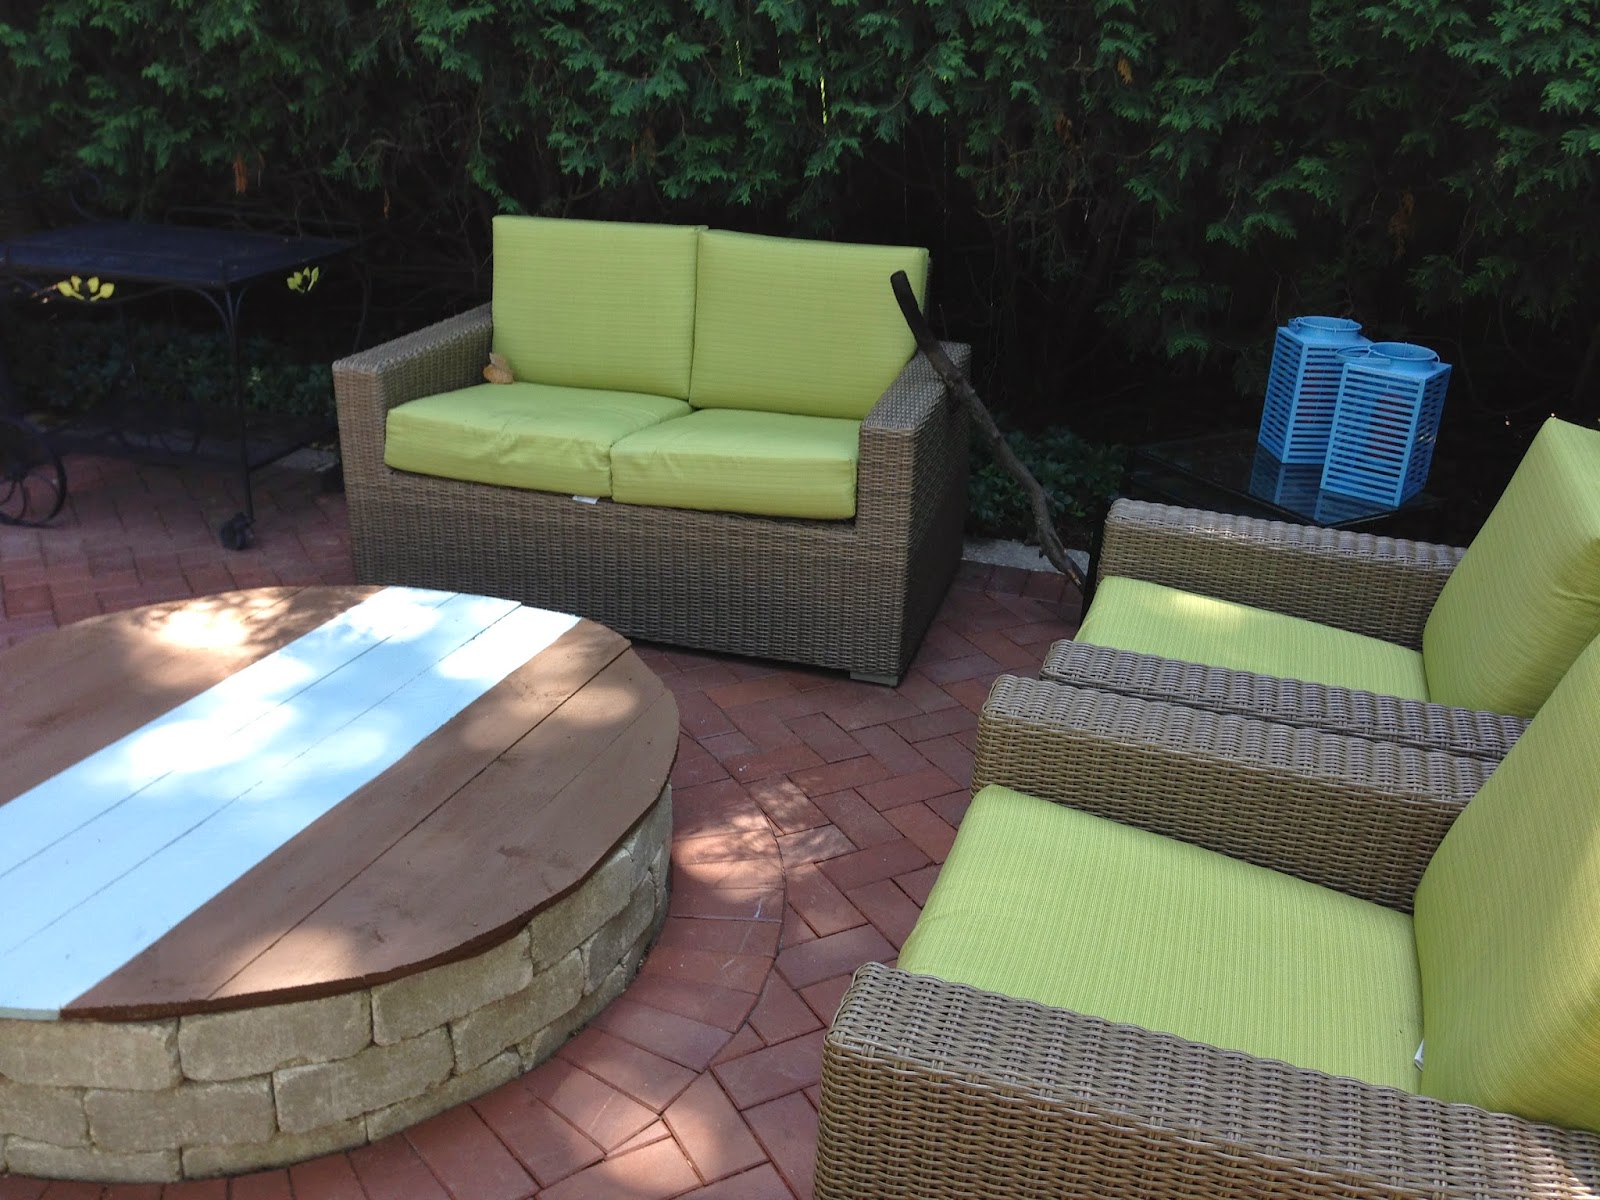
I wanted a cover that was strong and sturdy enough to also be used as a “coffee table” of sorts when not in use for making s’mores, so off to Lowes we went.
I am a Home Depot fan but that might be changing. My local Home Depot does not carry treated wood for the outdoors. I went to Lowes and they had a huge selection of wood to choose from. Here is what we did and the materials we needed.
Purchase // 1 sheet of treated plywood & 10 planks of treated “fence” wood
Steps
1. Make sure you measure your fire pit from end to end. Example, ours is 56inches round, this way you know how much wood to buy
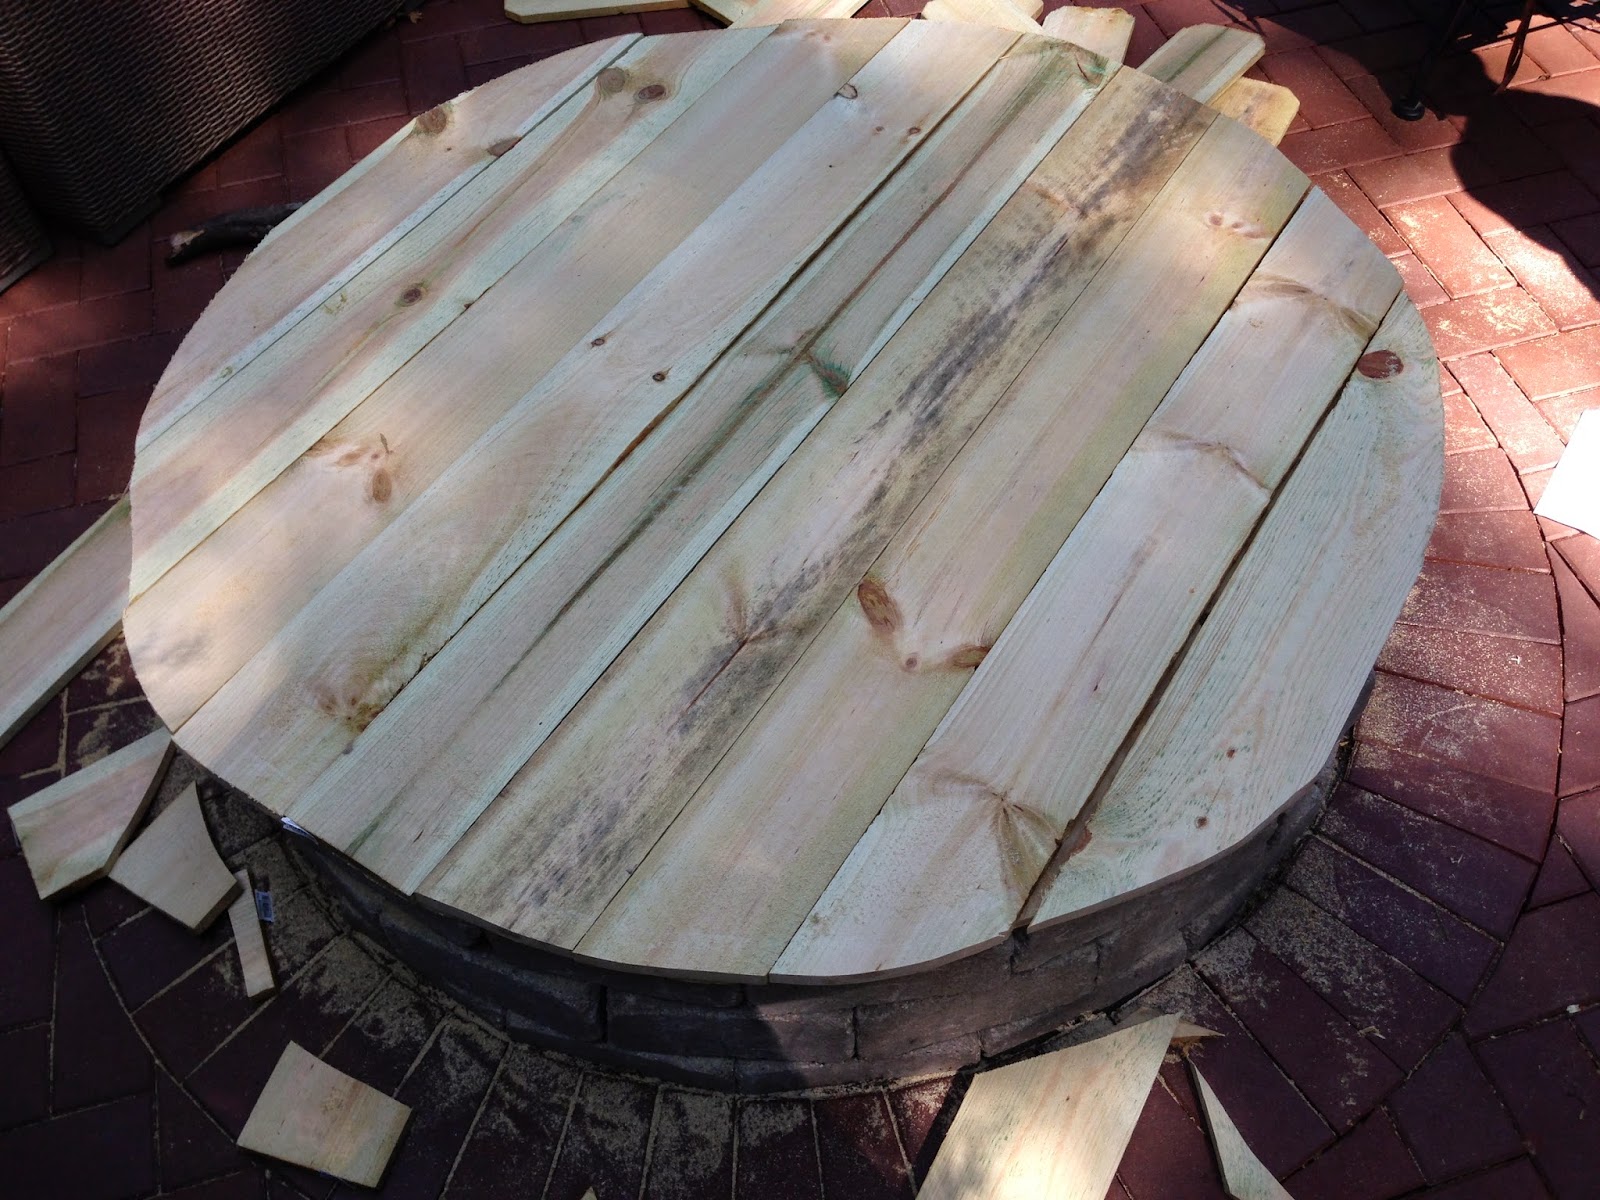
2. Lay down the sheet of plywood first and with an electric Jig Saw cut around the shape of the fire pit
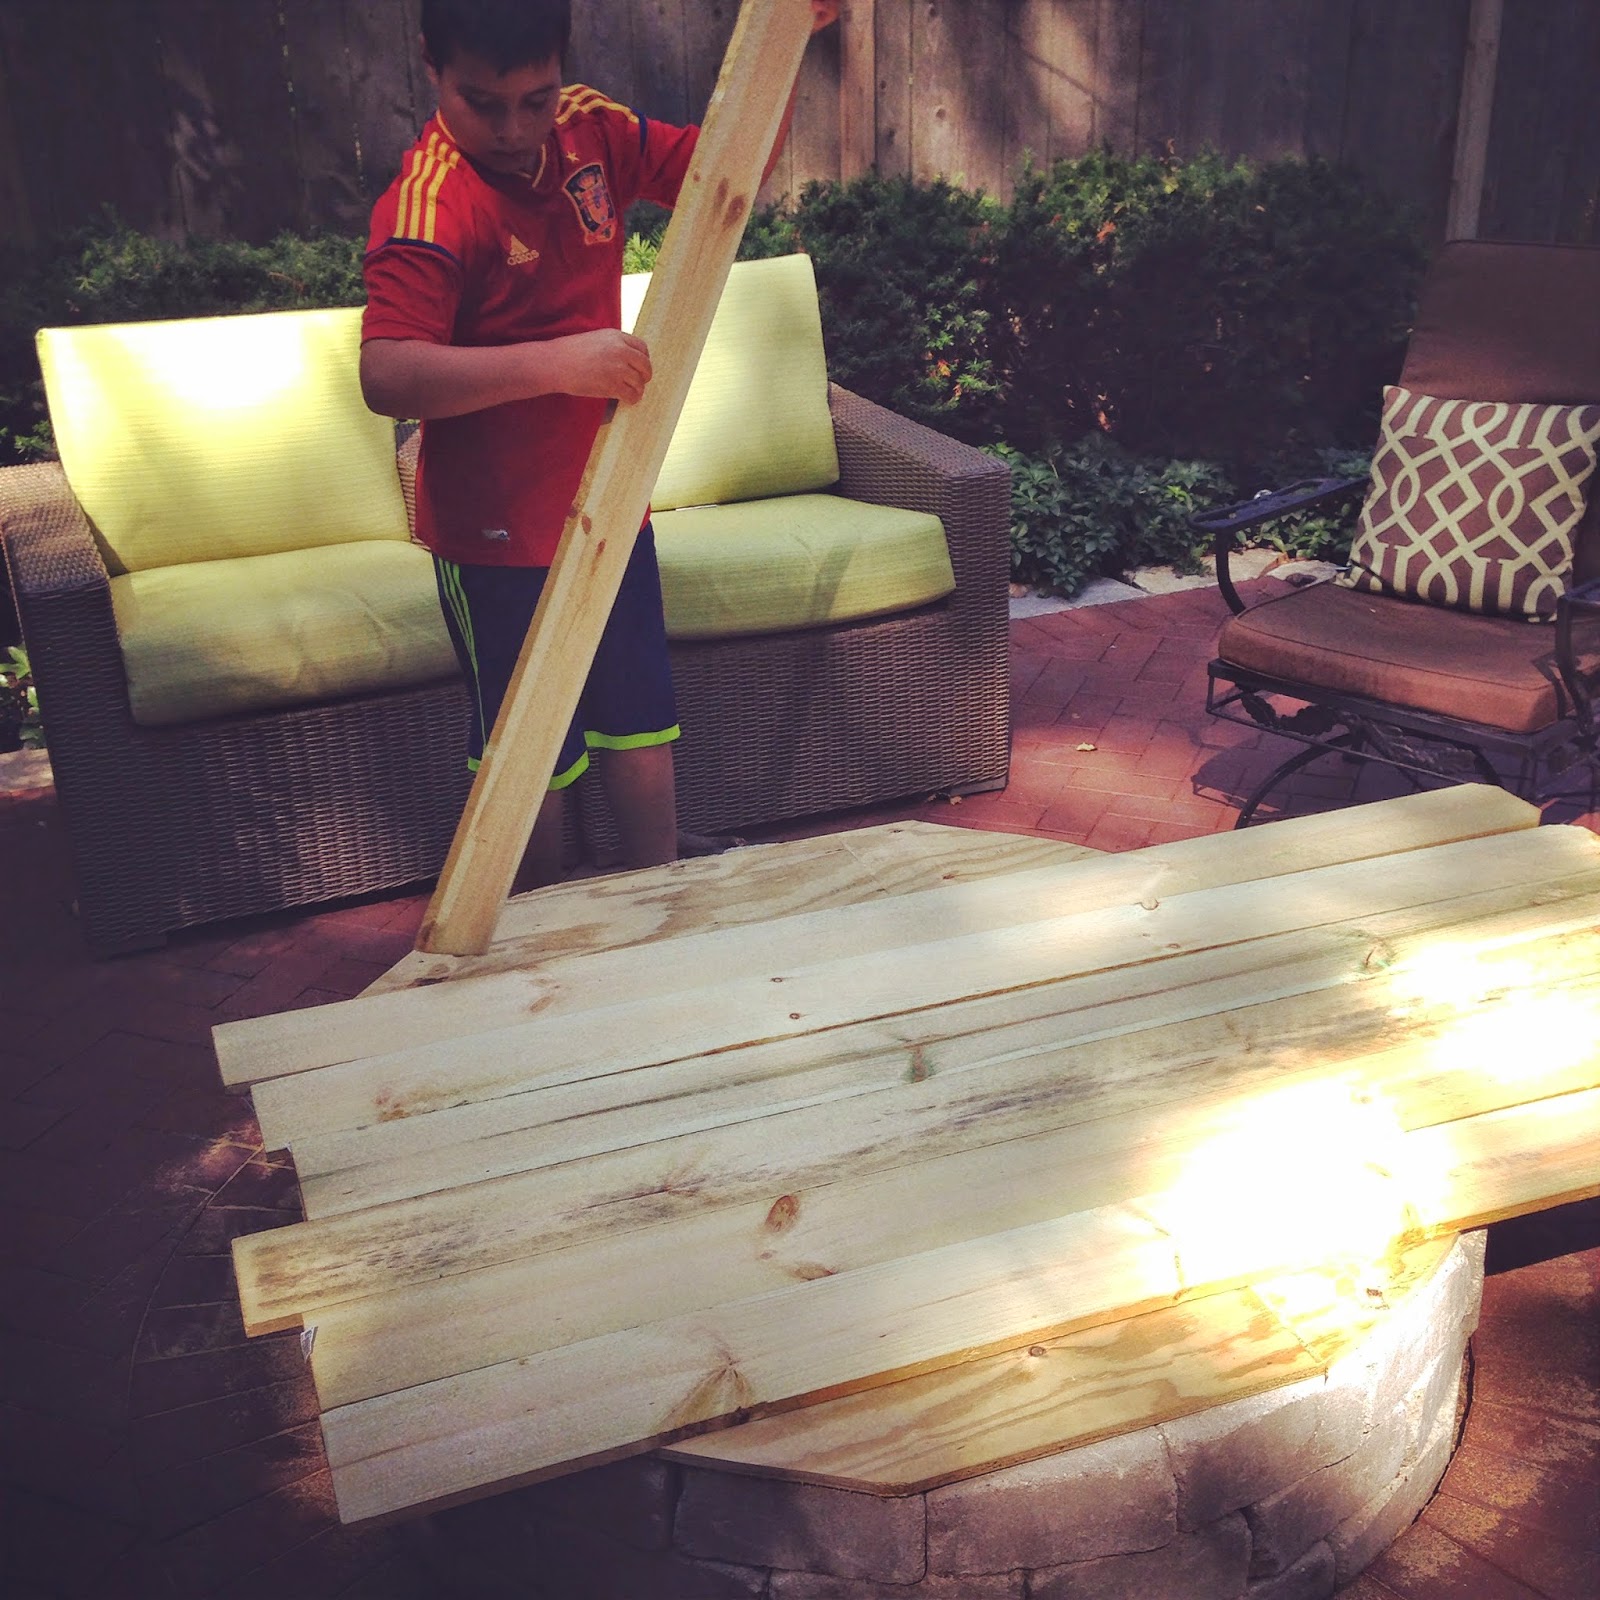
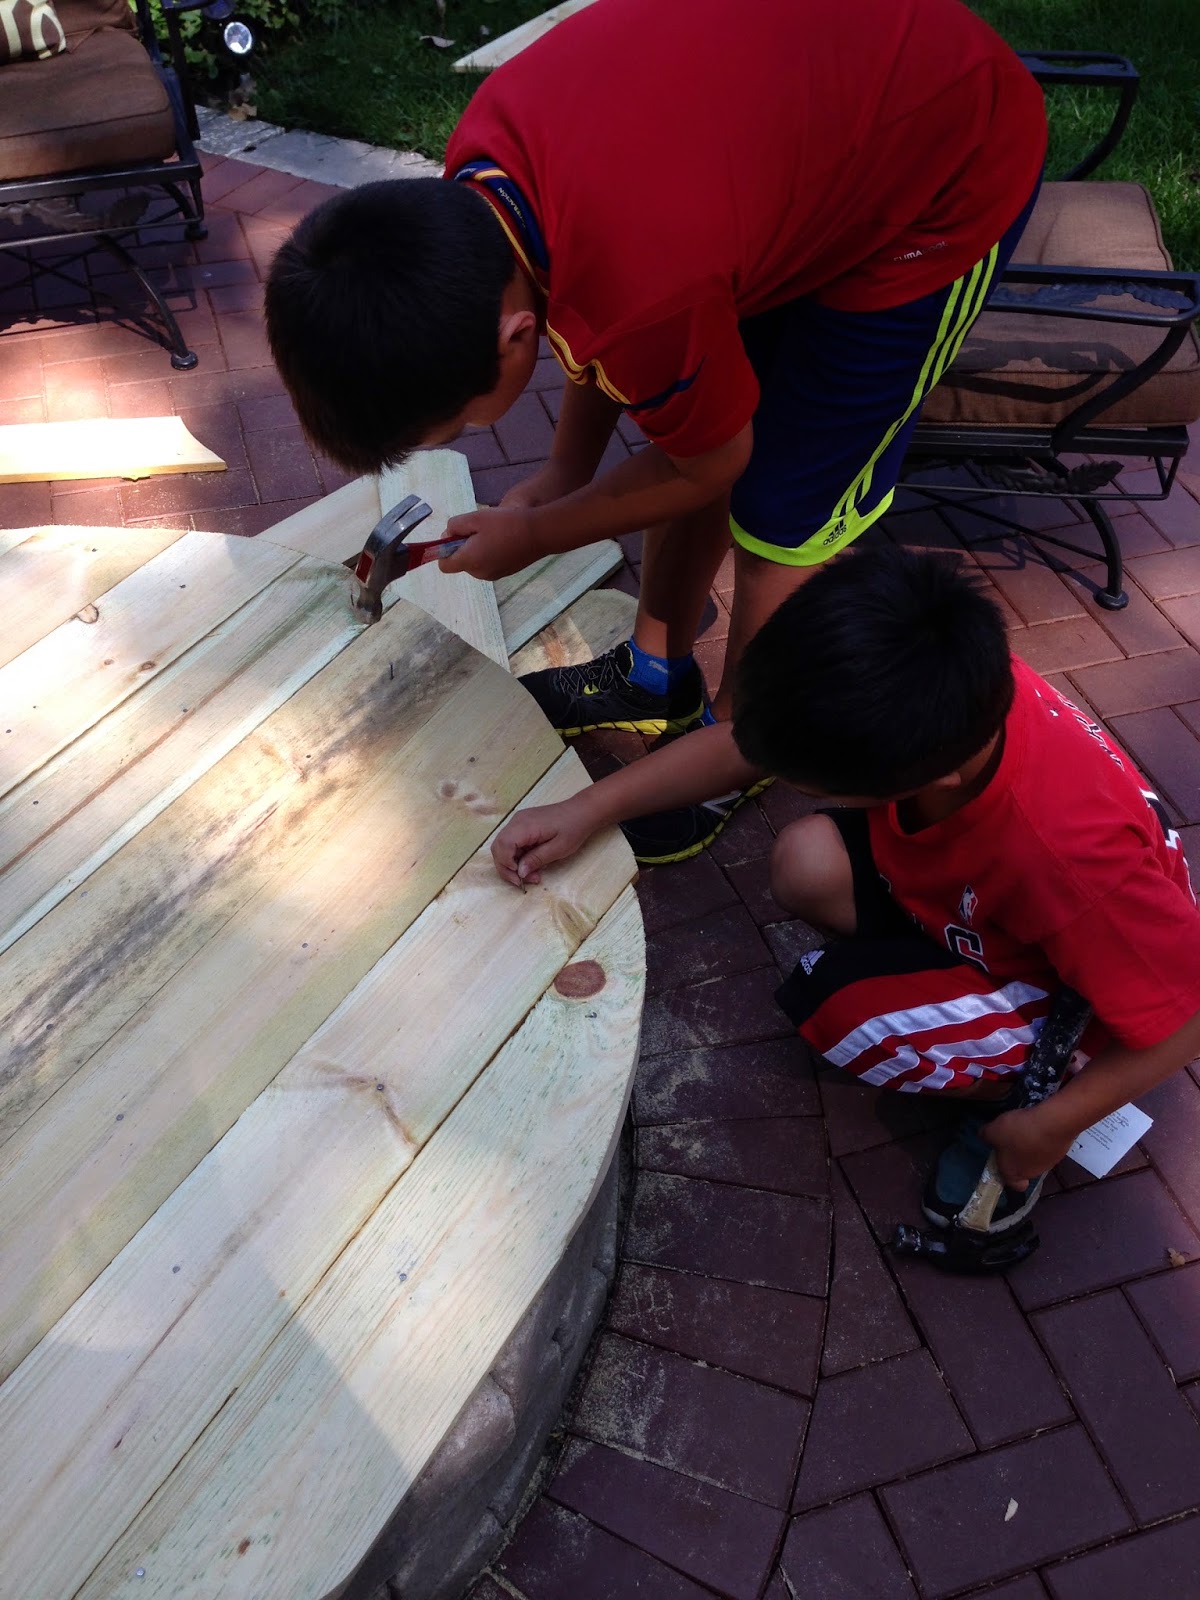
3. Then have your children lay down the wood planks over the cut plywood.
4. Again, cut around the fire pit to shape the planks over the plywood. (parents do this, not kids).
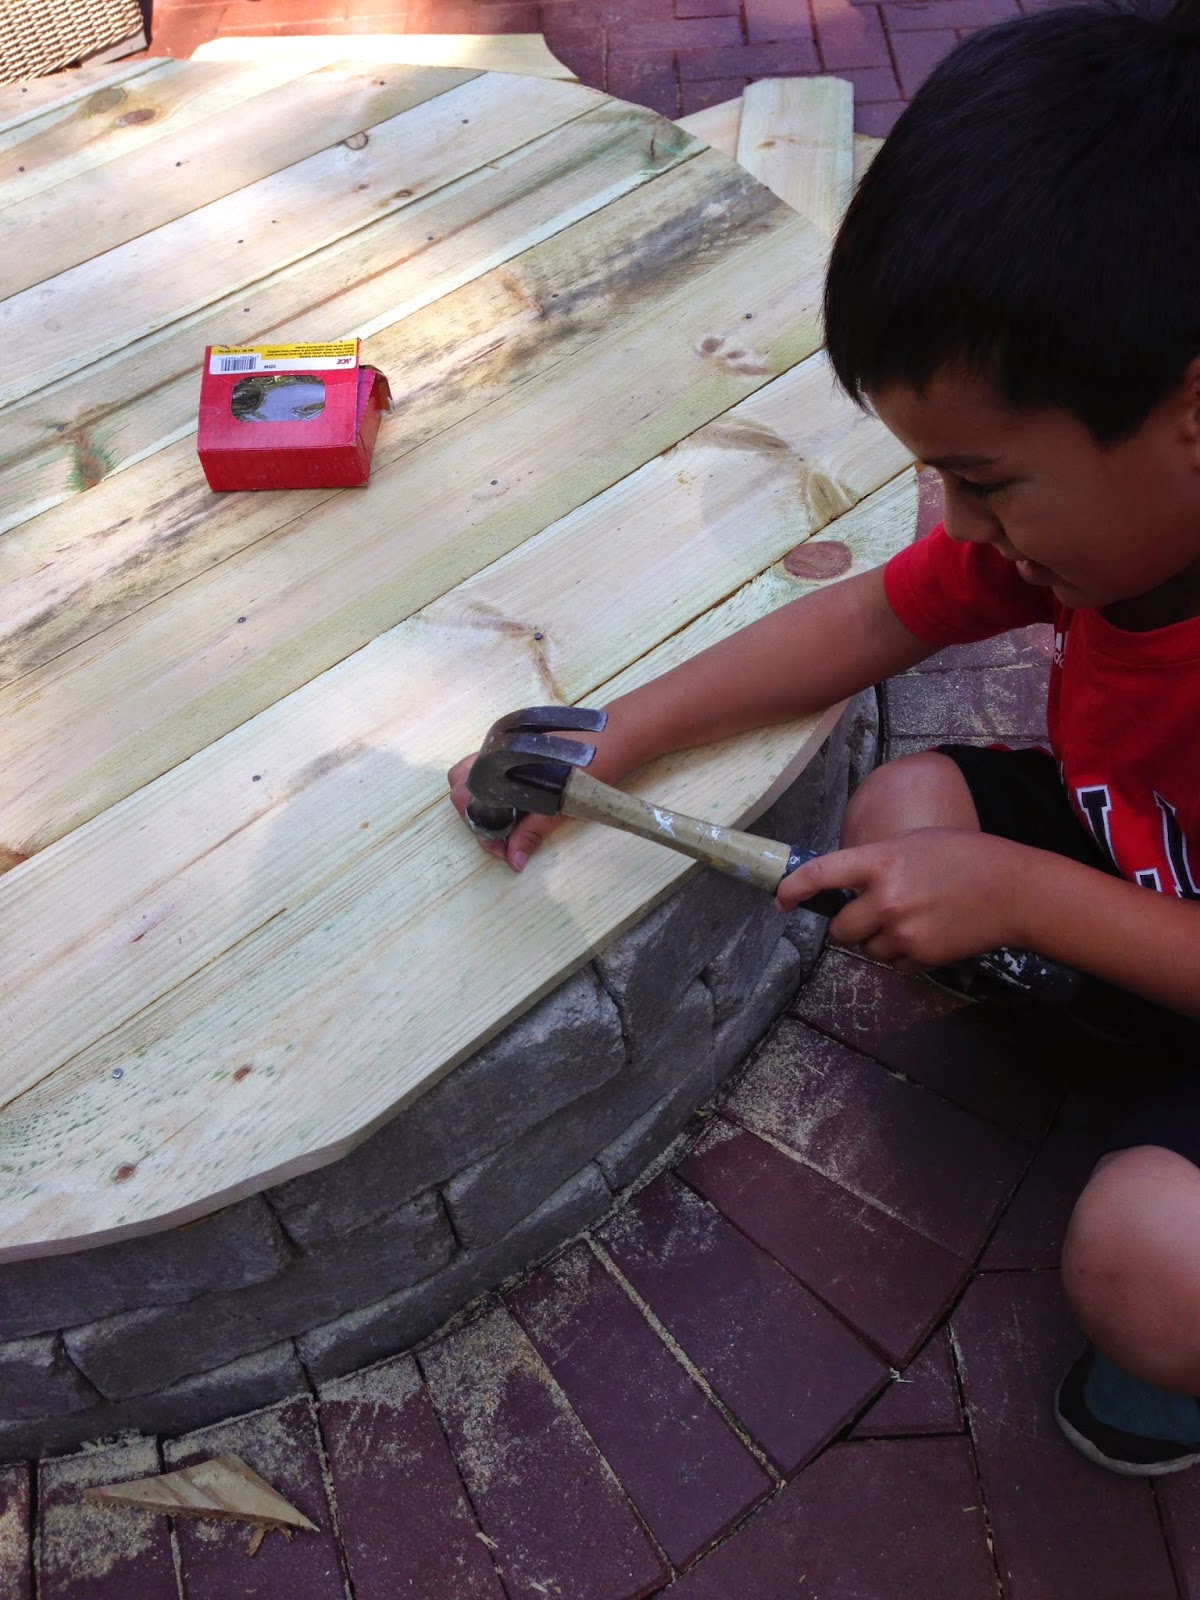
5. Grab a hammer and some nails and begin pounding. You want to make sure the plywood and planks are firmly attached with enough nails.
6. Stain or paint
Now, I wanted to stain the top a light gray wood stain from Benjamin Moore. But since the kids were involved the fought me on painting it two colors WITH A STRIPE. They wanted black and red or blue and red. At least I was able to convince them to two colors that matched my patio cushions 🙁 Otherwise, I highly suggest using a wood deck stain and my preference wood (get it) wood have been gray.
